This winter, I decided that my evening needlework project (as well as my grab-and-go, no matter where I go project) Must Be my hexie quilt that I’ve been working on for … oh… almost two years now. Otherwise, the thing will never be finished.
So, in the winter evenings, when it’s dark and cold out and it’s time to hunker down for the day and warm up a bit before heading to bed, I’ve been engrossed with those little tiny hexagons. Even though it’s not embroidery, it is needlework – I’m making a full-size hand-pieced quilt using English paper piecing – so I don’t mind sharing progress occasionally here on Needle ‘n Thread.
For those who are new to Needle ‘n Thread, I’ll share a little bit of the backstory and refer you to previous articles. Today, I’ll show you progress, discuss a few pitfalls, and mention three things that have improved my hand-piecing experience tremendously. I’ll also mention a couple tips on thimbles.
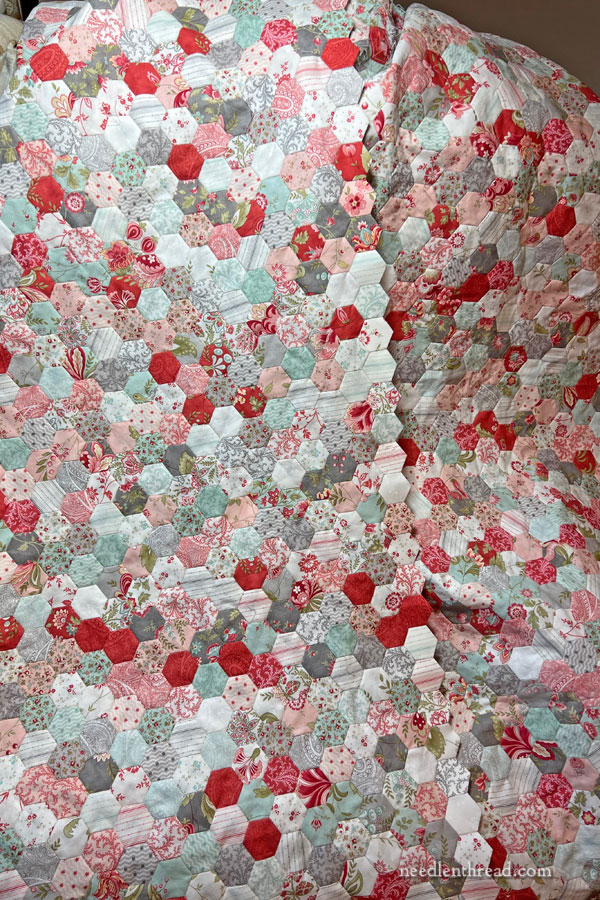
I prefer looking at the progress of the quilt top when pieces are draped over a chair, like they are in the photo above.
The hexagon quilt that I’m making is constructed from 3/4″ hexies (that is, each side of the hexie is 3/4″ long). There are something like 5,170 hexagons necessary for making up the full-sized quilt top. You can read the backstory (and other tips) on this project in these articles, chronologically listed:
The Start of the Hexie Quilt
Hexagons, Happiness, and Organization
Hexies & Traveling
Home with Hexies & a Tutorial
Hexie Updates & More Organization
Hexies in the Hospital
Hexies in the Ozarks
A Note on Fabric
I’m using a line of fabric (that is now defunct) called Porcelain by Three Sisters.
If you find fabric that you like, and you want to make a quilt out of it, you’re pretty much obliged to purchase all the fabric you will need – or you will envision needing – as soon as the stuff comes onto the market. Otherwise, once it’s gone, it’s pretty much gone. Here and there, I might find some small yardage available of some of the prints in the line, but for the most part, it doesn’t take long for the line to run its course on the market.
(Never fear, for this particular quilt, I have plenty.)
Especially if you’re hand-piecing, make sure you love your fabric choices, and that you’re pretty sure you’ll love them even if styles change a bit.
Color trends tend to mutate every two – three years, and even though the trend doesn’t usually change drastically in that short of a period, if you take the micro changes over a couple trend mutations, it doesn’t take long for color palettes to lose their trendy edge and seem dated. So make sure you like your fabric!
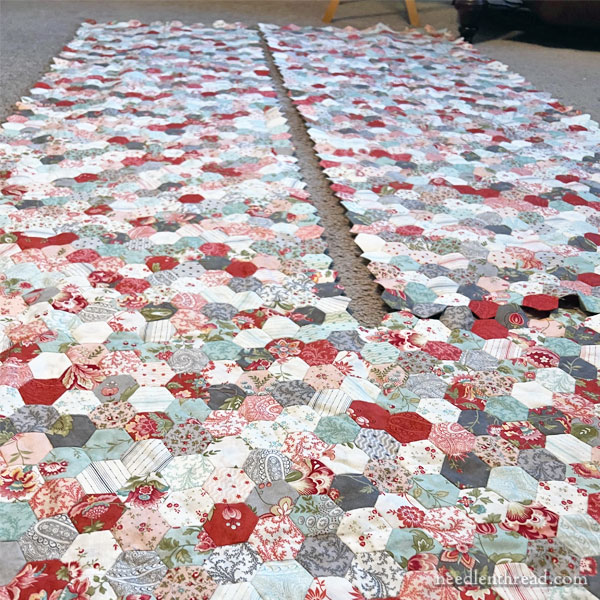
On Construction
I’ve learned that I should have thought out my method of construction before I actually start piecing pieces together. This seems an obvious. But I’m not a quilter, and I was super-eager to start sewing things together.
In my eagerness, I ended up with chunks that had to be sewn together in the most awkward ways.
I’ve almost got is solved, and from here out, I’ll be able to work with regular strips of hexies across the width of the quilt.
The Right Thread
Three discoveries have made the piecing of this never-ending project much easier on me. In fact, these three things have considerably relieved hand strain, if nothing else. And they’ve sped up my progress.
The first thing is thread. My quilt has withstood the trials and errors of several different thread types, most of which were just wrong, wrong, wrong. I researched threads for this type of paper piecing, and I took the advice of many different paper piecing gurus online, trying the various threads they recommended.
And man oh man. I had bad luck with all of them. It came to the point that I really hated picking up the hexies because I was constantly fighting with thread.
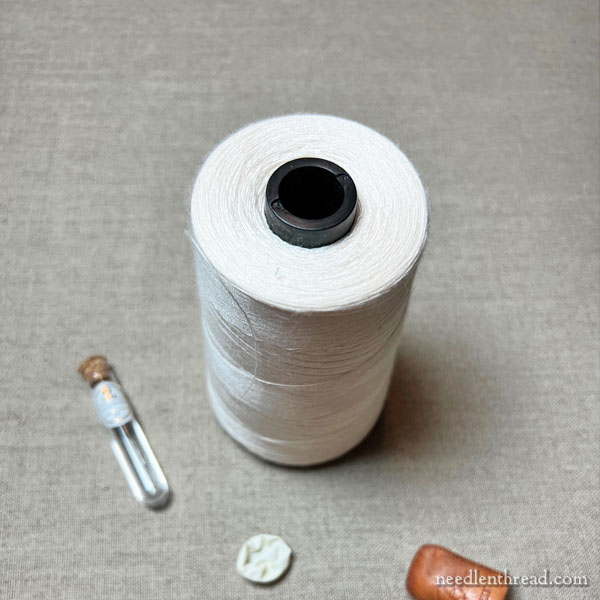
Finally, after using three other types of threads, out of the blue, I tried Coats Dual Duty All-Purpose Cotton Wrapped Poly Core thread, Tex 40, and I rejoiced. It was like being in thread heaven! Then I found it on a cone for a whole lot less than purchasing innumerable spools (through Wawak). I think one cone will probably do it for the entire rest of the quilt.
I’m bemoaning the fact that I didn’t discover it sooner, because I doubt the strength and longevity of some of the threads I was using.
In any case, big difference. And it even makes a difference in the stress on my hands while stitching. I’m simply not as uptight, using this thread.
These Needles!
The second thing I discovered was that all sharps and all betweens and all quilting needles are not made equal.
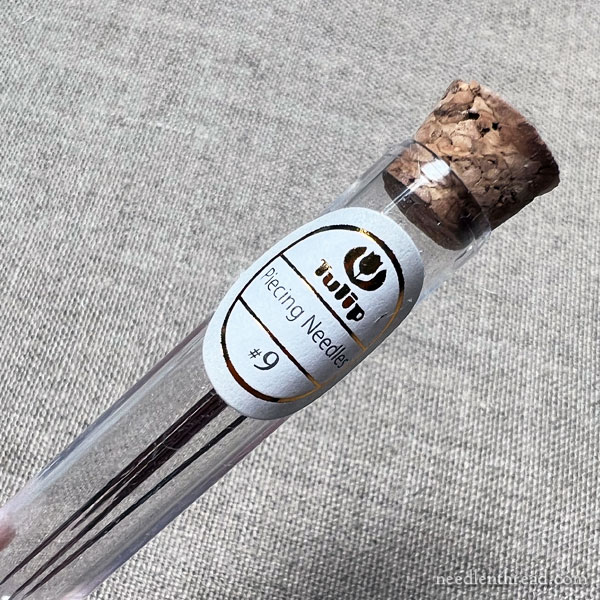
I finally bit the bullet and ordered #9 Tulip piecing needles. Whoa. Huge Difference. Much more comfortable. Much easier to stitch with. So smooth. So wonderful. So happy.
And so much easier on my hands.
I don’t know why, but there you have it.
Finger Cots
I discovered that finger cots are a huge help, when binge-piecing. I have a feeling I’ll be using them more frequently with embroidery, too.
Finger cots are little thin latex-like “gloves” that are made for individual fingers rather than the whole hand. You can buy them for pharmaceutical purposes, in the pharmacy or online.
They’re great if you have a cut on a finger and you need to keep the cut dry. You just cover your finger with one while you do dishes or take a shower.
But they also come in handy for sewing. They’re a good way to provide a little grip on your needle.
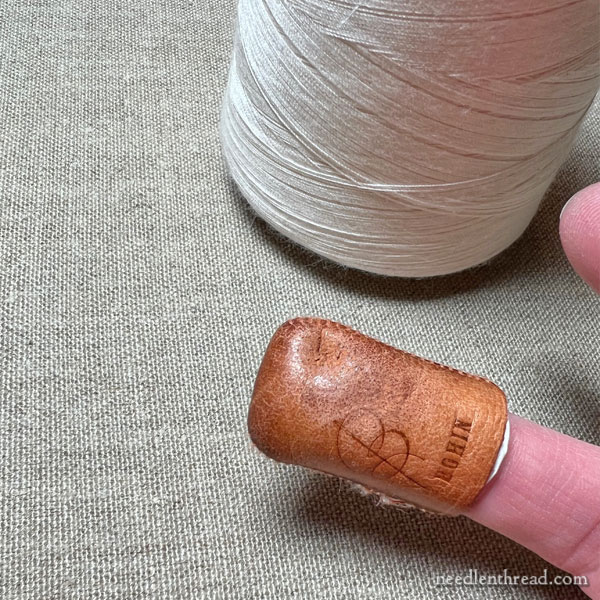
I cut them down a little bit so they aren’t long, and I wear one on my thimble finger, under my leather thimble, to keep it from shifting while I stitch. Especially in cold weather, thimbles can get loose, so the finger cot keeps it in place.
You can see the edge of the finger cot sticking out under my thimble there. (I cut the ring part of the finger cot off, and only use enough of it to fit right under the thimble.)
I also use part of a finger cot on my thumb on my right hand, to help grip the needle easily while I stitch. And wonder of wonder – it also helps prevent the little slit that I get on the side of my thumb, right next to my nail, from always grabbing the needle in the same spot. No more painful little slits! Hallelujah!
(Again, I cut the ring part off, so that the finger cot is just long enough to fit over my thumb knuckle. This keeps the cot from interfering with circulation, especially. You can also just cut a slit in the ring part of the finger cot, to keep it from being tight on the thumb.)
Other Thimble Notes
I use Bohin’s leather thimbles for this project. It’s the only time I really use a thimble. I’m pretty sure I couldn’t do this project without a thimble, and this particular thimble is the most comfortable and easy to manage thimble for me.
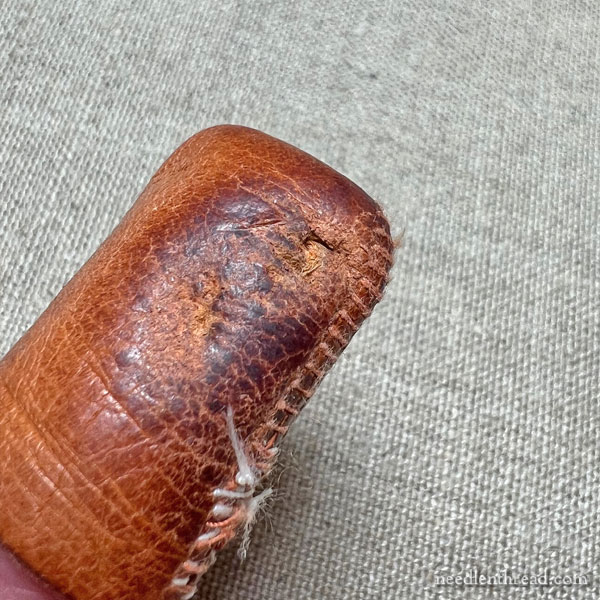
When you use a thimble, you generally end up hitting the same spot with the eye of the needle. After two years of regular use, the eye finally broke through the leather.
But it’s such a comfortable thimble, and I really didn’t want to buy another and break it in, so I just flipped it around and used the “front” side of the thimble on the inside of the finger. Works fine! I’ll use it until it doesn’t!
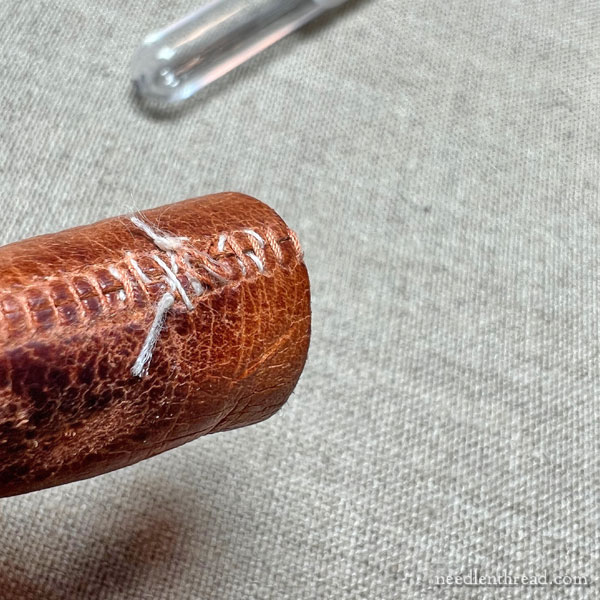
Also, the sides started to fray and pull apart. I sewed them up with waxed sewing thread. It seems (seams?) to be working just fine.
The moral: don’t give up on your favorite thimble too quickly if it starts wearing out!
And that’s where I am with this project. I would really like to finish it this year, but I don’t think that’s too likely. So far, I’ve put more time into it during the winter months. It sometimes gets side-lined in summer. It’s a great portable project, too – it was the perfect totable project when my mom was in the hospital the last couple months before she died. I worked on it a lot then! You don’t have to take huge swaths with you – just enough to sew a strip or two.
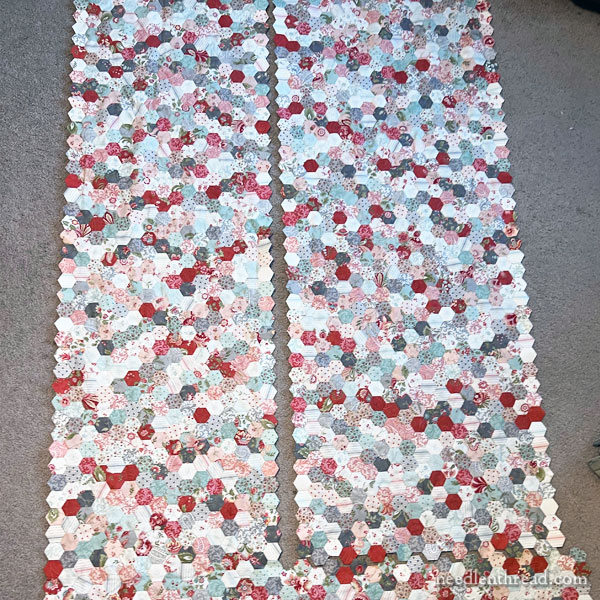
I still love the fabric and the project. I’m not kicking myself for having started it. I’m about 4 rows from half-way done, once I get the pieces shown in the photos above sewn together.
Will I move any faster now? I don’t know. But I am already thinking ahead to how the heck I’m going to actually finish it into a real quilt. That’s something I’ve never done. Hmmm….
Well, I probably have plenty of time to think about that!
