When it comes to embroidery stitches, there’s not a whole lot that’s new under the sun. Pretty much all embroidery stitches build off what’s come before. Embroidery has been around for a long, long time, after all, so there’s a lot that has come before.
Still, occasionally, I like to explore ideas for embroidery stitches that don’t necessarily exist in the wide, well-known deposit of embroidery stitch collections.
For example, I was contemplating edging stitches for finished items. It started with this pin cushion, which I edged in one of my favorite stitches – one that I’ve used numerous times to edge finished items.
I got to thinking that maybe I’d play around with some ideas for other methods of edging. And while there are loads of stitches out there that can be used for edging an item, I started putting together in my mind possibilities for variations and approaches that I’ve not tried.
This led me to daydreaming about the movements of different embroidery stitches and what would happen if I mixed up or altered the principle movements of already-tried stitches.
Whenever I start that kind of daydreaming, the next thing I know, I’ve gotten out a scrap of fabric, a hoop, some threads, and I’ve started playing around.
And then the morphing begins.
One idea leads to another. In the end, I haven’t actually resolved anything in particular as far as a single stitch is concerned, but I’ve planted the seeds for possibilities.
Would you like to come on a stitch-morphing journey with me?
Come on! I’ll show you how it goes!
I started here.
Using a full six strands of floss, I always work Big when I’m playing around like this. I want to be able to see clearly the movements of the stitch and how and why and wherefore, as far as the movements go. So no tiny delicate threads at this point! I just grab scrap thread and start playing.
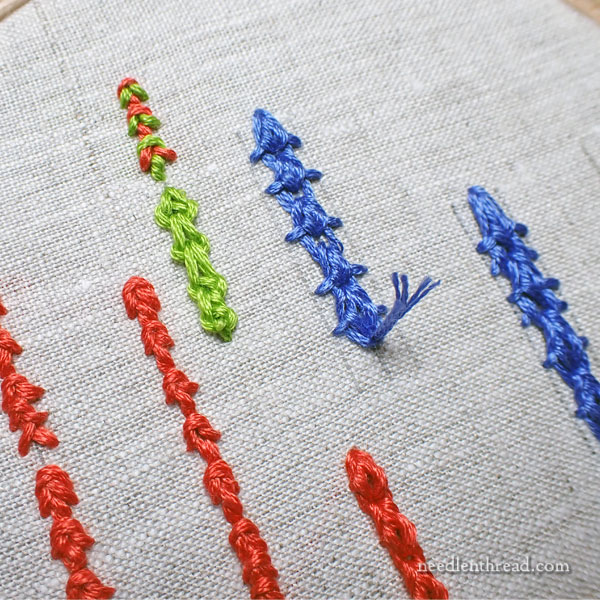
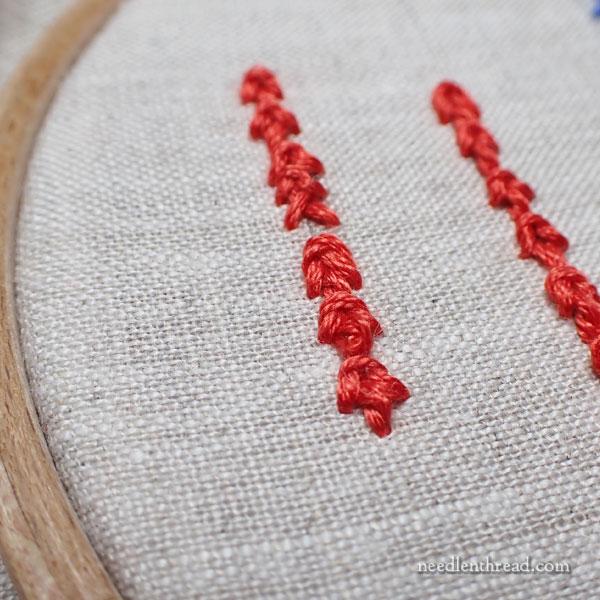
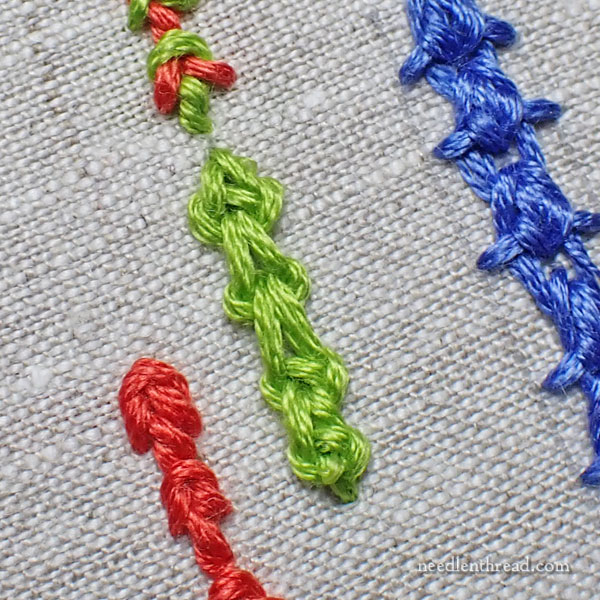
When I started, I had in mind that I wanted a stitch that branches to each side. If I’m playing with edging, I like the idea of a stitch that grips both sides of whatever is being edged, with a heavy line or braid or twist or something down the middle.
So with these blue stitches I just tried different movements of joining and looping and chaining and knotting over two “arms” that extend out from a middle.
That led me to this next line of stitches, wherein I switched up the way I looped the threads and passed them under the arms. I also shortened the side arms, to make the line a little more compact.
I kind of like the little twisty bits on this.

Towards the end of the line, I started working the stitches a little smaller and closer together, but then the whole line started looking muddled.
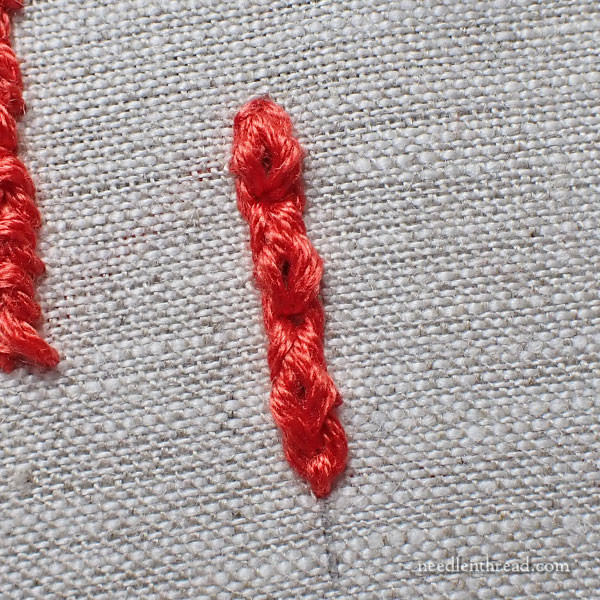
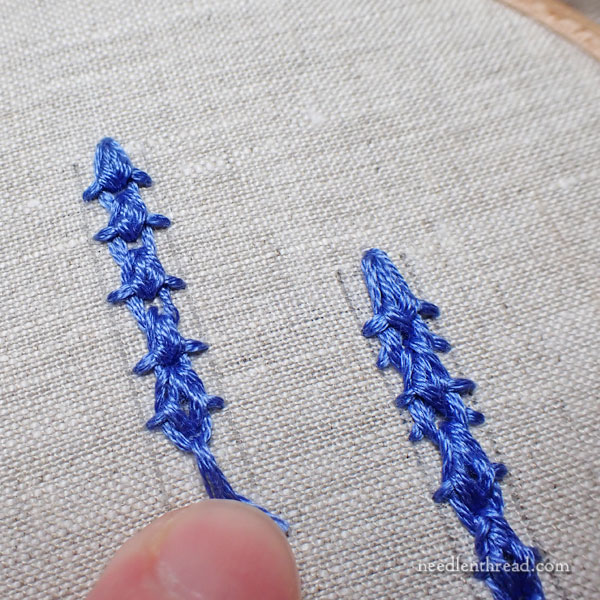
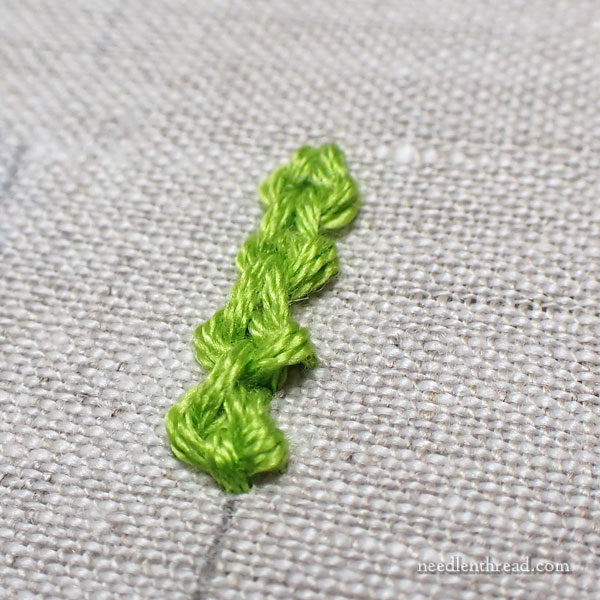
Then, I went back to the same format as the original blue stitches, but I reduced the length of the side arms so that they would not form visible “barbs.”
I kind of like this! It reminds me a little of the icing edge on a decorated cake.
(It’s always problematic when my embroidery starts reminding me of food. Especially cake. I like cake.)
I’m going to have to try this approach with a different thread, I think – like a perle cotton, with a little more twist to it, just to see how the difference in thread plays with the look of the stitch.
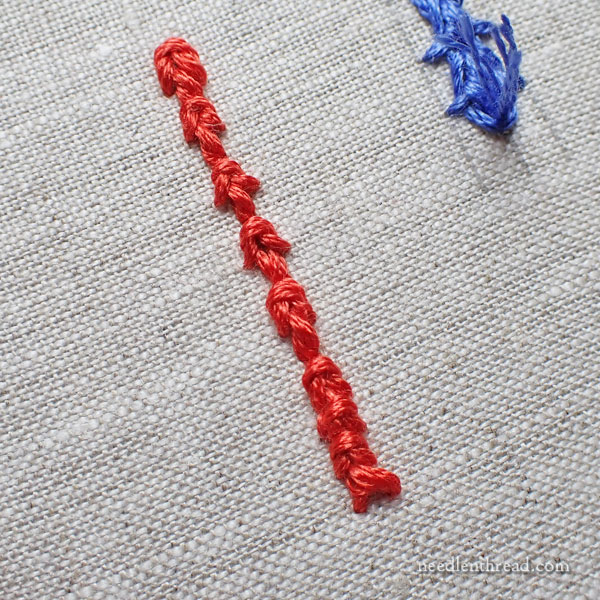
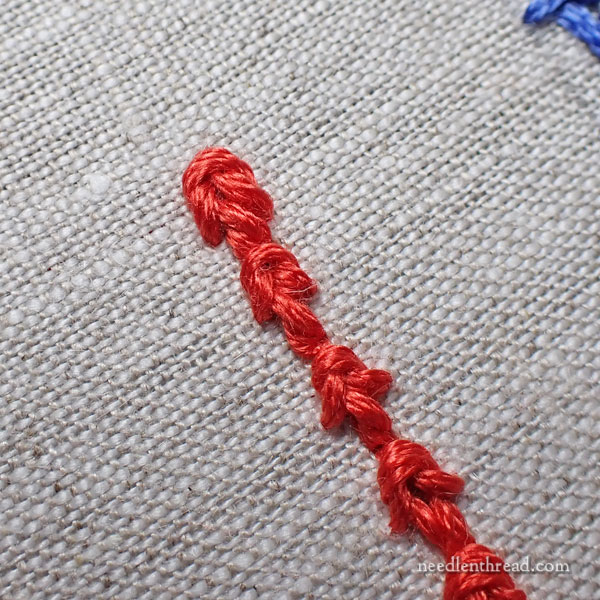
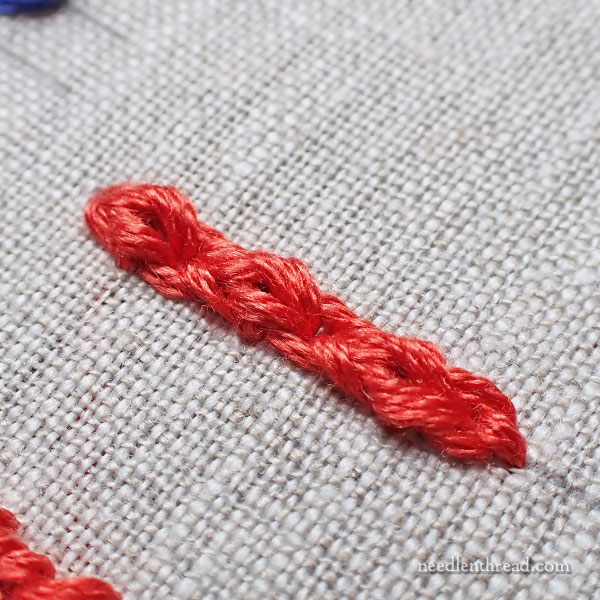
Then, I went back to the original red stitch line, and tried a slightly different approach by exaggerating some of the twisted elements.
Mmmmm… not quite doing it for me. There are aspects I like, but aspects I don’t. It looks better as an individual stitch, I think, rather than a line stitch. And I wonder if it already exists as an individual stitch? I may have seen this one somewhere before.
Anyway, while I was contemplating this one and exploring it, I wondered if it would be possible to start with a foundation of separate stitches, and then go back and work the twisty bits over the foundation lines.
And then I wondered if it would work as a two-colored stitch.
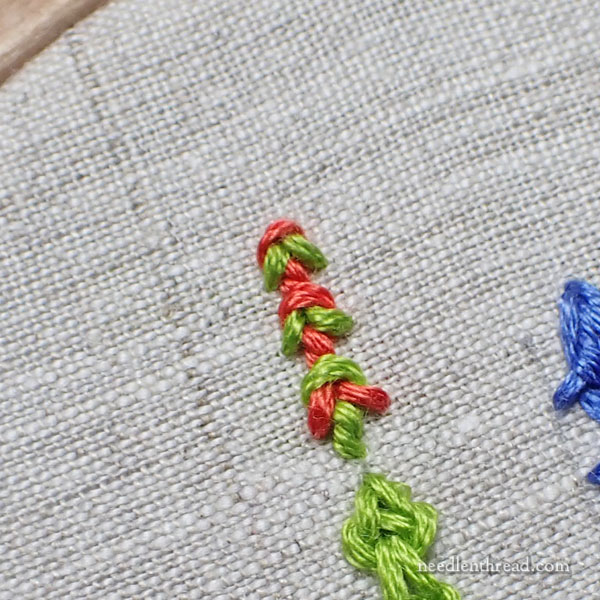
So I tried that, with the idea of a little line of buds in mind.
Meh. Not sure about that. But it is something I will explore a little farther. A different idea has morphed in my head, that I’ll need to try out.
But in the meantime, the dual-colored approach landed me with a different idea on the stitch altogether, which led to this:
…which reminds me of a cross between Spanish Knotted Feather Stitch (without the off-set feather) and Braid Stitch (cable plait stitch).
So I thought about that one. I don’t not like it.
I decided to try it again in isolation, with a variation. I think I like it. It’s also something I’ll explore further.
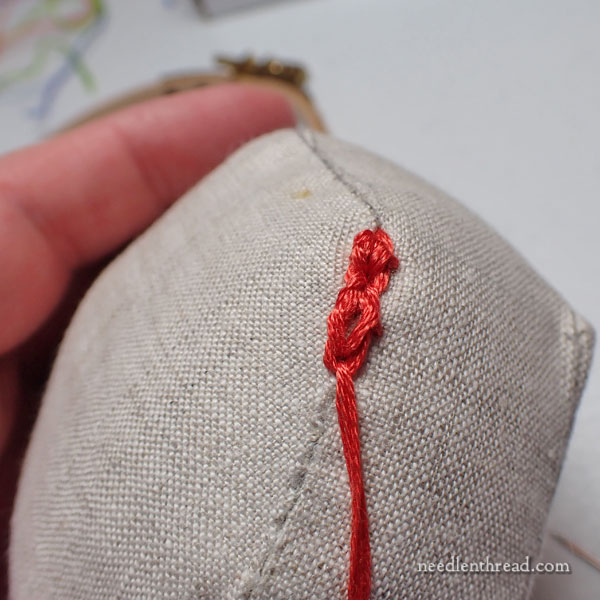
I decided to try my icing stitch on the edge of a form – the original form made up to test the pincushion construction – and I discovered a couple things.
One, I like the look, but two, it is a difficult stitch to work on an edge, because there’s so much back-and-forth movement on it.
I must explore further.
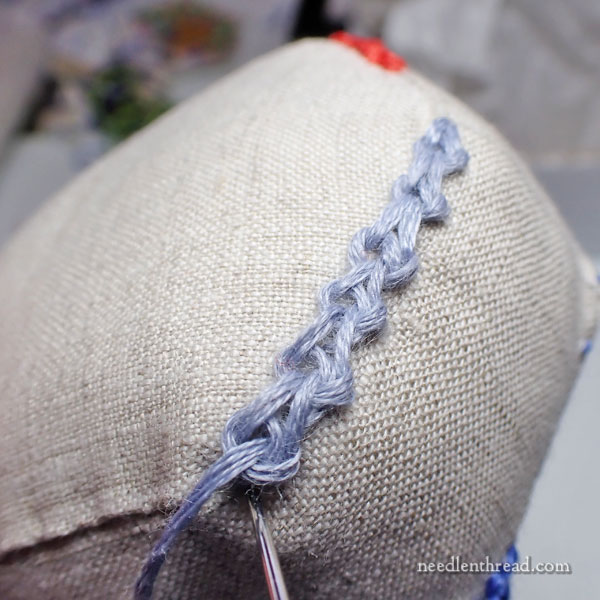
Then I tried the morphed-knotted-non-feathered-cable-plait-stitch thingy on an edge, using a Most Unfortunate Piece of scrappy thread. Despite the (s)crappy thread, I got a good idea of what it would look like on an edge.
I like it somewhat. It deserves more exploration, too.
So that’s how I explore stitches. Ideas just morph from one to another. I will go back now and try out variations with different threads, and see what I can work up.
If something comes about that I find particular useful or fun to stitch, I’ll work out step-by-step instructions and share them with you. Then, we can put our collective brains together to see if it’s been done before and has a name. If it doesn’t, we can name it and add it to the general repertoire.
Fun stuff!
