On Wednesday, I presented this stitch challenge to you, for the Trilby Stitch as illustrated in Embroidery Stitches by Mary Wilkinson, published in 1912.
Today, we’re going to look at it a little more closely.
I’m also going to put my neck out and probably say a few things that will shock and scandalize you. Brace yourselves!

When studying Mary Wilkinson’s instructions and illustrations for what she calls “Trilby Stitch,” we can probably all agree that the outcome we expect should be similar to what you see in the photo above.
Impressive outcome? Trust me – it’s not what you think!
Let’s work through it together and talk about it as we go. I’ll share my thoughts, more or less, as I was playing around with the stitch.
(Ok, I might not share all my thoughts, because some might not be worthy of repetition among sooooch refined company…if you get my drift. If you tried the stitch, you probably get my drift.)
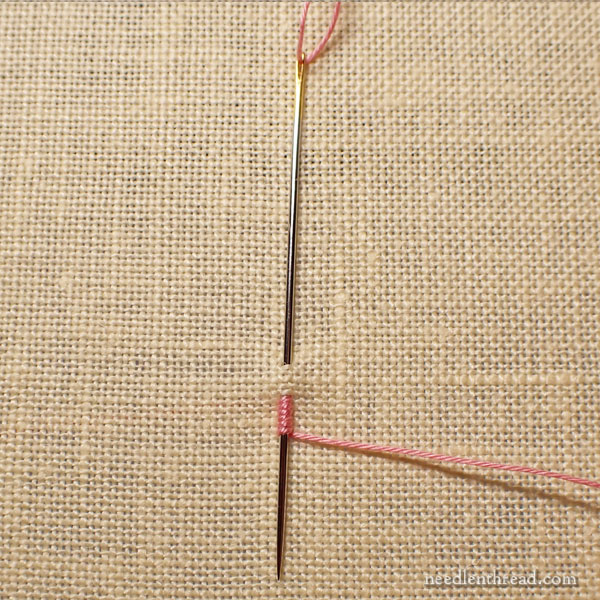
I’m working with a milliner needle, coton a broder #25 in pink, on a delectable yellow linen that I’m actually working a completely different sampler on at the moment, but I scooted over on the sampler to take these photos.
Starting off with the initial diagram and reading her instructions, my first configuration looks like the set up for a typical bullion knot.
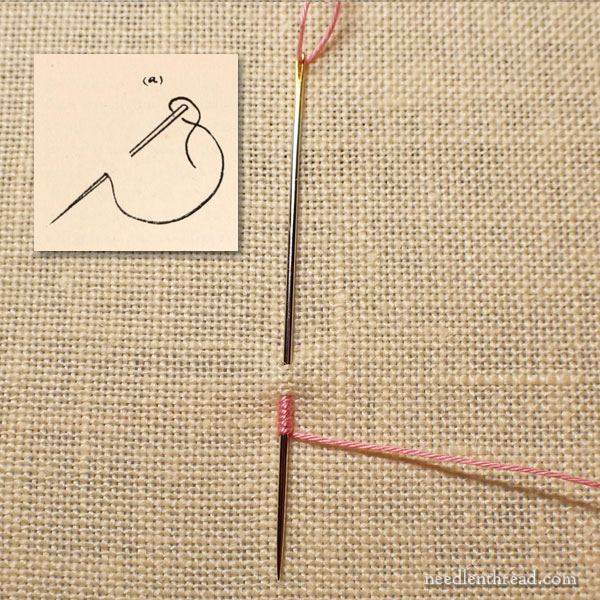
She says: “Insert the needle as for French knots.
Meh – my needle is already wrapped when I insert for French knots. She sets her French knot up like a very small bullion knot. I didn’t catch this the first time I wrote about her French knot illustration, but when I started going through all the steps very carefully, I caught it and I corrected my article from Wednesday where I mentioned it. Her illustration for the French knot shows the set up for what we know as a bullion knot, albeit a very small one.
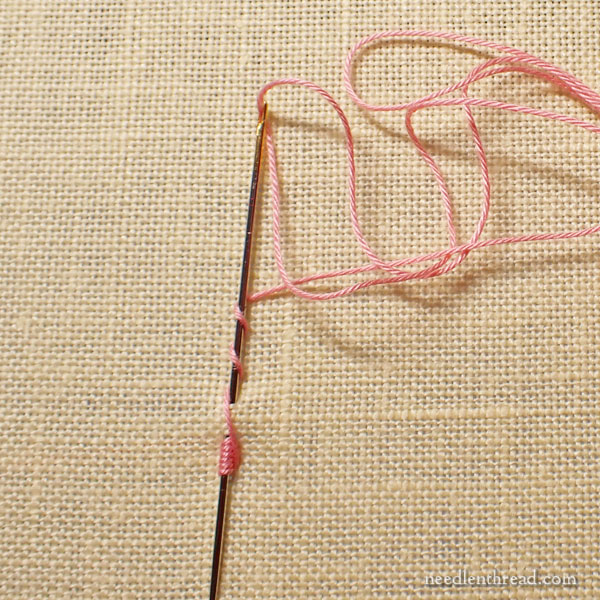
Then she says: “Wind the thread six times round the point of the needle…”
And so I did, and that’s where we are, above.
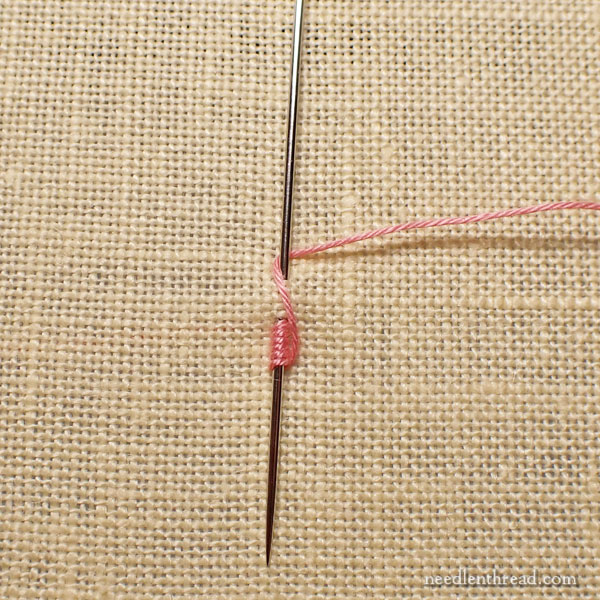
Then she says: “…then six times round the head…”
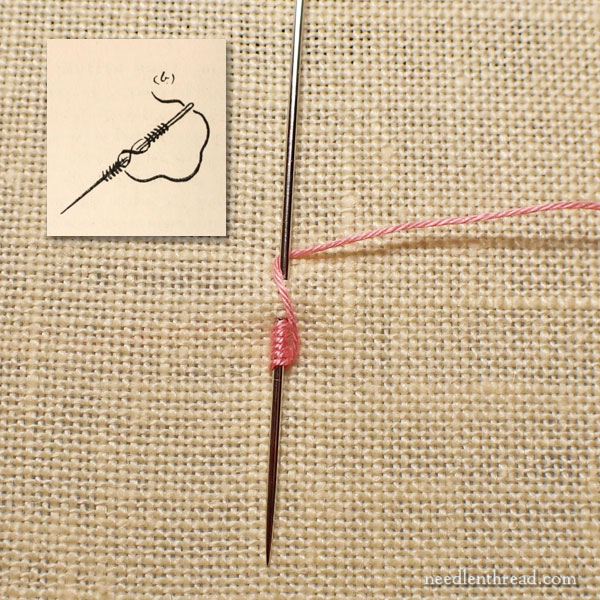
And to get to the head, we understand that there’s this wrapped cross over, because it’s in the illustration.
What she doesn’t mention is that wrapping the thread six times around the head of the needle would be a heck of a lot easier if I unthread the stupid needle.
(Did I just say “stupid needle”?)
At this point, my in-head commentary starts slipping into statements like, “This would be a heck of a lot easier if I unthread the stupid needle. Grumble. Grumble. Grumble.”
I know the needle is not stupid.
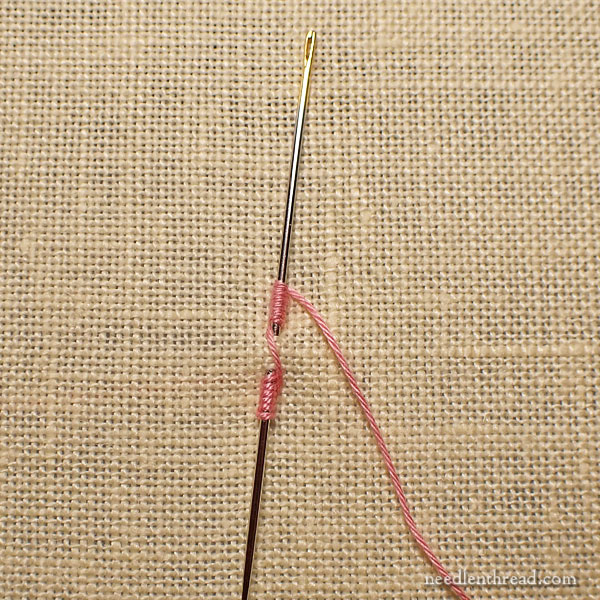
Ah. Isn’t that much nice-and-neater?
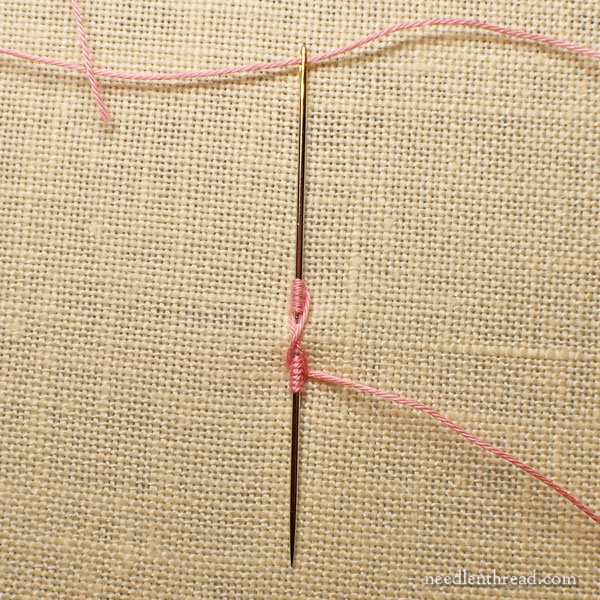
And now, she says: …then once round the point again.”
And so I did, and I rethreaded the needle.
There are no more illustrations of progress at this point. There are simply three illustrations of what we assume she means to be the outcome of the stitch.
She says: “Hold the stitches firmly with the thumb…”
Which is pretty much what you do with a bullion knot as you pull through, so I did that.
She continues: “…and draw the needle through.”
And so I did.
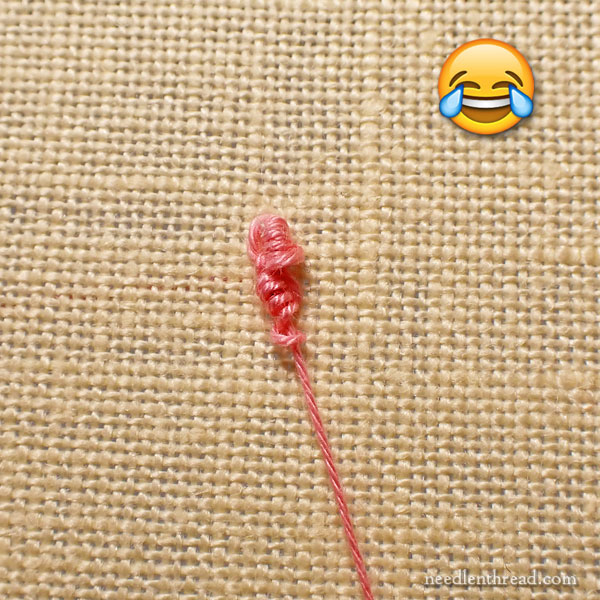
Well, dang! That doesn’t look like the illustration!
(I didn’t really expect it to.)
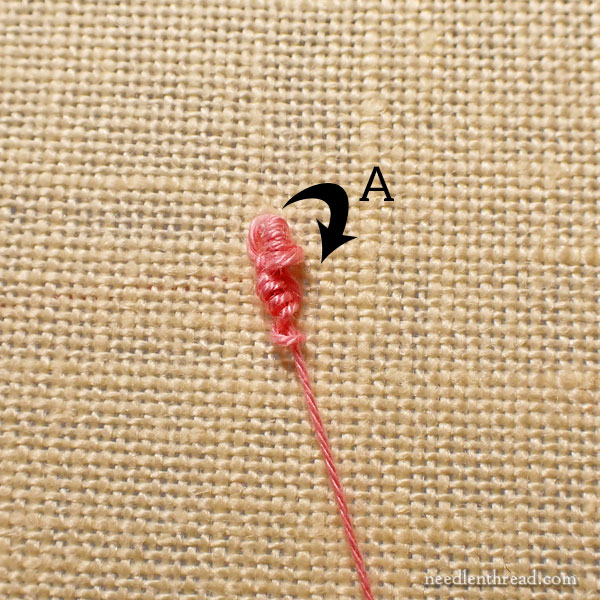
Logically – and especially if we have had experience with bullions, drizzle stitch, cast-on stitch, double cast-on stitch, and the like – we know that, when we pull that thread through, the top “head” (we’ll call it “A”) has to go down in the direction of pulling. There is no choice in that matter, for that part of the stitch.
You cannot pull the thread through that configuration, and expect the top section of windings to stay in the same vertical, upright position. It has to pull down, if you are pulling in the direction that the needle is pointing.
And what other direction would you pull in? You have to get the needle out of the fabric, and that’s the direction you have to go.
Now, let’s pause and consider more of Wilkinson’s words:
“…two opposite clusters of knots…”
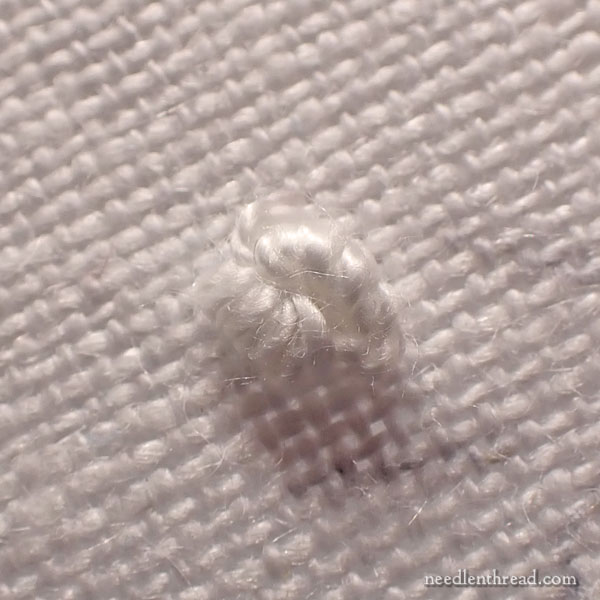
(That’s pearl cotton #5 – it was the best turn out that I had.)
I was able to work this stitch and get a cluster of two knots. Would I call them “two opposite clusters” of knots? Well, not really. It’s a snuggly little cozy cluster of two knots.
And what happened to the “plaited thread in between”?
It ends up behind the knots. If you’re using this configuration to make a cluster of two bullion knots, the only reason the plait would be there is because you have to pass the thread somehow from the lower section of the needle to the upper section of the needle in a way that allows the thread to sensibly hold on while you’re pulling through.
In the end, it’s not really visible.
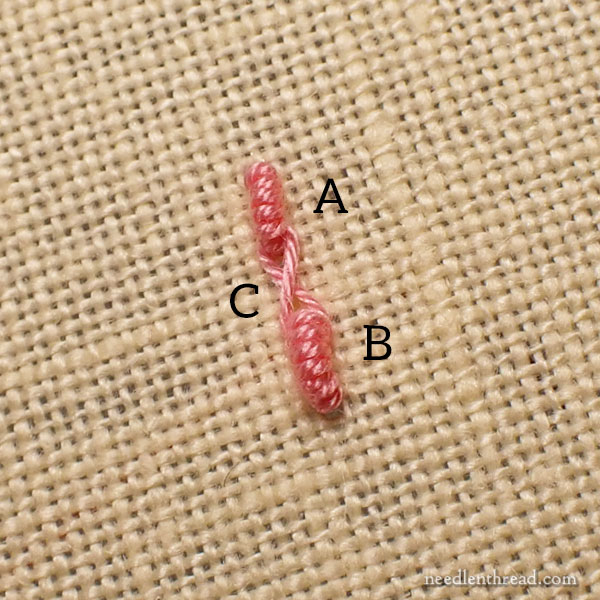
But then, what is this?
This is two separately-worked bullion knots, with a thread wrapped between the two in a figure 8. It took me … 15 seconds? and zero frustration!
If I wanted the configuration of the stitch as it’s illustrated in Wilkinson’s book, that’s how I’d achieve this configuration.
But that elicits the question – the One Question that I think is the Greatest Question we ever ask ourselves:
Why?
A few of you wrote in and asked what a stitch that looks like this can be used for. Why, in other words, would you stitch it?
If you place the bullions far enough apart (say, the width of a quarter-inch ribbon), and you have that figure 8 between them, you could use it for securing a ribbon that you might run behind it. You could work them in a sequence or band, resulting in a decoration of bullion knots along the edges of the ribbon, with a criss-cross over the ribbon.
I didn’t have time to work that out. But it would work.
I guess you could work the joined stitches in isolation for a decorative something-or-other. You could probably zig-zag a line of them for a decorative line of stitching.
But… would you construct them as she describes and illustrates? I don’t think so. It would be way inefficient, but more obviously… it wouldn’t actually work!
Words
If you consider these words in her written instructions: “The result is two opposite clusters of knots…” you can get that result with the stitch, but they don’t look like the tidy bullion knots vertically aligned opposite each other. Instead, they look like two knots clustered together.
If I were wording that, for clarity, I wouldn’t say that they are “two opposite clusters of knots.” I would say “a cluster of two knots.”
And that elicits the Great Question again:
Why? You can stitch two bullion knots clustered together in a cozy configuration like the white one shown above by stitching two separate bullion knots clustered together in a cozy configuration.
Final Thoughts
I think, as written and illustrated, this stitch might be bunkum. I could be wrong! You’re most welcome to prove me so!
I don’t know if the author ever worked it out herself, or if the configuration just looked good to her, or if she learned of it from someone else and maybe wrote it down incorrectly, or just drew some conclusions about it… who knows.
But I do know this: If you want the outcome that’s illustrated, it’s just much easier to stitch two bullions and join them with a figure 8.
If you want two cozily clustered opposing knots, they, too, are easier to stitch as single bullions.
This is what I’d call a Stitch Glitch!
Just my take!
How’d you make out? Were you successful? Can you post pictures somewhere of your progress with results and share a link? Or perhaps drop me a line with photos? If you managed to successfully follow her instructions and illustrations and come out with the illustrated result, I’d love to see how you did it and the results!
And now, I’m off to work on that sampler I mentioned above… Oh, the things I have to show you!
Have a wonderful weekend!
