I’m still plugging away on this reticello sampler that I started several weeks ago. It’s not a formal piece of embroidery by a long shot – I’m just testing techniques, ideas, and the like – which is the exact purpose of a sampler.

As I mentioned when we first started discussing this exploratory project, I’m using a variety of colors of coton a broder 25, because that’s what I have.
Many of the books and online instructional material on reticello that I’ve come across recommend DMC special dentelles 80, which is a thread used commonly for tatting and lace making. It’s not readily available in the US, unfortunately. I’m putting out feelers. If you have any source information, I’m all ears! Drop me a line!
Anyway, at the moment, I’m plugging away with coton a broder 25, even though it is a bit heavy for some of the techniques on this particular linen, which is about a 37 count linen.
The window in the photo above is probably my favorite so far, because I took the time (and man oh man, does it take time!) to play with a different technique for snipping the removed threads.
The time invested, though, pays off in a very clean edge where the fabric threads are cut away.
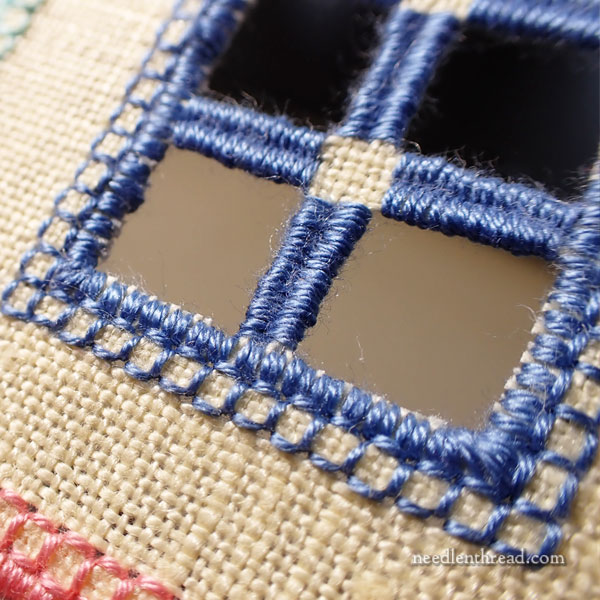
If you look at the edge of the blue window in the photo above, you can see the more obvious and jagged remains of the snipped threads.
On the blue window, I simply cut the whole swath of threads that were to be removed, cutting them as close to the overcast (satin stitched) edge as possible.
Of course, with colored threads that present a high contrast to the ground fabric, it is much easier to see the edges of the cut threads when you do it this way, which is more or less the traditional and more common way of cutwork – you cut as close as possible to the covered edge along the open area.
Usually, this type of needlework is done with threads that are the same – or very close to the same – color and tone as the ground fabric. Sometimes, you’ll see ecru on white or white on ecru, but colored adventures are a newer thing, and when color comes into play, you get more contrast, and so you see the cut ends more prominently.
Another point: keep in mind, you’re viewing this very (very!) close up. If you were to step back and see the work with the naked eye, you wouldn’t get the details with this much clarity.
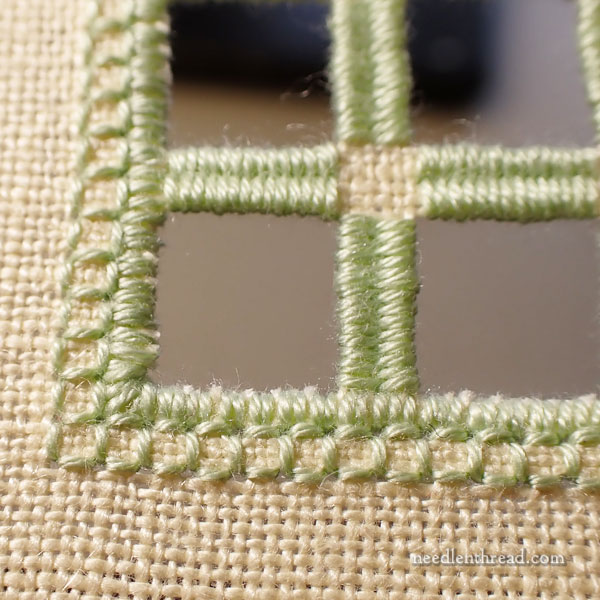
In the photo above, the pale green is very similar to the yellow linen in tone, so the cut ends don’t show up quite as much.

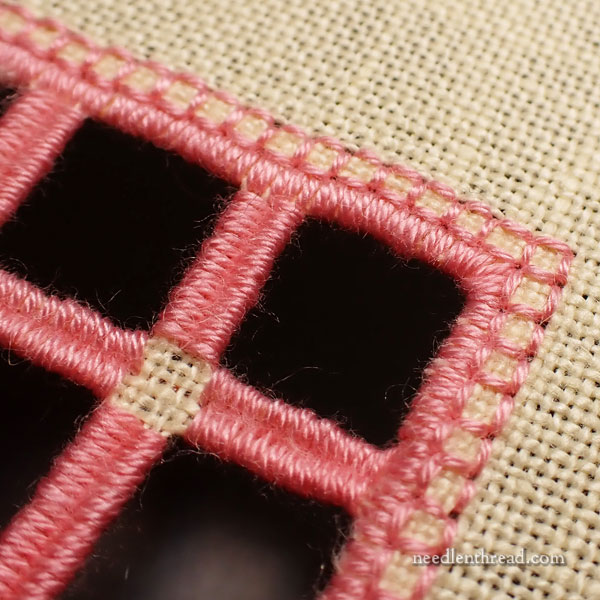
But whoa! On this one…! The cut ends look pretty jagged and noticeable.
This entire window is a lovely series of little mistakes all bunched up in a 3/4″ square. But it’s salvageable. I can use it.
Despite the time involved in preparing this window, there is something very satisfactory about that clean edge, isn’t there?
It took about 10 times longer to prepare this particular window. Is the resulting clean edge payoff worth it? I think it might be!
I’ll show you the method I used in a separate tutorial down the road.
There are several methods for removing threads for reticello and other similar types of needlework. Each of them is legit – you can’t really say “this is the only right way.” If you look at old linens, or if you look at the work of masters in the techniques today, you’ll see different approaches and each one works.
You just have to decide where you want to put your time, if you’re doing a lot of “window work” with this type of embroidery.
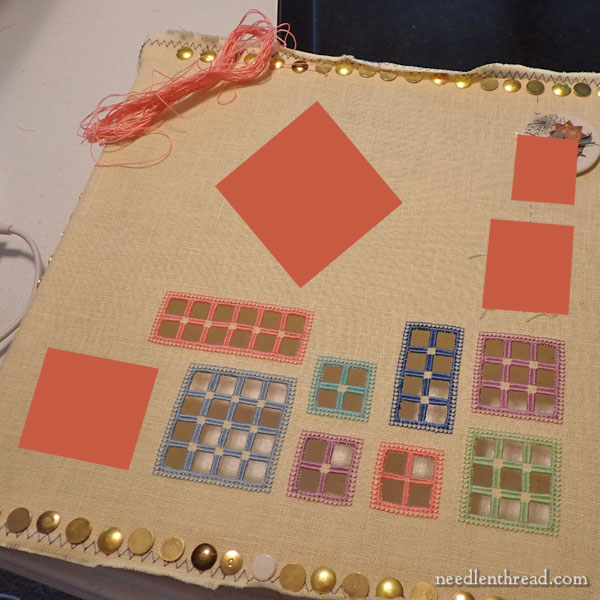
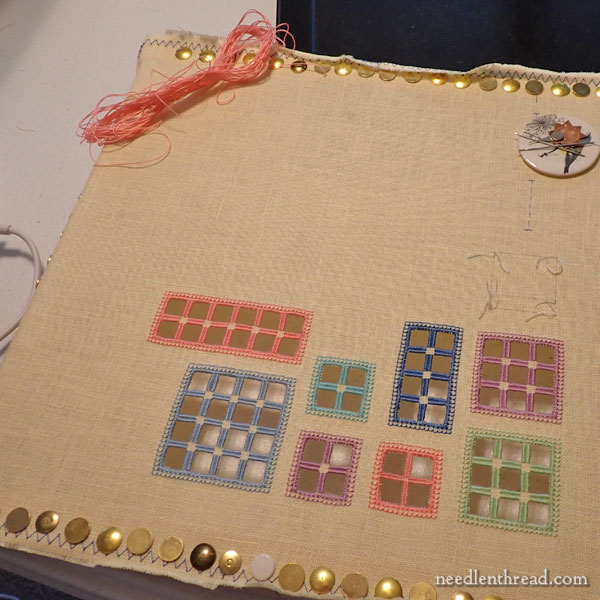
Thinking ahead, I’m planning a few more windows, as illustrated by the coral colored boxes in the photo above. And I might even be able to squeeze in some smaller strips here and there, as well.
My whole point is to create a bunch of windows in which I can try out various types of needlelace fillings used in reticello. As eager as I am to get to the needle lace part, I think it makes more sense to establish a “playground” that I can move around in freely to try out different fillings.
So that’s my plan so far. It isn’t a formal plan. It is open to change. I’m sure enjoying it, and I can’t wait to share more with you, especially in terms of tips and troubleshooting as I go along.
Next time we visit the project, I’ll share tips on two or three different methods of thread removal for this type of work, and then I’ll keep you abreast of further developments as I continue to dabble.
Coming Up
On Friday of this week…. Friday!… we will start the first installment of Cotton Quartet, getting the preliminaries underway.
We are already working on more kits, never fear!
We’ve also been ordering in a bunch of swatches for fabric for a Massive project (a commission) that will be developing in the studio over the next year (or more). This is something I’ll share with you once we the solid pieces coming together. Right now, everything is in the designing and planning stages, exploring supply options, and whatnot, but I plan to blog about the project in detail, so that you can pick up tips and techniques and see how large projects develop from start to finish.
Hope your week is off to a grand start! See you Wednesday with some newsy bits!
