Oh, jolly day! Two big events: we’re starting the final Stitch Snippet stitch along for 2022 today, and…
I’m writing my first blog article from my new studio space. Very exciting, on both accounts!
Next week, I’ll show you where we are with the studio space. For now, suffice it to say that we are completely in the new space, but we still have a lot of work to do to get entirely settled.
Today, we’re going to launch straight into this year’s final Stitch Snippet – a Christmas Tree Ornament. We’ll talk about embroidering the kit, including things I did differently that you might (or might not) want to do if you’re stitching the same project. Any 4″ embroidery design will work for this particular project, and you can apply all the finishing concepts to any size (or shape) flat ornament.
I’ll also tell you where to find the kit if you’re not in the US. Or, if you already have the kit and you don’t have my extra finishing kit, I’ll share information on extra materials that I used.
Shall we begin? Oh yes, let’s!
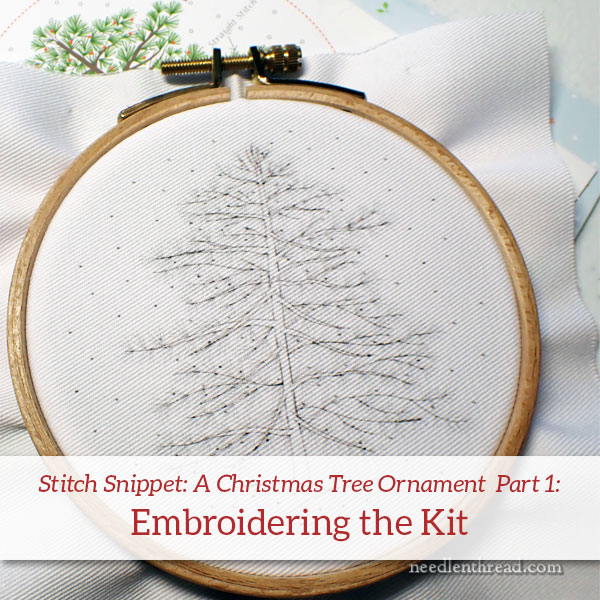
The kit that we’re embroidering for this Stitch Snippet is designed and produced by Tamar Nahir-Yanai, an embroidery designer and artist located in Israel. Tamar’s kits are available through her website, and also here on Needle ‘n Thread. If you don’t live in the US, you can order directly from her website.
We are embroidering the 4″ Christmas Tree kit, but any of Tamar’s 4″ seasonal kits will make perfect tree ornaments. Once we make the Christmas Tree ornament, you can branch out (!) to other kits, too, and make a variety of ornaments using the easy methods that I’ll show you as we finish our ornament.
I’ve added a few of my own touches to the embroidery part of the kit. The choice is yours, though – you can stitch the kit exactly as it is written, and it will be absolutely darling. Or you can make some adjustments similar to mine, or you can drum up your own variations.
When you purchase a kit, you are never obliged to follow the kit exactly as written. There’s nothing at all wrong with adding your own touches or your own spin on a purchased embroidery kit. You just have to be aware that the outcome will be different. But that’s ok!
So, to begin, a 4″ hoop fits this project just right. When you mount your fabric in the hoop, keep the screw at the top of the design (it keeps it out of the way of your threads while stitching). Try to center the design exactly in the hoop, and make sure that the fabric is drum-taut.
I’ve noticed that this fabric tends to retain hoop marks, even after damp-stretching, so it is best to make sure from the start that your embroidery is centered as best as possible. When we finish the ornament, the finishing will hide any hoop marks that may remain in the fabric, though, so don’t fret too much if it’s off just a fraction.
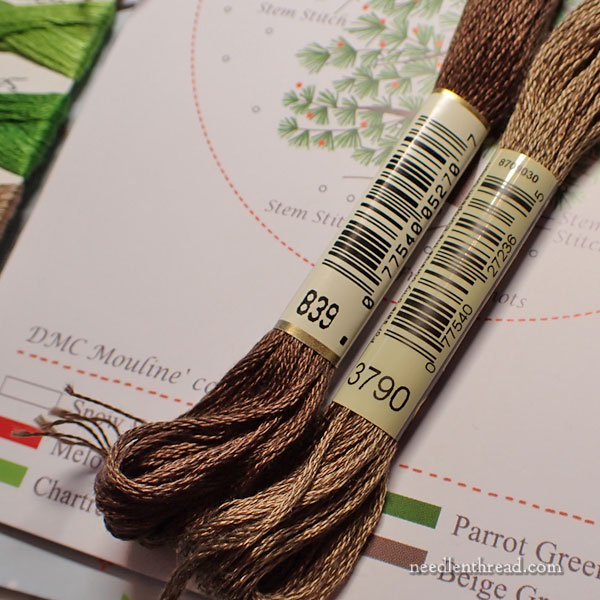
I decided to add a second shade of brown to my tree trunk and branches, using DMC 839. If you purchased the extra finishing kit from me, you will have enough of this color to incorporate it throughout the trunk and branches of the tree, too.
As Tamar instructed, I used stem stitch for the trunk and the branches, but I used one strand of DMC (from the six) to work the embroidery.
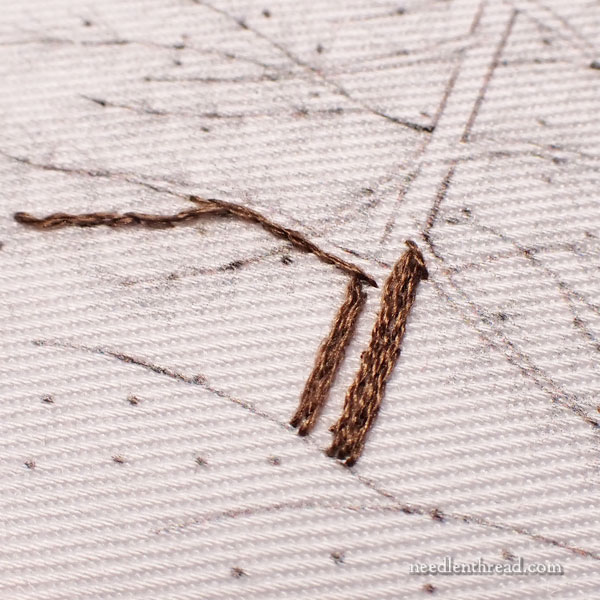
I began working from the bottom of the trunk upwards, stopping at each branch along the way to stitch the branch. Most of the trunk is worked in 839, but I added lines here and there of the lighter brown that came with the kit.
The tops of all the branches have a layer of anywhere from 1 – 3 rows of the lighter brown that came with the kit. Below this, the rest of the branch is filled with the darker 839.
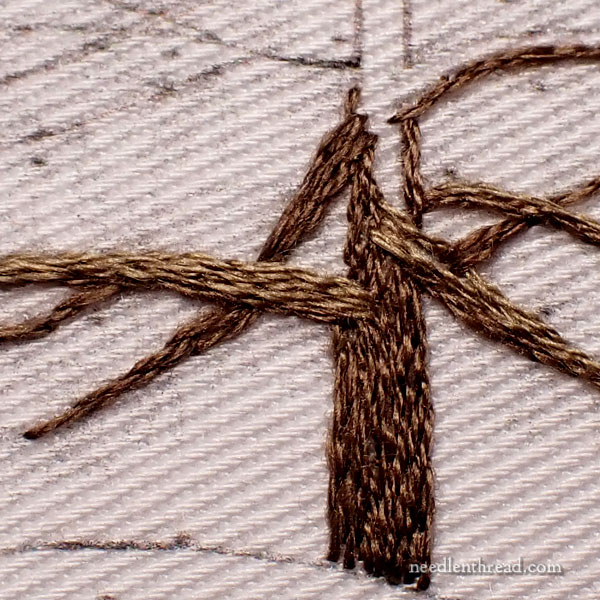
Where the branches come into contact with the trunk, I sometimes worked the branches so that they started relatively deep within the trunk, instead of sticking straight out from the sides of the trunk.
You can see that Tamar does the same on her tree, when you look at the finished photo of the design on the kit cover.
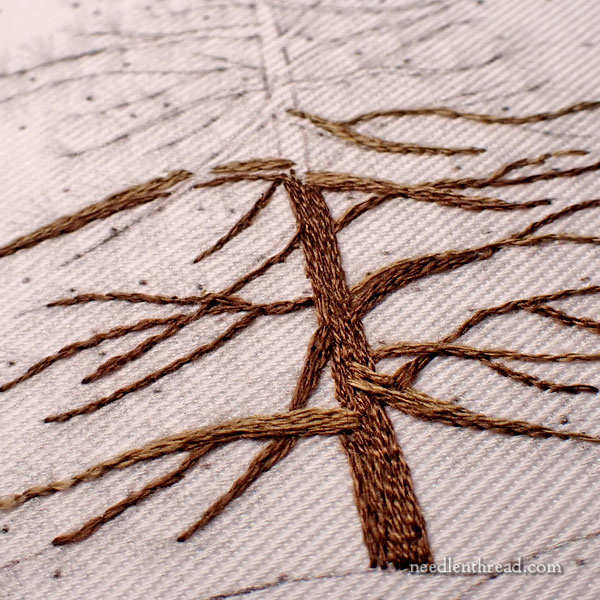
Sometimes, I’d work branches and then go back and finish the trunk around the branches.
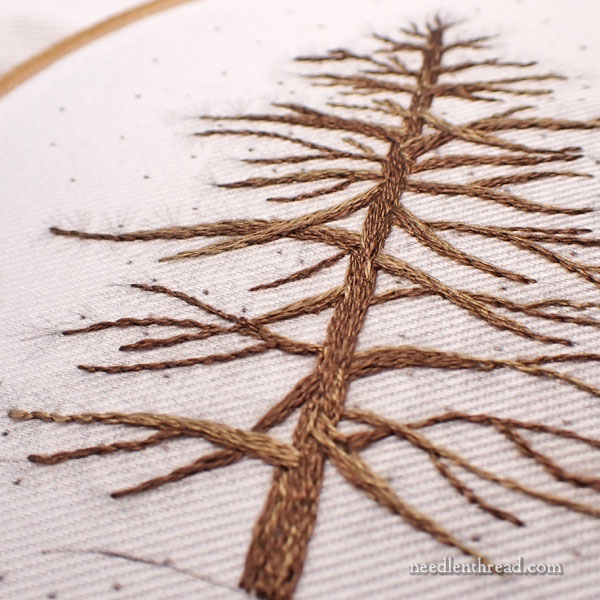
Wherever a branch intersects the trunk from within the trunk area, I added a small vertical lighter brown stitch or two near the intersection to highlight it.
I also added random lighter brown long stitches vertically down the trunk, just to work more the light brown in and to give the trunk a little woody variation.
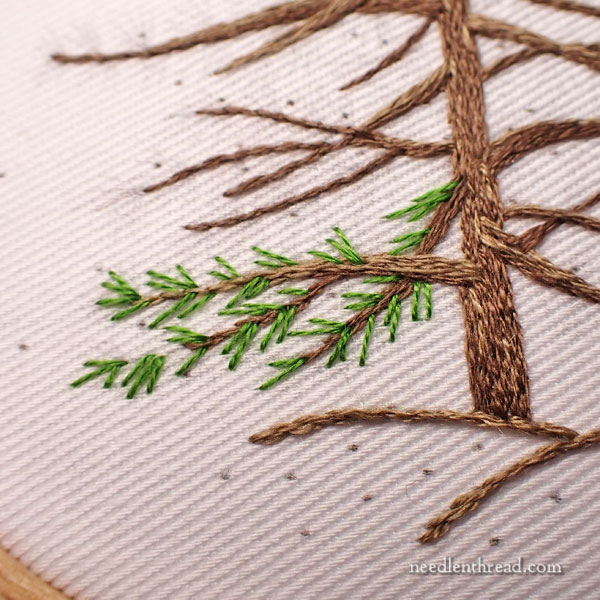
When the trunk and branches were finished, working from the bottom up, I began adding dark green needles using the photo and diagram in the kit to help with placement and orientation.
I worked first with the dark green, making sure there were anywhere from one to three dark green needles where every cluster of green would be.
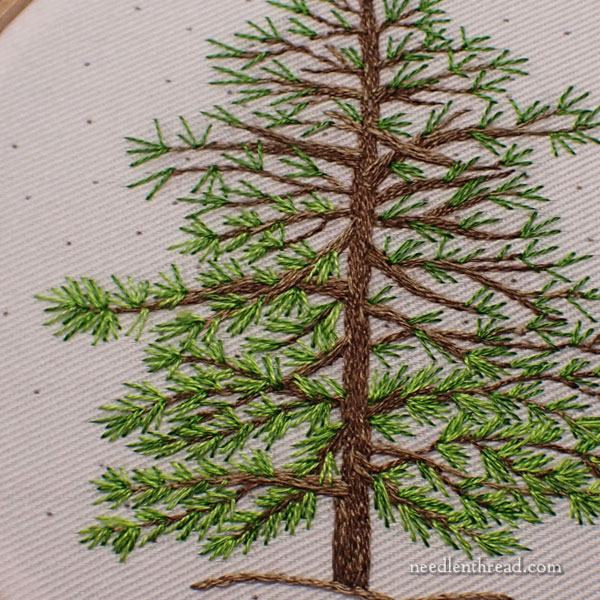
Then, I went back and filled around the dark green needles with the lighter green needles.
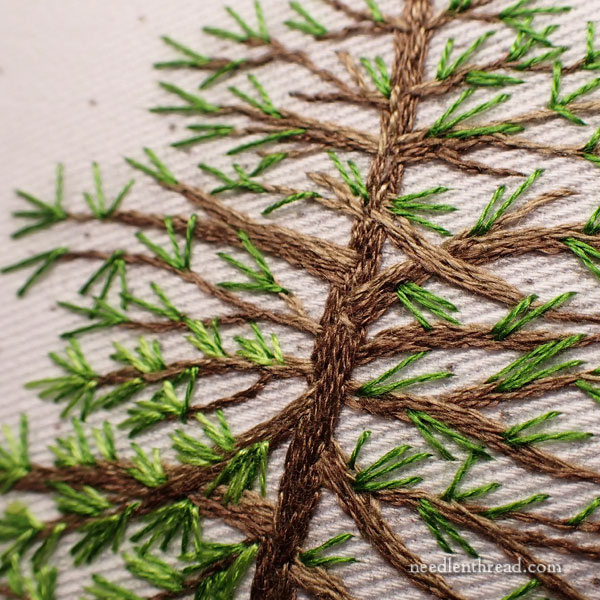
When stitching the clusters of needles, stitch some of the clusters on top of the branches. Try not to stitch all of them as if they are coming straight out the side of each branch. This will give more depth and dimension to your tree.
You might not always see exactly where to put clusters, but if you refer to the drawn design in the kit, you will have a good idea of the layout. You don’t have to go exactly by the kit drawing or the design on the fabric – just make sure that you cover all visible lines on the fabric while you’re stitching.
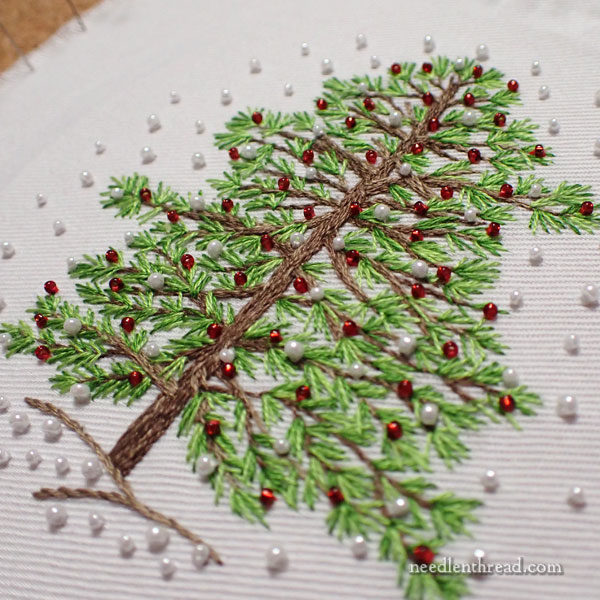
Once the greenery is finished, it’s time to add the snowflakes and the red accents on the tree.
Since I planned to make an ornament from this, I decided to work with beads here rather than French knots. I thought this would be a good way to incorporate a little sparkle. But you can do either! It will look great either way!
For the red beads, I used Miyuki 15/0 round seed beads. The color is 0011, a dark red, silver-lined transparent bead.
For the white beads, I used Miyuki round 11/0 and 15/0 seed beads. The color number is 0420, opaque white luster. The two sizes (they are mixed in the bead bag in the finishing kit) should be stitched on randomly, so that they convey the idea of snowflakes falling.
Sewing on the Beads
To sew on the beads, use the fine beading needle provided in the finishing kit. This is a #10 short beading needle.
Use the floss provided in the embroidery kit: one strand of white for the white beads, one strand of red for the red beads.
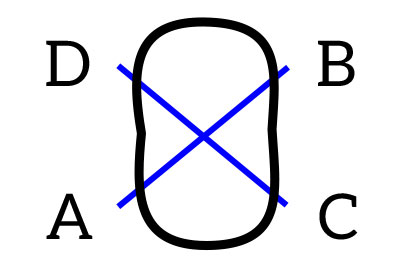
If possible, sew the beads on in the configuration in the diagram above – trying to make a tiny “x” that crosses inside the bead. This will help secure the bead to the fabric better, and it will help it maintain its situation. It is less likely to turn to its side if it’s sewn on with an “x” configuration.
The beads should sit upright, like a tire.
Coming Up: Finishing Next!
Next installment, we’ll start the finishing process.
This whole project will transpire in a short three lessons, so you’ll have your embroidered ornament ready to hang well before Christmas arrives! And you’ll even have time to make more…!
Members on Patreon can look for the PDF for the entire ornament – finishing and all – with the next installment next week. I’m combining all the lessons into one downloadable and printable PDF, so that you can whip up your ornament in no time. I’ll have that out for you next week! Look for it then!
The Kit
More kits are on the way, and we will be preparing more finishing kits to go with them. They’ll arrive some time after Thanksgiving – between Thanksgiving and Christmas – so if you’re in the market for the kits and the finishing kits, keep an eye out for them!
I still have several other 4″ holiday-related kits available in my shop, too, if you want to pick some of those up for gifts or for ornament stitching. I think you’ll find these kits fun to stitch, quite relaxing, and perfect for whiling away the early darkness and chilly evenings this time of year!


