I’m still surrounded by a bit of mayhem, but we are slowly getting organized and established in our new studio space.
Fortunately for me, Anna is the Queen of Organization – she keeps everything in check when I start unraveling project materials all over the place. And she has done a great job making sense of the new space and getting things set up for reasonable and efficient work flow.
But we aren’t there yet!
Last week, I developed a new skill set. I think I could officially be an IKEA furniture assembler for hire… if I liked assembling furniture. Which I don’t! But we did manage a good day’s work, setting our main organizational area for our workroom.
Today, I’ll tell you what we did and why we did it.
First, we went to IKEA, where we picked up a pre-ordered selection of furniture in pieces.
IKEA is some 100 miles away, so we also took advantage of the trip to visit other places (like Home Goods and TJ Maxx) to find some organizational bins and the like.
There are several aspects of IKEA furniture that I like for this type of situation. The various modules can be combined to create pretty much any type of organizational layout that you’d want.
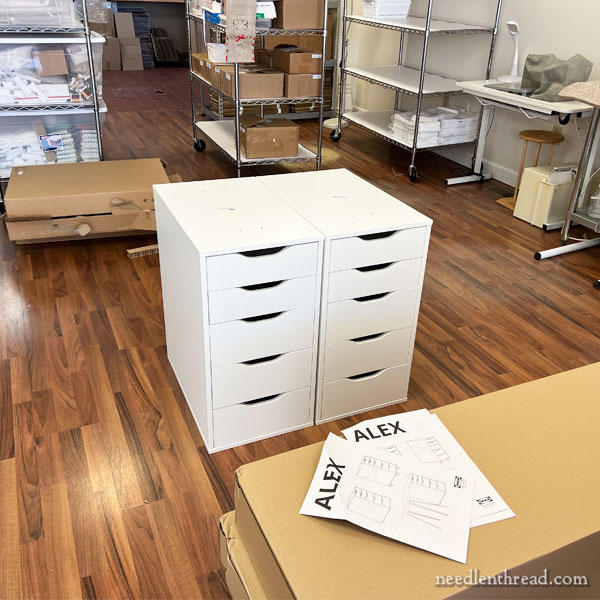
We began early in the morning last Friday putting together drawer cabinets.
For the workspace, we have four of the units in the photo above to provide drawers for tools, supplies, small projects in progress, designs, drawing materials, you name it.
That’s TWENTY drawers. I feel space-rich!
By the end of the day, we had finished our whole organizational “wall” – which also serves as a dividing wall between the front embroidery work area and the back manufacturing and supply area.
By the end of the day, this is what we finished with. It’s not quite in its prime situation, and we still have to button things down and secure parts of the units together. But still! It was together before the end of the work day:
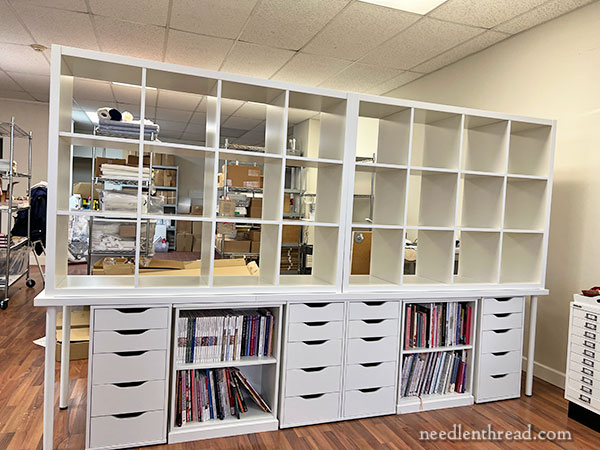
We used four drawer units and two shelf units (I already had the two small bookshelf units underneath) to create a foundation of our “wall.”
Then, we used two tabletops on top of those: a 78″ long table top and about a 40″ long table top.
Then, we used two sets of cube shelves, 3 cubes x 4 cubes, laid horizontally. This gives us a jolly 24 cubes to organize with books, trays, boxes, baskets, and more, for supplies and projects. We can also use some of them for display items, to make the place a bit decorative.
The cubes provide a wall of sorts, but they’re still open, so that, when we’re working behind that wall, we don’t feel completely closed off from the front. It’s nice to have windows, and I wouldn’t want anyone cut off completely from occasional visual access to the outside while working.
I especially like the cube and drawer combos, for two reasons: everyone needs drawers, and cube storage is very flexible.
And I especially like the whole “module” concept of these pieces, because over time, we may want to rearrange. We aren’t restricted to this particular layout of the furniture, if we want to break it down and move it around.
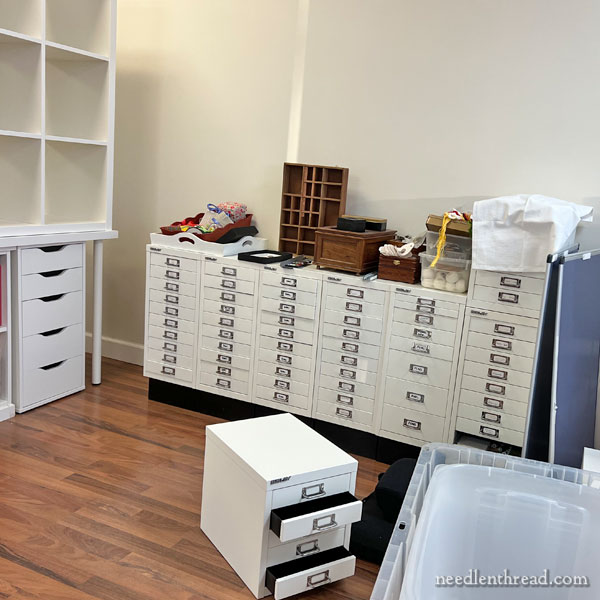
In the front work area of the space, I’ve also got my Most Belovéd Thread Cabinets. I’ve written about these here.
In the old space, these were in a room separate from our embroidery work area, so any time we needed a particular thread or color or what-have-you, we’d have to go forage through the drawers in another room that didn’t have table top space and that was not very well lit. Now, the thread cabinets will be pretty much right next to my work table.
Which isn’t set up yet.
Today, we’re organizing all the piddly little things into those drawers and cubbies and getting stuff put away. Then we can re-situate the work spaces, label cabinets and shelves, make a few dump runs (that’s always a Big Deal in small towns), and, if all goes as planned, we’ll be situated and organized – and even decorated! – before Thanksgiving dinner is served!
And at that point, I’ll take you on a little tour and tell you about a few special features of the studio that will make our work space so much more efficient, comfortable, and – yes! – even healthy.
Coming Up
We’ve got the next installment of our Christmas Tree ornament project coming up this week.
I’ve also got a lovely give-away for you from Di van Niekerk, featuring her gorgeous silk ribbons.
This year, we won’t be doing A Stitcher’s Christmas (I know! It’s sad!) because I just couldn’t get my usual pre-Christmas give-away series organized while trying to keep up with everything else going on. But I will have a few pre-Christmas treats for you, starting with Di’s give-away! So keep an eye out for that!
