Using lettering and text in hand embroidery can be a great way to make personalized needlework items. But sometimes it's difficult to know what types of stitches, threads, and stitching techniques to use when writing with your needle and thread. In this series of tutorials, we'll look at stitches and threads suitable for embroidered lettering, along with little tips and tricks for producing neat embroidered writing.
If you want to follow along with this series of hand embroidery tutorials, you're welcome to join me!
You can choose whatever text you wish. The idea here is to learn techniques and to get the feel of stitching lettering, so really, any text will work. If you are the type of person who likes to create "samplers" that can be used for decorative purposes, I suggest picking a quote, short poem, saying, Bible verse or something of that nature that you like, and setting it up in an attractive way using a variety of writing styles, so that you can practice using different stitching techniques and threads on the sampler.
For this series, I sat down with a piece of graph paper and pencil and wrote out a sentence using a variety of handwriting styles. Then, to expand the canvas a bit so that I have plenty of samples, I repeated words and filled out the space with lots of lettering.
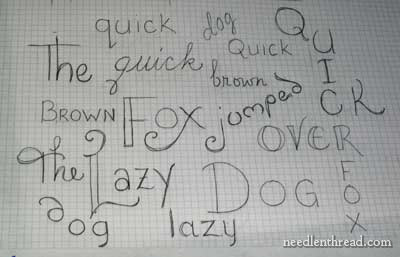
Because the sentence covers all the letters used in the alphabet, I chose "The quick brown fox jumped over the lazy dog." Before I started writing out the letters, I determined the space I wanted to fill, using my hoop as a gauge. I'm working with a 10" hoop to give plenty of room for the text, with extra room to work out some small tutorials on the side. You might want to work within a smaller space, and that's just fine.
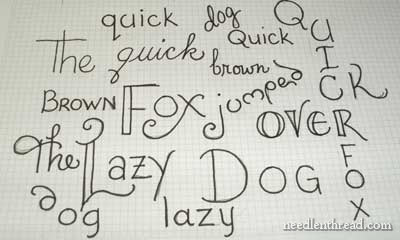
After writing out the text in pencil, I traced over it with a micron pen so that the lines were clear and dark. Fine tipped Sharpies or micron pens are essential tools in my tool box - perfect for this step in any embroidery project.
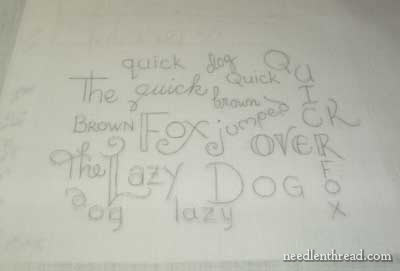
I'm using a piece of white linen for this project. It is a plain weave (not even-weave) medium weight linen with a relatively close weave. You'll want to use a close-weave fabric - for practice, pretty much anything will do (though you'll find a natural fabric like cotton or linen easiest to work on).
Because the linen is light enough and the lettering on the paper is dark enough, I didn't need a window or light box to trace. I ironed the fabric smooth, laid it on top of the lettering, and traced the lettering onto the fabric with a regular pencil.
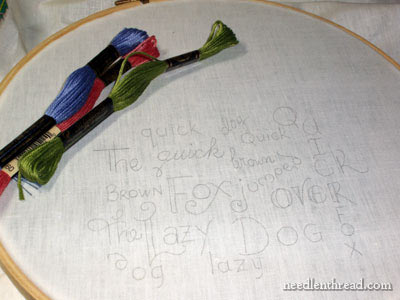
With the fabric hooped up, I picked out a few colors of DMC stranded cotton to start with. I'll also be using pearl cotton and floche, and any other threads that come to mind during the series here.
If you plan to join along with the stitching, you'll also want a variety of sizes of embroidery needles (crewel needles) in sizes 3 - 9 or 10. I'll be using size 10 (for tiny text with one thread), size 8, size 5 and probably a size 3 for pearl cotton #5.
So, now I'm ready to stitch! I'll begin with the word "The" (why not?) using a very basic stitch, with a focus on starting and ending threads and "traveling" with your threads so that they are invisible from the front.


|
