Today's tutorial on hand embroidered lettering focuses on combining buttonhole stitch and stem stitch, on letters that have thick and thin lines. The word I'll be embroidering on the sampler is "over."
If you're just joining in on this series of tutorials, you might want to check out the tutorial on stem stitched lettering. Additionally, it is necessary to know how to work the buttonhole stitch.
For the word "over," I'm using is DMC's Alsatian Twist (size 12). It is a super-nice thread to stitch with, very smooth and it doesn't twist up much at all when you're stitching. I really like it!
Anyway, on with the instruction!

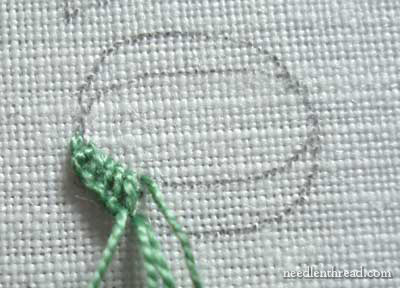
Begin your thread with the tacking stitches I described in the first stitching lesson. You can tack these stitches in the middle of the thicker part of the letter, since they will be covered up with the buttonhole stitches.

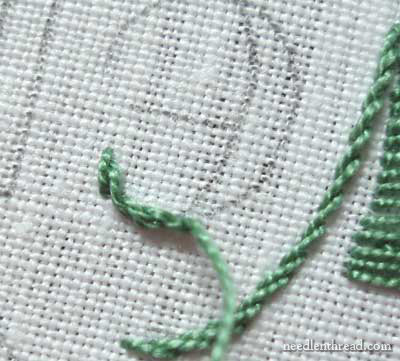
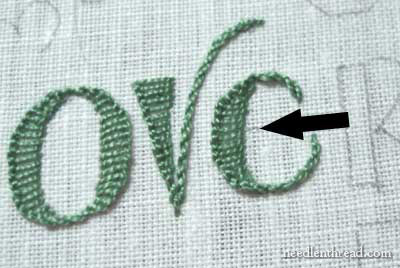
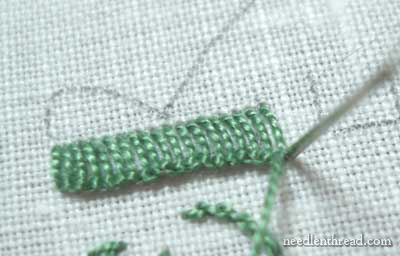
After starting the thread, I came up with my needle and working thread at the top of the O, and turned the hoop so that the O was resting on its side and I was stitching from left to right, as in the photo above.
I buttonhole stitched the side of the O, from left to right, down to the base.
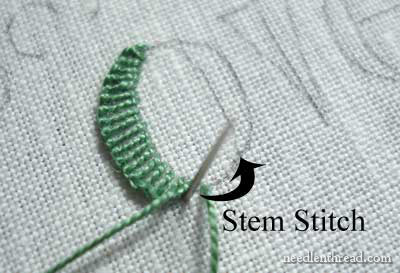
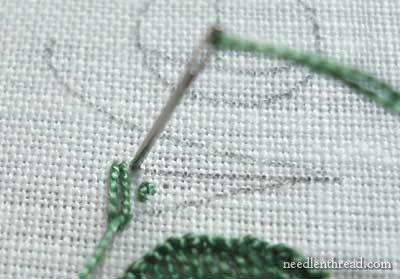
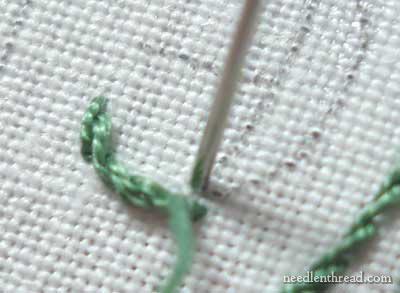
When I arrived at the base, I moved from buttonhole stitch to stem stitch (an easy transition, as the outside "rope" of the buttonhole stitch is simply stem stitch), and I stitched the narrow part of the letter O, across the base, in the direction of the arrow in the photo above, turning my hoop to accommodate my stitching direction.
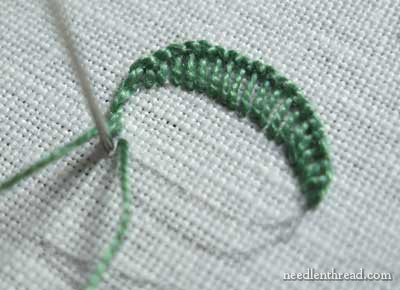
Now, with the O resting on its other side, I moved back into the buttonhole stitch up the side of the O.
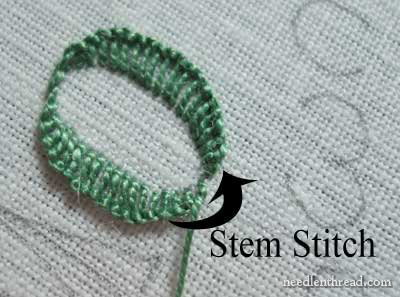
When I got to the top of the O, I reverted back to stem stitch to close the gap at the top of the letter.
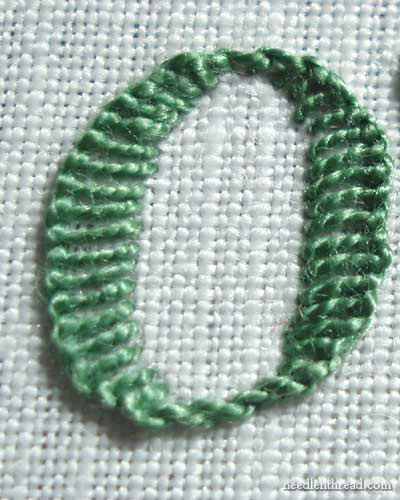
And there's the O.
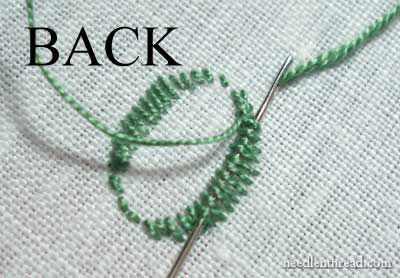
To end the thread, take the needle to the back and run it under the stitches on the back of the O.
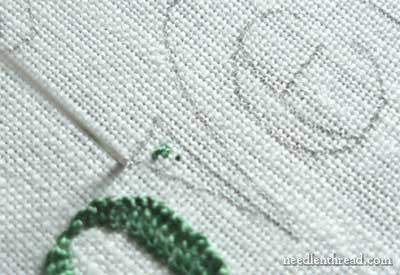
For the next letter, V, I started as I did with the O, making the anchor stitches in the wide part of the letter.
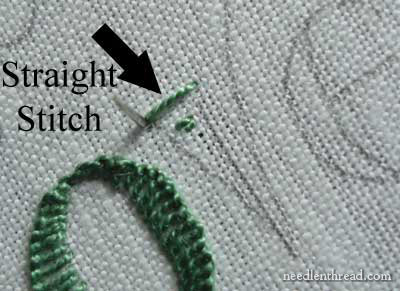
I began with a straight stitch first, from the outside of the thickest part of the V, towards the inside, then bringing my needle back up on the outside of the letter, where the rope-like edge of the buttonhole stitch will be.
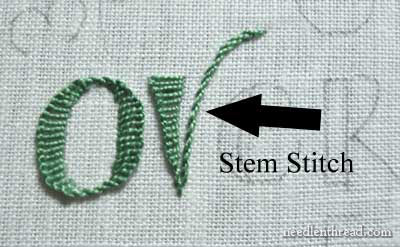
Then I began the buttonhole stitch down the side of the V, keeping my work turned so that I was stitching from left to right.
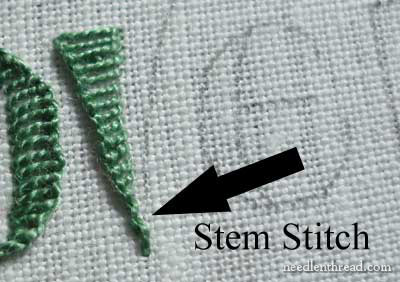
As I moved towards the base of the V, where the letter became narrow, I switched to stem stitch.
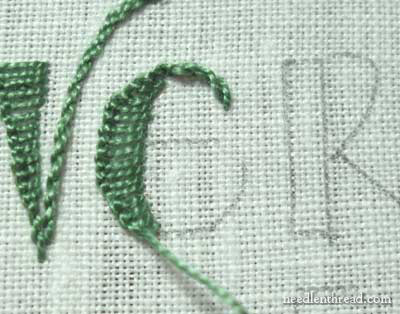
The right hand side of the V is worked solely in stem stitch.
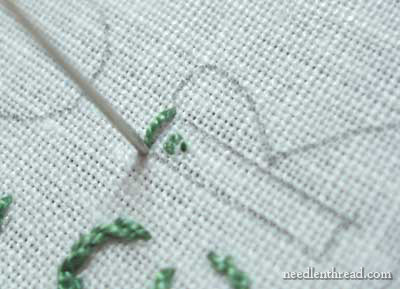
For the E, it was easier to turn the work completely, so that the letters were upside down. I began with anchoring stitches on the top part of the E, which is a thin line. The anchoring stitches will be covered by the stem stitch.
The thin line at the top of the E is worked in stem stitch.
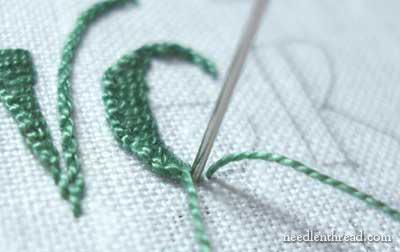
In the photo above, you can see where I am moving into buttonhole stitch. The last stem stitch is on the lower line, and my needle is going down on the upper line of the thick part of the letter.
I worked the buttonhole stitch down the thick part of the E...
... and at this point, where the letter narrowed again to a single line, I moved back to stem stitch.
After finishing the base of the E, I had to move up to work the center cross on the E, so the needle needs to come up there. Instead of carrying the thread straight across the back of the fabric to that point....
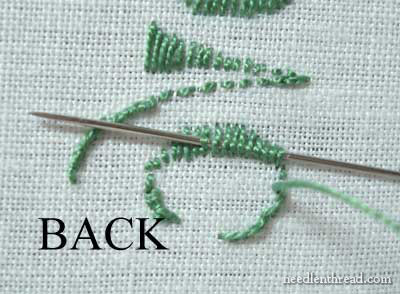
... I turned my work over and ran the thread under the stitches already there.
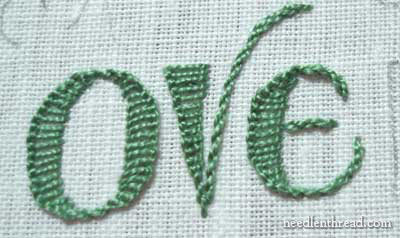
And that completes the first three letters.
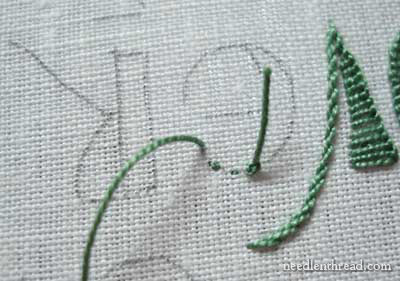
For the R, begin the same way as for the V, with the anchoring stitches and then a straight stitch on the edge of the letter.
Work the buttonhole stitch down the thick spine of the R, anchoring the buttonhole stitch by stitching directly over the last stitch with a tiny anchor stitch. Then, stem stitch the rest of the thin lines on the R.
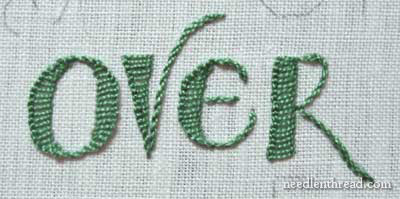
And that's OVER.
Visit the index of these hand embroidered lettering lessons for more tutorials!
Enjoy!
|
