To hand embroider relatively small letters, I like to use whipped backstitch. The letters I'm embroidering in this tutorial are approximately half an inch high. Whipped backstitch works really well with them because it provides a fairly smooth, very precise line without much extra bulk.
If you don't know how to backstitch, feel free to check out my video tutorial for backstitch. Then you can check out the whipped backstitch video tutorial.
I'm working the word "Brown" on my lettering sampler in one strand of DMC floss. "Brown" is smaller than the other words so far on the lettering sampler - with the exception of the "B," the letters are just less than half an inch tall.
I should be using a #10 embroidery (or crewel) needle, and I think, in most of these photos, I am. But towards the end of stitching the word, after one of those unavoidable interruptions, I couldn't find my #10 needle, so I switched to a #9. I suggest a #10 - or, if you have one, a #11.
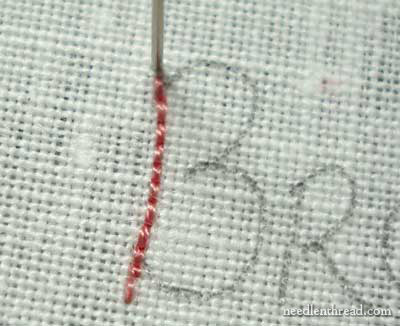
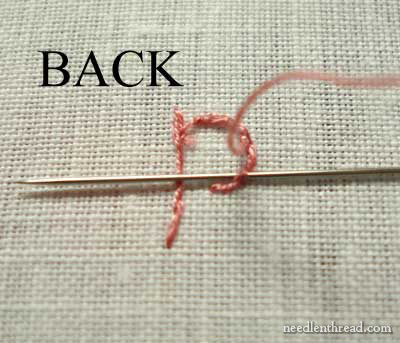
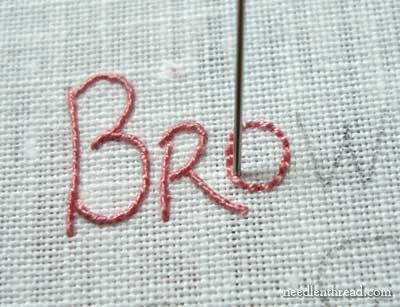
I began by backstitching up the spine of the B. When I finished covering the pencil line with the backstitch, I brought my needle up in the fabric right at the top of the line of stitches.
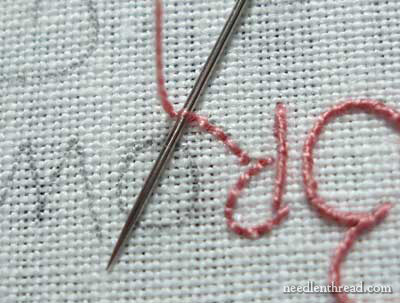
Working back down the line towards me, I whipped the backstitches by sliding my needle from right to left under each backstitch, all the way down the line.
Now, since I started whipping my stitches from right to left and down the line towards me, I made sure that, as I stitched each letter, I kept the same direction. Yesterday's article demonstrates the importance of consistent stitch direction. If you haven't read it yet, you might want to check it out so that you can see the distinct differences between stitching in different directions.
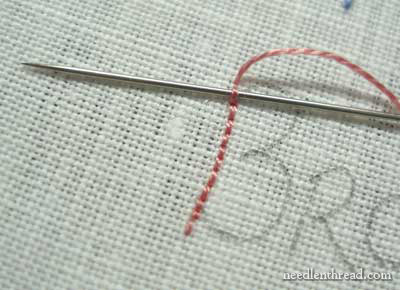
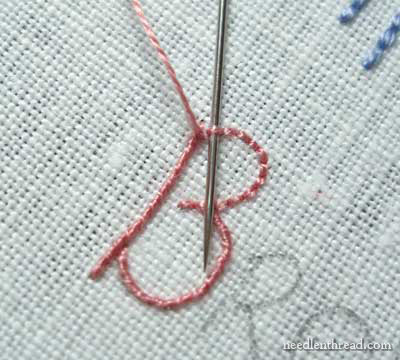
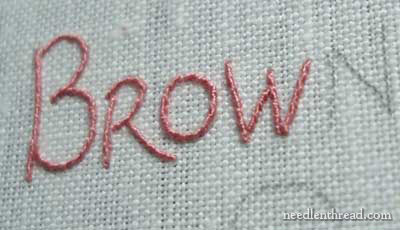
After whipping down the line, I jumped over to the base of the B and backstitched the lower bump. For some reason unbeknownst to me at this moment, I did not finish backstitching up the top bump. You can, of course - it will save you time and having to travel your thread on the back of the fabric to get to your next starting point.
I turned my work so that I was whipping the backstitches (again, from right to left) down the stitches towards me. To keep everything going correctly in the same direction and avoid confusion, just turn your hoop as you stitch.

So there's the first bump of the B, done.
To get to the next bump without carrying a loose thread across the back of my stitching, I turned my work over so I could run my thread under the backs of the stitches and move up to the next bump.
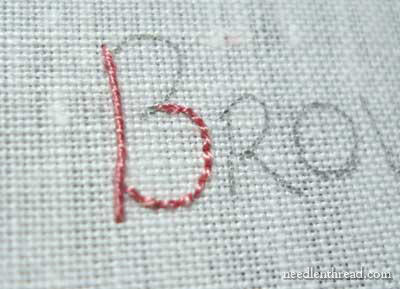
The backstitching on the second bump of the B is whipped in the same was as it was on the first bump of the B.
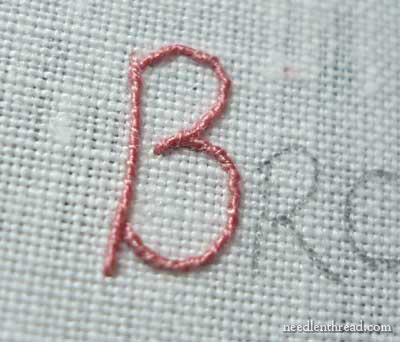
And there you have the B...
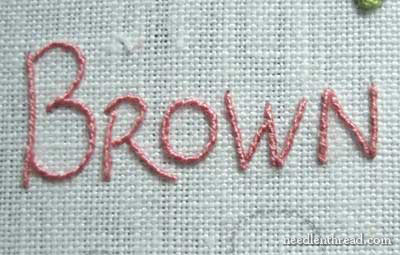
The R is stitched in the same manner. I began with the spine first and backstitched up it, then whipped the backstitches, moving from right to left, coming down the spine.
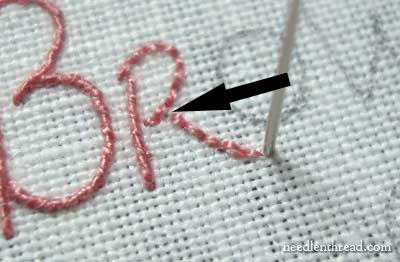
Then, turning my work over and running my working thread under the back of the stitches, I moved back up to the top of the R and backstitched the bump and the tail. See where the arrow points? I left a tiny space at the top of the tail, just below the bump, because this is where I will sink my thread after whipping the tail of the R.
Then I brought my needle up where the bump comes in contact with the spine in the middle of the letter.
My backstitching brought me to the base of the tail. In order to keep the stitching direction correct, I turned my hoop so that the letters were upside-down, and I whipped the backstitches on the tail, sinking the thread in the tiny space next to the bump.
Then I moved over next to the spine, brought my needle up, and whip stitched the bump of the R, turning the hoop as necessary to keep the stitching in the right direction.
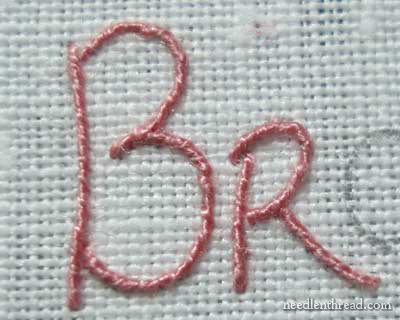
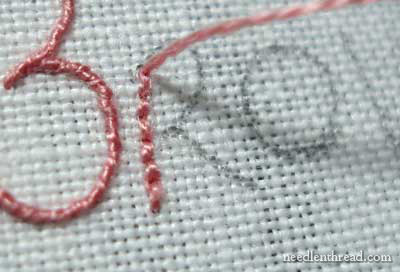
And there you have the B and the R complete.
Now, it's time to work on the O. Remember that, because these letters are not connected, each time a new letter is started, you have to start the thread again. In the first two stitching tutorials of this series, I discussed how to start your threads with each letter.
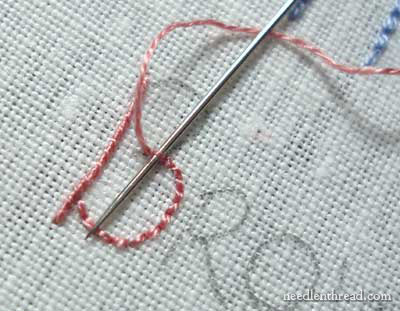
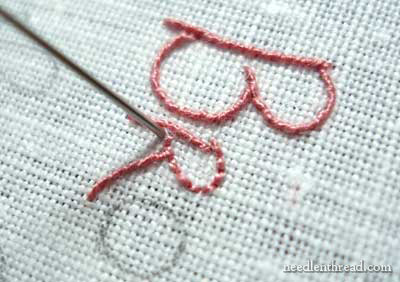
Once the O was backstitched, I brought my needle up inside the O, ready to whip the stitches.

Again, to keep the stitch direction correct, I turned my hoop so that the letters were upside-down.
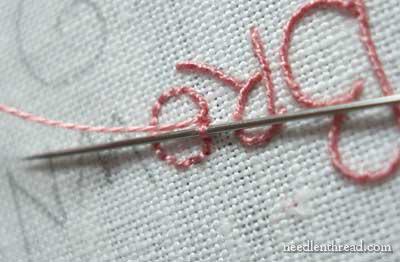
While stitching around the O, just keep turning the hoop to keep the direction.
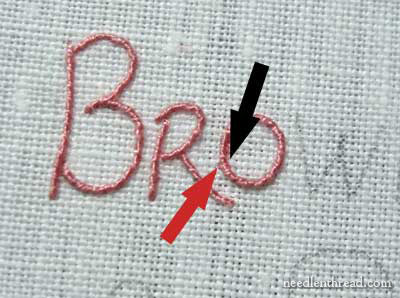
The black arrow in the photo above indicates where I started whipping the backstitches. As I finished the circle, I sunk my needle on the outside of the O (indicated by the red arrow), opposite to where I started.
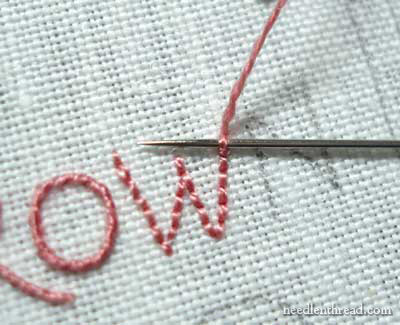
I'm sure you're getting the hang of this by now! So let's move quickly through the rest of the letters. Backstitch the complete W, then whip the backstitches down the last leg, towards you, working your needle from right to left.

For the next leg, turn your hoop around so the letters are upside-down again, and whip the next leg, then turn the hoop again, whip the next leg, then turn the hoop one more time to whip the last backstitched line of the W. As you finish whipping the backstitches in each line, you sink your thread to make a sharp finish, then bring your needle up at the top of the next line.
The finished W...
Work the N just as you did the W, backstitching the whole thing first, then whipping the backstitches and turning your hoop as you need to. As you finish whipping each line of the backstitching, remember to sink your thread and start the next line new, to keep the angles sharp.
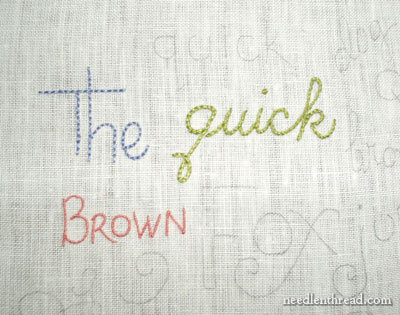
And here is the finished word, and the lettering sampler so far!
We've now covered plain backstitch lettering, which also focused on how to travel your threads on the back of the fabric to make sure you don't leave loose threads; we've covered stem stitch on lettering, making sure that the stitch direction is kept consistent; we've seen how to dot an I in hand embroidery; and now we've seen whipped backstitch, which is a nice stitch for small lettering.
The next tutorial will cover combining two stitches - buttonhole and stem stitch - on letters that are thick in some parts and thin in others.
All these tutorials are easily accessible under Tips and Tricks for Hand Embroidery in the Editor's Floss located at the top of the right column of the website, and also directly at the Index of Tutorials for Hand Embroidered Lettering.
If you have any questions, comments, or suggestions, don't hesitate to leave them in the comment section below!
Enjoy!
|
