Well, after my post the other day about my "mad" purchase of a rather pricey needlebook kit, I felt pretty good after reading all your comments! Nothing like getting a group of people together with the same interests in order to justify the occasional splurge, I say! Thanks for the shot in the arm! I'm pretty excited about the little needlebook, now that the project is underway. Don't expect to be amazed - I've only made a tiny bit of progress - but I thought I'd share it with you and make a few comments about the experience so far.
Before beginning any embroidery kit, it's helpful - I'd almost say "essential" - to read through the directions before jumping in. So that's the first thing I did. It wouldn't do to start stitching along, only to run into a problem that could have been avoided by reading ahead.
The next step is generally set-up work. It took me a couple days to get the set-up done, due to numerous interruptions and a general lack of embroidery time.
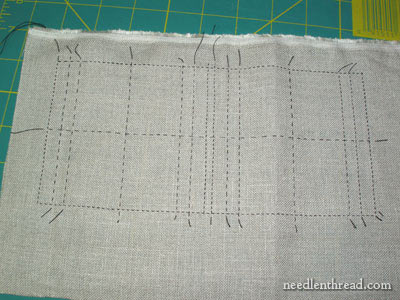
Remember that the kit is designed for counted techniques, so it makes sense to grid things off so that the placement is correct. You may also remember my determination to go Surface Embroidery on this kit... and I am sticking with that plan! Still, the lines are necessary to mark off the edge, and to mark off the various areas for adornment on the needlebook. These are just basting lines, and they will be pulled out while I stitch.

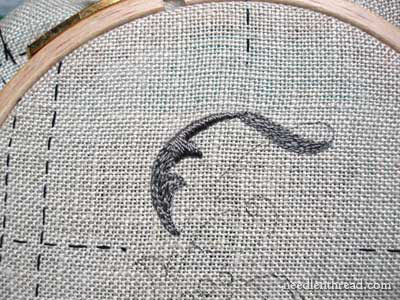
This is the monogram I'm stitching. It's from an old Sajou pamphlet (I think?). I had scanned it into my computer and cleaned it up a while ago, with plans. So I shrunk it to fit the needlebook, and altered the flowers (which were daisies) to round circles, which will be bullion roses.
It's kind of hard to see. I traced the monogram on using a .005 (super-duper fine) micron pen and a very light touch. I used a light box to make the tracing possible, and even then, on this fabric (which is slightly darker than a flax or natural colored linen), it was still difficult to trace. Still, it's on there, and that's all that matters.
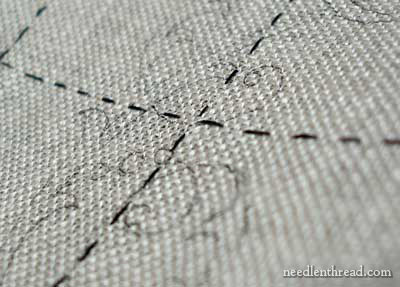
When the fabric's held at a slant, it's easier to see the marking.
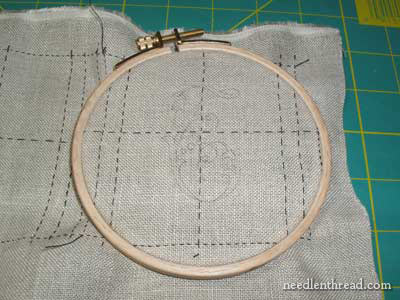
I intend to do the decorative bands that run down the sides of the needlebook covers in hand, without a hoop, but since I'm stitching the monogram in satin stitch, I definitely wanted to use a hoop. I find I get better results with satin stitch when the fabric is taut.
And here's the first bout of stitching. I was surprised at the color. I decided to keep the color scheme for the original design, but I didn't realize just how grey this is. It's really grey!
It's a difficult color to stitch on this color of fabric, when working tiny split stitches around the outline of the monogram. I had a difficult time seeing where I was going!
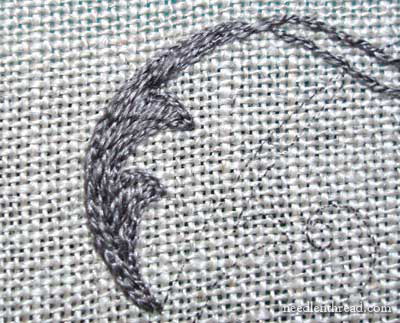
The color at first did not seem too attractive, and I was worried that I would not be very happy with it. But I decided to stick with it, anyway, and I found it grew on me. It really does match the reproduction fabric that lines the needlebook perfectly, so it's a good choice of color.
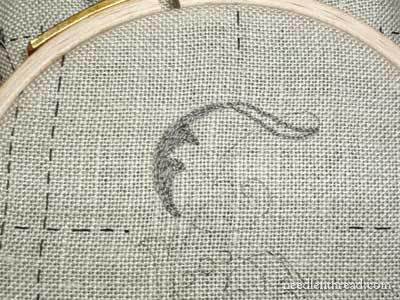
This is the padding for the satin stitched monogram. I worked a small, single-thread split stitch around the area, and then filled in with longer stitches.
Starting in the middle of the area to set my stitch direction, I stitched to the top part of this area in satin stitch, over the padding and the outline.
Now, this isn't as easy as it could be, and that's because this fabric, which is well-suited to counted work, is not so well-suited to surface embroidery. There's too much space between the weave, and it requires splitting the weave quite often, in order to get the stitches to lie comfortably next to each other.
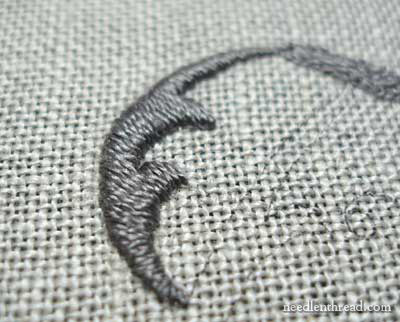
This is the finished section, satin stitched. I've managed to pad the top section and I've started outlining the middle area of the letter, but this is as far as I've gotten.
I think I'll be pleased with the result, but we'll have to see. The whole monogram - due to the outlining and padding under the satin stitches - is going to be a bit thicker than I first imagined, but that isn't necessarily a bad thing. We'll see how it works out!
I'll definitely keep you posted!
And once again, thanks heaps for your input on the kit purchase. I knew you'd make me feel better about it!
|
