Continuing on with the hand embroidered lettering tutorials, today we'll be looking at combining stitches and colors in a word. We've already combined stitches in previous tutorials, but for this tutorial, we'll be working each letter in a different stitch, and we'll be exploring how some stitches that seem unconventional for writing with thread can be used to good effect to form letters.
If you're just joining in on these embroidered lettering tutorials, you can find the whole list of them under this Index of Tutorials for hand embroidered lettering. The previous tutorials in this series cover the basics of writing with needle and thread - from starting and ending threads, to stitching small letters, to traveling your threads on the back so that they are not visible on the front, to dotting your i's in different ways. So you might want to check those out for some background information.
In this tutorial, I'm stitching the word "Dog." I'm starting with a laced chain stitch for the D, then revisiting the whipped running stitch for the O, then working the G in French knots. For all the stitching, I'm using DMC floche in yellow and red.
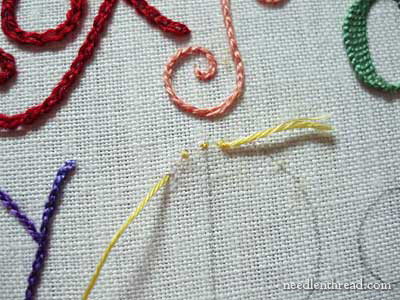
Starting at the top of the D, I anchored the thread with tiny backstitches.
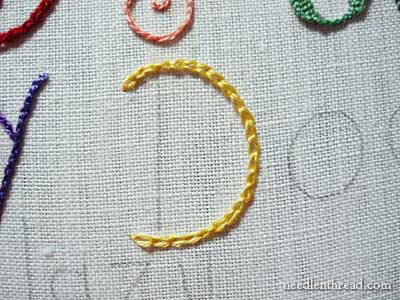
Then I worked the letter in chain stitch - the rounded part of the D first, then the spine.
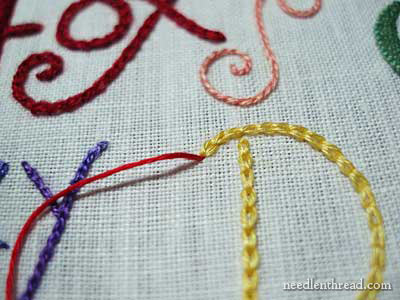
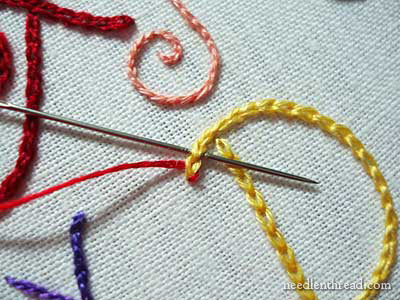
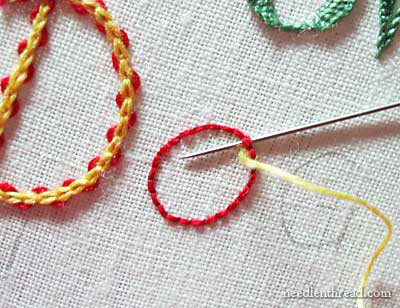
Once the chain stitching was done, I changed threads to the red floche, which I'm using to lace the chain stitches. I brought the new thread up at the tip of the line of chain stitches that I wanted to lace.
Lacing a stitch (like the chain stitch) is not the same thing as "whipping" a stitch. The thread does not wrap around the stitches, but rather runs in and out underneath the stitches. So my first step was to run my needle underneath the first chain stitch. I'm not picking up any fabric - just running right under the stitch.
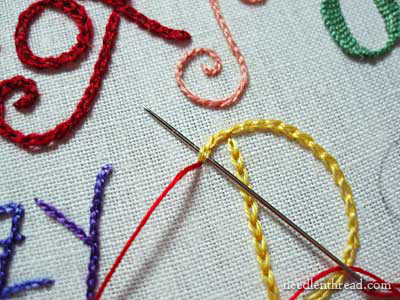
I gently pulled the working thread through, without putting too much tension on the thread. I want the laced red thread to be visible outside the yellow chain stitches. If you pull too tightly here, the red thread will not be as visible, so just pull gently until the lacing thread rests where you want it to. Then, run your needle in the opposite direction under the next stitch.
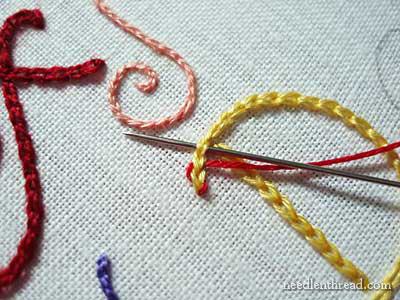
Continue alternating the direction of passing your needle underneath each chain stitch, so that you are basically zig-zagging underneath the chain stitches. Remember to keep the tension on the lacing thread relatively loose - don't pull hard on it, but leave it resting visibly outside the chain stitches. Pull these stitches enough to keep them even. Occasionally, you might have to tweak them a bit with your needle so that they are even.
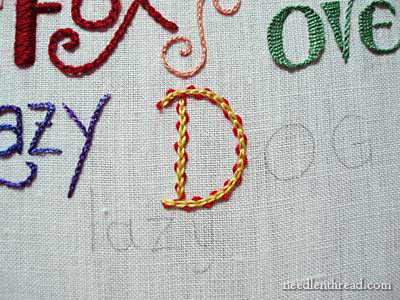
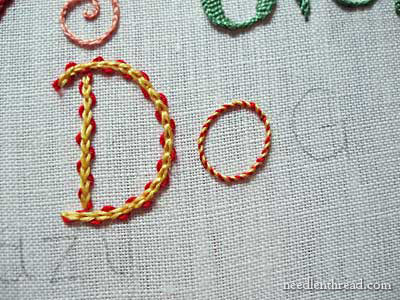
Continue all the way around the bump of the D, and then take your thread to the back of the fabric at the end of the bump. Bring your thread up at the base of the spine of the D, and lace the chain stitches up the spine. When you're finished, it'll look pretty much like this. Kind of cute and colorful!
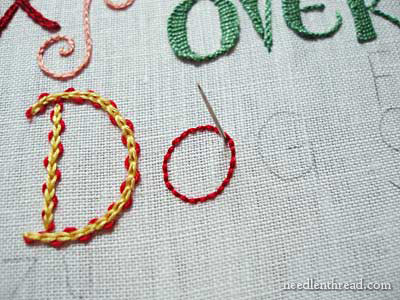
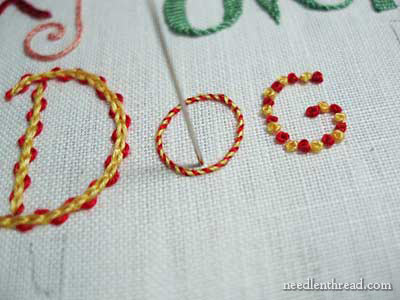
I worked the O in whipped backstitch. We've actually already covered whipped backstitch once in this series of tutorials, so I won't spend a lot of time going over it here. After stitching the backstitches, I changed to the yellow floche and brought my needle up inside the O.
Remember when whipping backstitches or running stitches to always travel in the same direction around all the stitches. You can turn your hoop as you stitch, to make this easier.
Keep the tension loose enough that you don't pull the whipped stitches straight. They should wind around the backstitches and should be clearly visible. When you arrive back around where you started, sink your needle to the back and anchor your threads by whipping around the stitches on the back of the fabric.
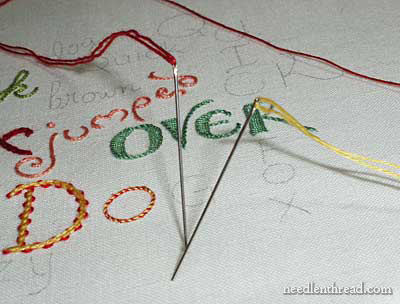
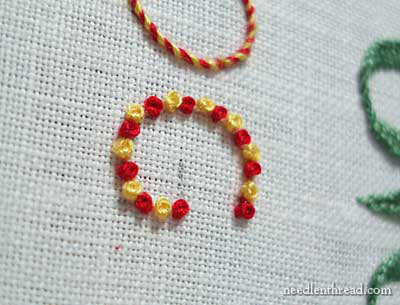
Now it's time to move on to the G. I worked the G in alternating colors of French knots - red and yellow. To make this easy, thread two needles, one with one color and one with the other, so that you can trade off needles as you switch colors. To make French knots Really Easy, I use a milliner needle. They always pass through the knot with great ease. If you don't have a milliner's needle, though, that's ok - embroidery needles work fine, too.

To begin, I anchored both threads with tiny backstitches that would be covered up with the French knots. Once both threads are anchored, you're ready to knot!
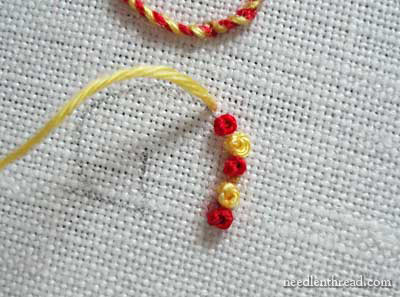
Simply follow the line of your letter, spacing your knots evenly. Don't crowd them too much - you want them to stand on their own, not jam up against the knots on each side. French knots tend to look better when they're not crowded tight together.
Work the French knots around the curve of the G and then into the center on the cross bar of the G.

At first I wasn't sure how well French knots would form a letter, but once I finished the G, I was sold on the look. I like it!
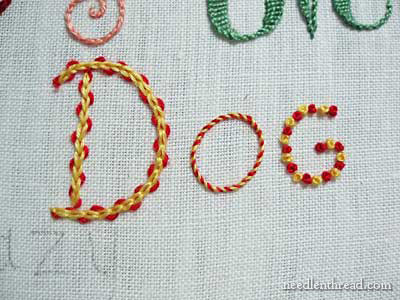
Here is Dog - colorful and a bit whimsical.
I wasn't quite ready to stop there, though. The O seemed a bit skimpy, so I threaded up my yellow floche again, and brought my needle up just inside the lower edge of the O, in the center.
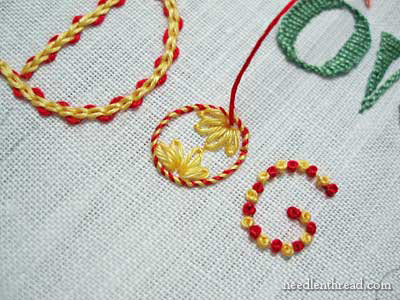
I worked two little fans of daisy stitches inside the O, at the top and base of the letter. Then I threaded the red floche...
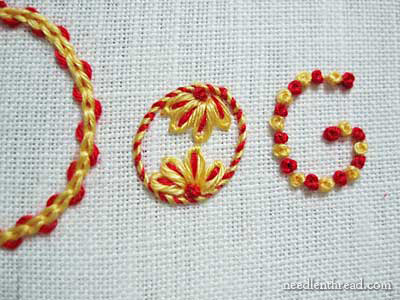
... and added a little French knot and some straight stitches in red, to finish the inside of the the letter. At this point, I was thinking that things might be getting too cutesy and circus-like, but I left it.
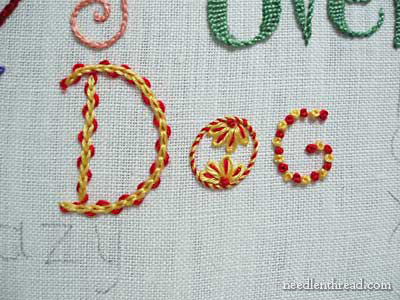
And here is Dog, again, finished.
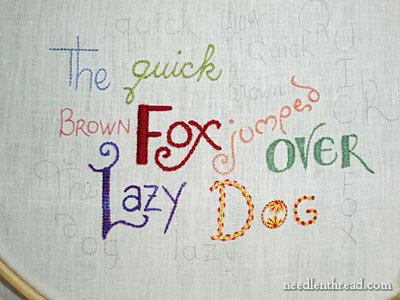
And this is the whole sampler so far.
I guess the whole point of this lesson is to encourage you not to restrict yourself to one stitch for a word, or even to one color. You can play around with stitches, experiment a bit, add little extra details and so forth to personalize your lettering - and have a lot of fun doing it!
Enjoy the lesson, and have fun stitching!
|
