This is a brief exercise in the Hand Embroidered Lettering series here on Needle 'n Thread. The word is short - "The" - and I'm using a fairly easy stitch for it (the heavy chain stitch). I'll tell you why I chose this stitch, show you the thread I'm using, and give you a look at the lettering sampler so far.
The word "The" on this lettering sampler needed to be embroidered with a fairly fine thread, as the letters are small and a little loopy, but I didn't want the word itself to be so finely stitched that it got lost in the sampler.
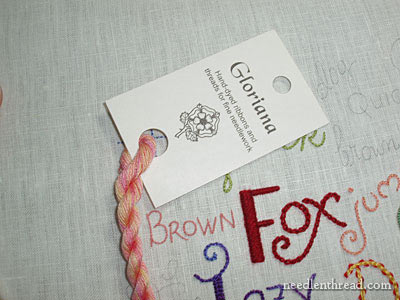
I selected this Gloriana twisted silk, overdyed in pinks and yellows, because it's a pretty thread, kind of like a buttonhole silk, only finer.
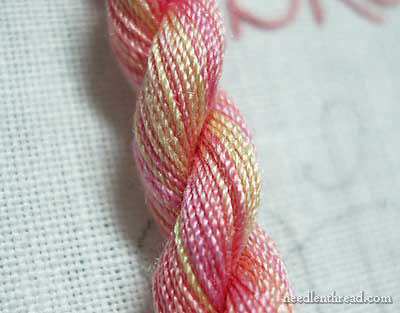
In fact, it's a beautiful thread! With the lighter colors of the thread, I wanted a stitch heavier than a stem stitch or a chain stitch, so that the word would show up next to the bolder colors around it. Hence, I settled on the heavy chain stitch. If you don't know how to work this stitch, check out the video tutorial for the heavy chain stitch - it will get you started.
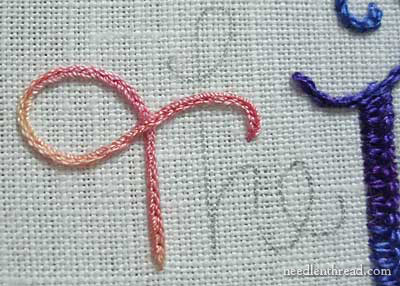
I began at the base of the vertical line of the T, and worked up and around the loop on the right, then crossed over the top of the vertical line.
I began the H at the top loop, worked around the loop, and headed down the vertical spine of the letter, crossing over any embroidered paths in the way.
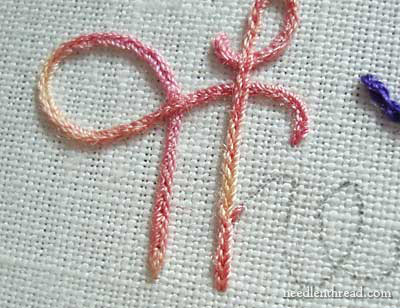
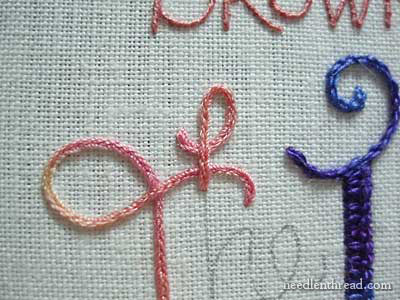
When I got to the end of the vertical spine, I jumped up to the hump of the H, beginning with my anchor stitch to hold the first chain loop. This is a little different from the instructions in the video, but obviously, you can get the same results with heavy chain stitch by stitching the anchor stitch first, then passing both loops through it to start the line. In fact, I've become accustomed to stitching the anchor stitch first, then stitching the loops. The effect is the same.

And then I followed through to the end of the word, crossing over any embroidered lines as I came to them.
It's not the most exciting word on the sampler, I suppose, but I really Really Like the heavy chain stitch for lettering. It makes a bold, even, smooth line and looks really good on lettering.
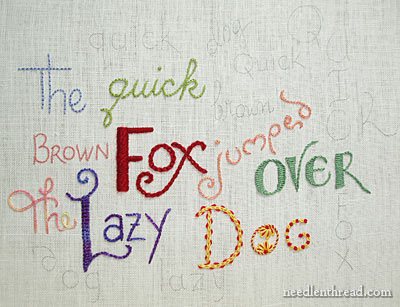
Here's the sampler so far.
This particular tutorial doesn't go into a lot of detail on the actual stitching of the word, because we've pretty much covered all the basics in previous tutorials. If you want to catch up on the basics that got us to this point in the sampler, you should go back to the previous lessons in this series of tutorials on hand embroidered lettering and text. There, you'll find all the hints, tricks, and tips on writing with your needle and thread.
|
