Coral stitch is one of my favorite embroidery stitches, when I'm in the mood for it. When I'm not in the mood for it, it quickly slides to the bottom of the list! You can do a lot with the coral stitch - you can create nubby lines and curves, or you can even fill spaces by working lines and alternating the placement of the knots that the stitch produces. In this little example on my lettering sampler, I'm stitching some small letters - the word "dogs" - with coral stitch to create nubby letters.
If you're just joining in here, you may wish to go through the other tutorials in this series on hand embroidered lettering. At this point in the series, the basics of stitching letters have already been covered, and you can find them in the earlier tutorials.
If you want to know how to work the coral stitch - or any other stitch used in this series, as a matter of fact - you can visit my video library of hand embroidery stitches. That's where you'll find instructions on individual stitches.
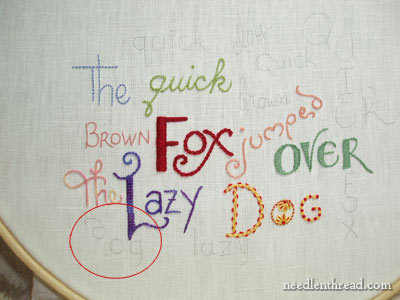
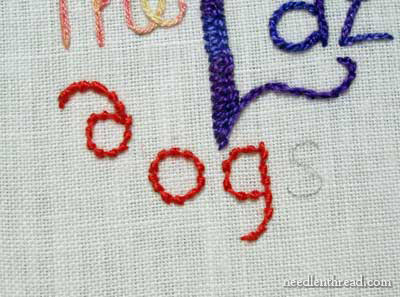
On this lettering sampler, I'm stitching the word "dogs" in the lower left corner of the sampler. The red circle in the photo above indicates where this word is on the sampler, though you'll probably notice that there's no S on the end of the word! When I originally wrote out the text for this series, I wrote it incorrectly - it should read "The quick brown fox jumps over the lazy dog." Since I left the S out, I'm trying to work in a few of them after "dog" here and there.
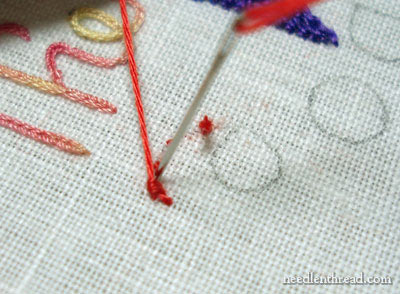
I'm going to use a reddish-orange cotton floche for this word, and you can see in the photo above (circled in black) that I've penciled in an S.
I ran into two difficulties with coral stitch on this word:
1. I've got my project set up in a bound hoop, with the fabric stretched taut in the hoop. This is not the easiest way to stitch coral stitches - it's much easier to work coral stitch in hand, without a hoop, because you can manipulate the fabric. Since I'm working in a hoop, I resorted to the "stab" method of stitching. That is, I'm stabbing into the fabric and taking my needle and working thread all the way to the back of the fabric and then again to the front of the fabric, with every step of the stitch. Normally, with coral stitch, it's easier to "scoop" your needle back and front again (the "sewing method" of hand embroidery), without actually taking your hand to the back of your fabric to pull the needle through. Still, stabbing works, and that's how I worked the stitch on these letters.
2. The letters are small and relatively curvy. They are no more than half an inch high, which makes the curves in them just a bit tight. And this goes back to point #1 - if I were working in hand rather than in a hoop, it would be easier to maneuver around these curves. The stab method of stitching made it possible to get around the curves.
When "stabbing" instead of "sewing," you have to make sure you're bringing your needle up into the loop of thread, in order to make the knot. Sometimes, I end up with very exaggerated loops!
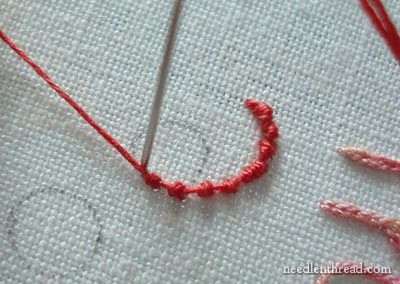
At the beginning of the top of the D, my stitches are a bit too crowded, so I started spacing them out a bit as I worked down the D.
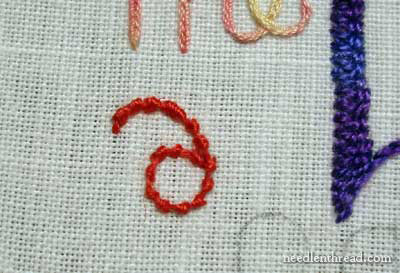
Coral stitch looks better when the knots are evenly spaced. Still, on such little letters, the overall outcome of the uneven stitches wasn't that disturbing. They ended up looking ok overall.
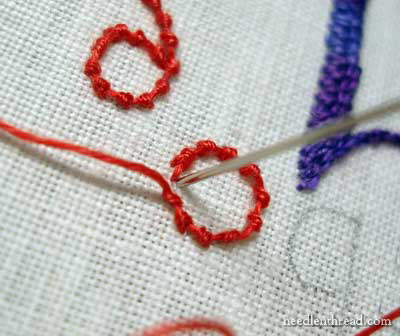
When you work around the O in the coral stitch, try to space your knots so that your last knot lands in the right spot, so that the beginning and ending point are not noticeable.
The D and the O. DO.
And then the G. DOG.
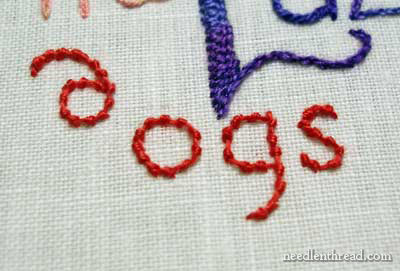
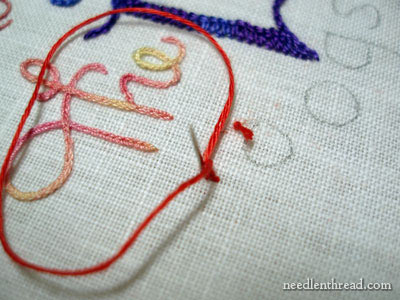
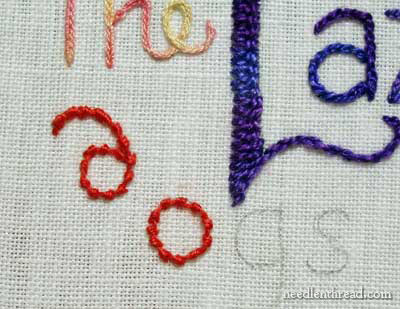
And finally, the straggling S, which was the most difficult letter to stitch because of the tight curves on an S only half an inch high. I admit it got a little sloppy there!
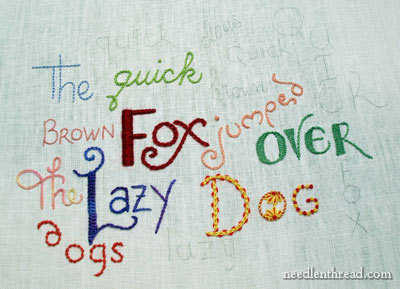
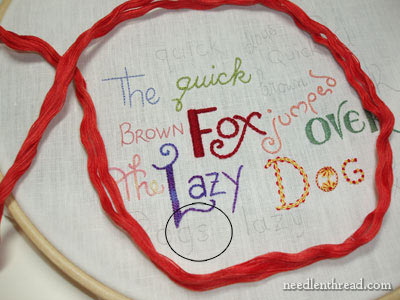
But, overall, it worked out ok. Here's the sampler so far.
As you can see, I'm starting to stitch the extra words now. Most of the extras will be stitched in many of the same stitches we've already covered in this series of tutorials, but now we can have some fun testing new threads and seeing how the stitches and letters work out, depending on the threads we use. The sampler's turning out to be fairly colorful, and at this point, I've really enjoyed the stitching.
But there's a word coming up, stitched in a thread that was new to me, that I really (REALLY) didn't like, so it'll be fun showing you that word. Wow. It was about the most unpleasant stitching experience I've had, and the reason, I have no doubt, goes back to the materials used.
And that brings me around to a subject I want to write about in some upcoming posts: the whole question of the materials we choose to embroider with. Is this a subject you would be interested in hearing my take on? Or do you get quite enough of that from me already? What think you?
Despite the busy time of year, don't forget to relax a bit this weekend and get some stitching in! It'll keep you sane!
Enjoy the weekend!
|
