Trees show up a lot in surface embroidery, and Kathy Shaw, author of the blog Shawkl, has a few hand embroidered trees to show us, along with some great tips on how to make them! Enjoy!
Need to stitch a fast and fabulous motif? How about a tree!
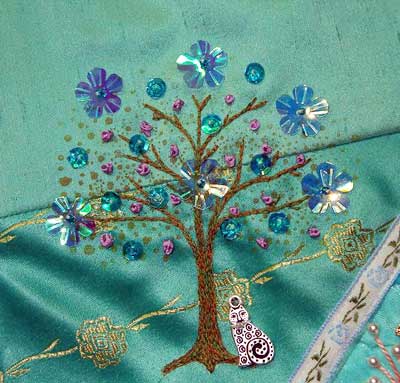
Can’t draw a trunk? Try using a stamp! You can stamp directly onto the fabric (if you are really good at stamping and are brave!) OR you can stamp directly onto tissue paper! Baste the tissue paper down to your crazy quilt patch, stitch the trunk outline with straight stitch…which you will cover up with your embroidery after you remove the tissue paper!

Don’t have a tree stamp? Search for photos of trees and print them at the size you need for your project. Check out your clip art for trees…you might be surprised at how many trunks there are!
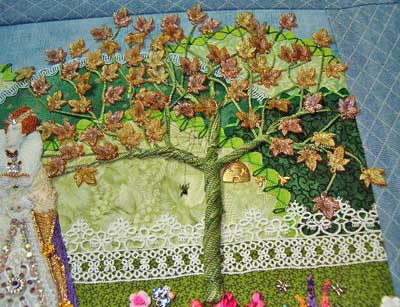
Stitch the trunk in simple chain stitch, start by outlining the sides of the trunk and follow those lines up to the limbs. Now, fill in a center line all the way up through the limbs. Just fill in all the remaining space with more lines of chain stitch. Use sequins, beads, or bits of lace for the foliage. EASY and FAST!
No time to even stitch that? Not to worry. Lay some fibers down, couch across them where the base of the tree needs to be…pick all of them up and twist. Couch and twist! EASY and SUPER FAST!

You can check out detailed tutorials for Kathy Shaw’s trees at shawkl.com. Do you have any tips for hand embroidering trees? Feel free to leave a comment below!
