I’ve been wanting to do this for a looooong time. Almost a year ago, I wrote about using watercolor pencils to transfer embroidery designs. After writing the post, in which I wished for the Ultimate Embroidery Transfer Implement, a reader (Jean, thank you!) sent me an e-mail suggesting that I try the Paper Mate Flair ultra fine felt tip marker in green. Now, the Papermate Flair is not an “embroidery transfer pen.” It is simply a fine tipped marker with a quick-drying water based ink. But I was curious about it – Jean said that she uses the green ultra-fine Flair for all her embroidery transfers and it washes out every time. So…. I purchased a set of the pens in a variety of colors and over the weekend, I finally began The Experiment.
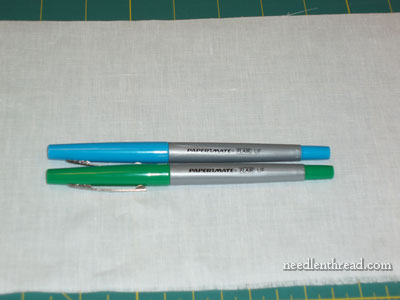
Since I’m getting ready to work on a white-on-white embroidery project, I decided I’d really put these pens to the test by drawing on white linen and stitching with white thread. Jean said, in her e-mail, that the green works best for transferring designs, but since I’m doing whitework, I thought I’d try the light blue, too. With whitework, I prefer to use blue as a transfer color. If the color doesn’t disappear all the way, blue seems to “soak” into the white and make it appear brighter. (This is, of course, assuming that the blue disappears at least most of the way!) Another point that Jean mentioned in her e-mail is that the pens work well on natural fabrics (cotton, linen), but not so well on blends (poly-cotton, for example), on which they tend to bleed.
The first thing I did was make sure that the linen was exactly in the same state that it would be when I stitched the whitework project. Many linens on the market (though not all) have sizing added to them, so it’s always a good idea to rinse your linen well. I’ll be using a fine Belgian linen that is perfect for church embroidery. It is not Legacy linen (which is usually my linen of choice), because I’m out of Legacy’s ecclesiastical linen. This Belgian linen that I’m using is very nice, though – it has a smooth hand and is not slubby at all. It isn’t as evenly woven as Legacy’s ecclesiastical linen, but it’s still a very fine, tight weave. I don’t know if it has sizing in it, but just in case, I wanted to rinse it well and also shrink it. I used an alternating hot-cold rinse, three times, and then rolled the piece up in a towel, pressed the excess water out, and then ironed the linen dry.
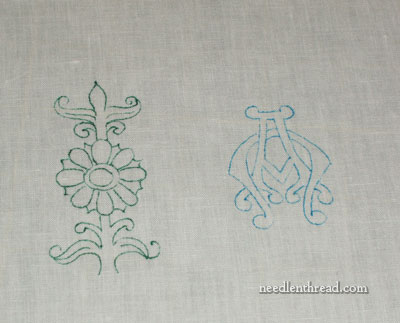
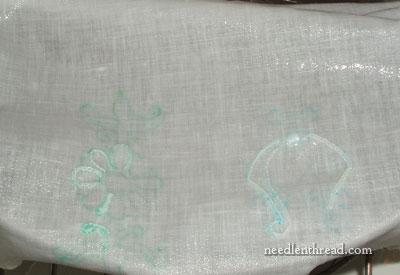
The next step was to draw on the linen. I drew out two small designs, one with the green Flair and the other with the light blue Flair.
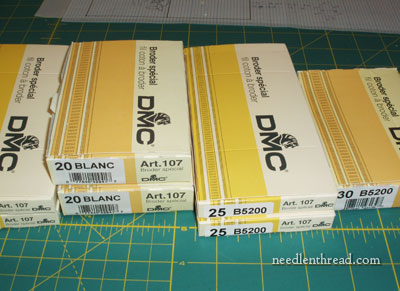
Then I took out my white coton a broder and decided on thread size. I love this thread for whitework, and I think it looks magnificent on church linens.
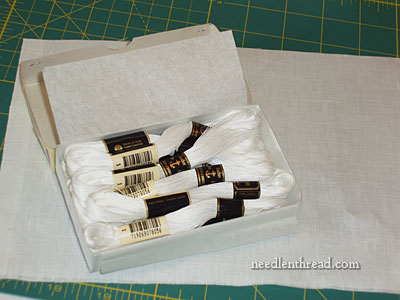
All the coton a broder I have is made by DMC, with the exception of the #40 (smallest size), which is made by Anchor. I love the #40, but I decided to use #30, just to keep the threads all the same type (DMC), though I don’t really think it matters.
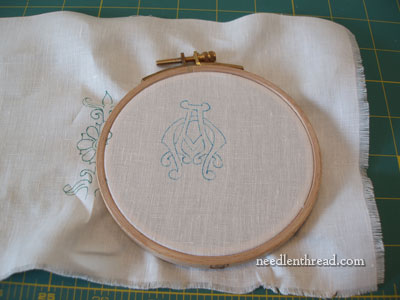
I hooped up the first design. My intention was actually to stitch the designs completely, but after a gazillion weekend interruptions, that didn’t exactly happen!
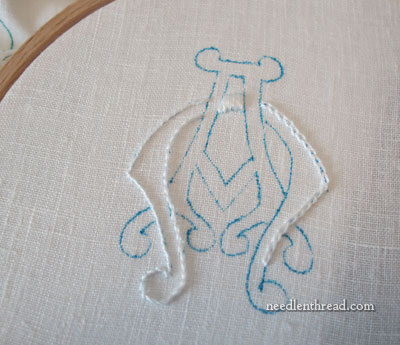
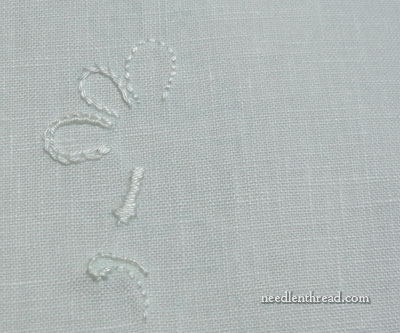
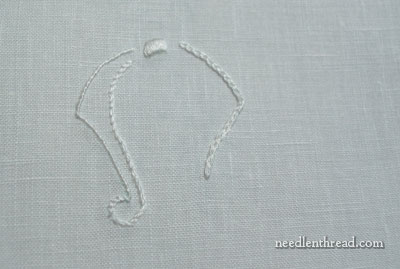
Instead of stitching the whole design, I stitched just a few parts, using different stitches – whipped backstitch, stem stitch, chain stitch, and a wee bit of satin stitch.
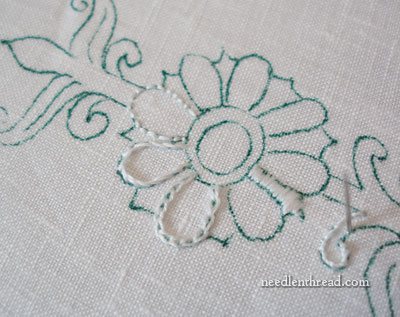
On the green design, I quickly did the same thing, and admittedly, I didn’t pay much attention to the actual stitching. My point was to just get some stitches into the fabric. I was dying to see whether or not this ink would wash out.

So there are both designs with a little bit of white stitching on them. Think about it: If this works, what could be better? The lines are fine and dark – so easy to see. The pens are easy to trace with. And if the colors rinse out of the fabric and out of the white thread, well! What more could I want?
My hopes at this point were soaring high!
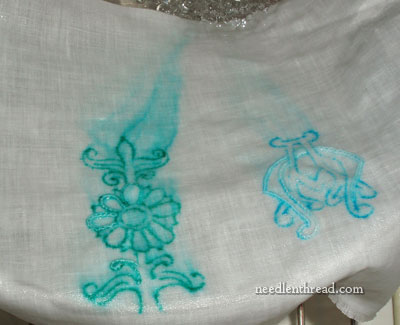
I began by running the piece under cold water for a good five to ten minutes. The ink immediately started running in streams of color when the water hit it. Now, I don’t know about you – but a sight like this is enough to make me weak in the knees and momentarily nauseous. Oh gosh. Imagine if you had just put in about 20 hours or more of stitching on a beautiful project, and then you started to rinse, and this is what you saw! Wouldn’t you just panic??!
Persistence, though, is the key.
After running cold water on the fabric for a while, the majority of the ink eventually ran off, and this is what the piece looked like. A lot of the ink was gone, but not enough to be satisfactory.
With a little more rinsing, things were looking much better!
At this point, it was time to leave the fabric in the water to soak for a while. Jean says she leaves her work in for 30 – 45 minutes. Mine stayed in for about 10 minutes of soaking. It could have stayed in there longer, but I was eager to inspect.
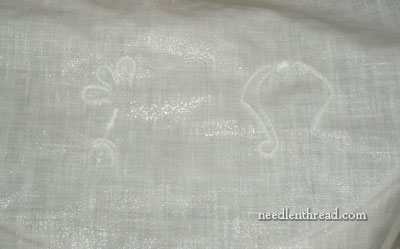
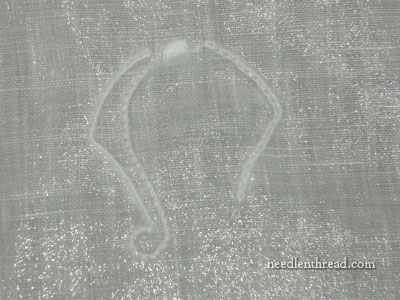
I took the linen out of the bowl of water, rolled it in a towel, squeezed off the excess water, and ironed the piece dry. And this is the result on the green side. You can see the faintest of lines – and these probably would have disappeared with a longer soaking.
This is the blue design. Again, some very, very faint (lighter even than the green) lines are barely visible in a couple places that weren’t stitched over. But what I love, really, is the fact that there is no color residue around the stitches at all.
Was the experiment successful? I think it was!
Would I use this method to transfer an embroidery design? I think I will!
One thing that I did not test, though, is time. The ink was on the linen for only a couple hours. The project I’m getting ready to work will probably take me a week or so to stitch. Will the ink rinse out after being on the fabric that long? This is a question I can’t give a definite answer to, but I’m almost certain that it will, and I think I’m willing to take the risk. I will certainly soak the finished piece a lot longer.
So what about you? Have you ever used Paper Mate Flairs to transfer a needlework design? Is it something you’d do, or would you be too afraid to take the risk? Do you think I should stick with a regular dressmaker’s transfer pencil for my upcoming project, or a regular embroidery transfer pen? Is it silly of me to risk using these on a long-term embroidery project? I’d love to hear your view! Leave a comment and let me know what you think!
