The Hand Embroidered Pall Saga is not quite over. Today, I’ll show you some steps I took towards finishing the project (which isn’t finished yet), and explain some further precautions I took with it (the tale didn’t actually end!). I’ll also try to answer some questions that came up the last time we visited this embroidery project.
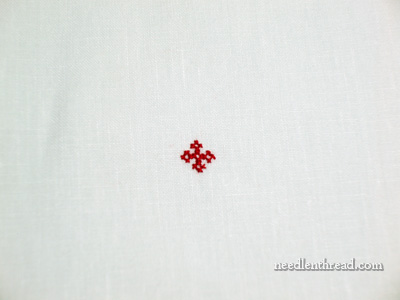
The first step towards finishing the hand embroidered pall was to stitch a small red cross on the back of the pall. Normally, on the back of a pall, there’s a small red cross stitched in the center – actually, on most small altar linens, you’ll find a tiny cross stitched in a particular part of the linen, either to mark the center or to mark the center of a folded area. It also marks the linen for sacred use. If you were to come across a plain lavabo towel (the small finger towel used by the priest), it would just look like any small linen towel. But the small cross helps distinguish the cloth.
The cross on the pall or other small linens does not have to be done in cross stitch, but the design below is a good, neat, tidy design for a cross on linens. I think it’s preferable to a small cross worked in satin stitch, as it doesn’t bulge. So this is the design I used:
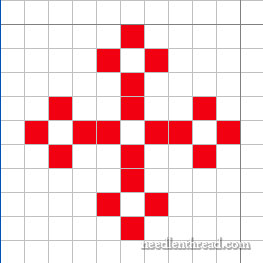
The linen, though, isn’t an even-weave, and it’s a very high count, so I stitched over two threads and did my best to keep it square. It was Really Hard to see the weave of the linen!
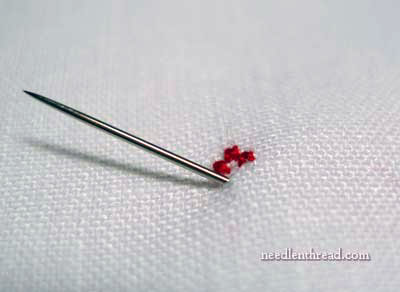
Just to give you some perspective on the size, I’m using a #10 embroidery needle (which is fairly small), and one strand of embroidery floss. Notice that the needle looks huge next to the stitching.
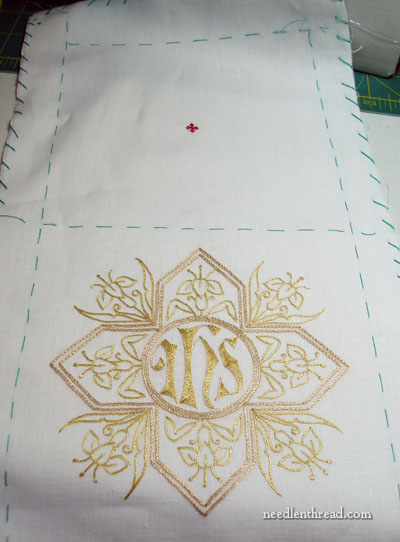
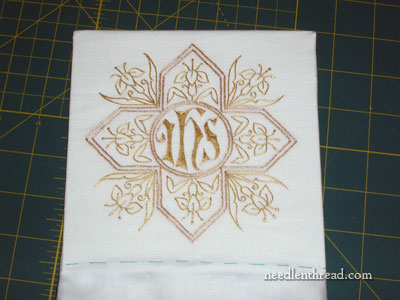
So there’s the whole pall, before stitching up the sides.
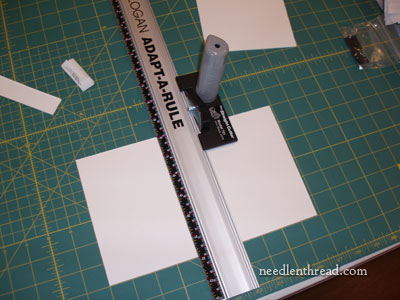
The next step was to cut a 6″ square of mat board to slide inside the pall.
Now, to sew up the pall. I turned right sides together (using the center basted line as a guide) and pinned along the basted lines that marked the edge of the pall. Then I trimmed to about 3/8″ for a seam allowance, and sewed up the two sides of the “pocket,” leaving the lower edge unsewn. Then I used a zig-zag stitch along the outside edges of the seams, to finish the edges and keep the fabric along the seams from unraveling. Finally, I slid the 6″ mat board square inside the pocket to examine the piece before sewing up the lower edge.
While stitching the cross, the linen had become decidedly wrinkled again, so I decided to rinse the piece and then iron it while damp, which is normal procedure for altar linens. I did so, but then I found that there were still areas where the dark gold thread was still bleeding. At that point, I realized there was nothing for it – I needed to soak the whole piece for a good 24 hours, just to make sure that the thread would not bleed in the future.
The question has come up over and over again as to why I soaked the pall in the first place. There are two reasons: 1. I always soak altar linens before ironing them. A good, wet linen that is allowed to partially dry, and then is ironed (with a dry iron) the rest of the way dry ends up completely crisp and wrinkle-free, with a good sheen to it. 2. The pall will be washed down the road, so I needed to make sure that problems with the thread aren’t encountered later, when they might not be taken care of properly.
After soaking the piece for a good 24 hours, the dye is finally worn out. Now, I can really finish the pall – which I’m planning to do this afternoon.
I’ll have a little more information coming up about this silk thread and dyes. The skein of silk I used was bought a good 8 or 10 years ago for use on this embroidered stole, before Au Ver a Soie switched to the highest ISO standards for dyes, so that their threads would be washable. If you buy new Soie d’Alger, I don’t think you’ll run into this problem. However, it never hurts to be careful, and a lot of us have older stash, so how do we ensure that such things don’t happen? I’ll experiment with a little advice I was given to keep the older threads from running and show you what develops.
In the meantime, wish me luck on finishing this today! It’s time to move on to other projects!