Linen is my all-time favorite fabric for embroidery of every kind. I love linen! And I like all types of linen – even weave, plain weave, twill, damask – you name it! If it’s linen, I’m bound to like it. What I especially like about linen is that it is not “fake” looking. It’s a real fabric with a long and noble history, and, if it’s good linen, it always looks great.
One characteristic of linen is that, in the weave, there are often “imperfections.” Unlike Aida cloth (usually cotton), Lugana (cotton & viscose blend), and other mechanically perfect fabrics, linen will often have variations in the fabric that come from the spinning or weaving process. The better the linen, the fewer these variations, but even in the best linen, you will sometimes run across irregularities.
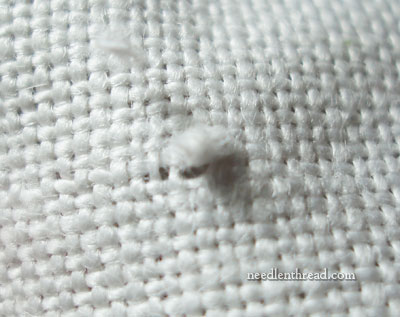
One such irregularity in linen is The Slub.

The Linen Slub can take on different forms. Sometimes, it might just be a little thickening of the woven thread, due extra fiber creeping in during the spinning or weaving process. Sometimes, it might be a whopper of a lump on top of the fabric, brought about by a knot in the fiber during either the spinning or weaving process.
When the slub is simply a thickening of the thread, it’s pretty easy to dismiss. But when it is a lump on top of the fabric – especially a fuzzy lump – the temptation to pick apart the slub and trim it down can be irresistible. There are times when it is necessary to try to eliminate as much of the slub as possible, but often, you can trim the excess fuzziness around the slub and just leave it there, stitching over it eventually (or not, depending on what your design dictates).
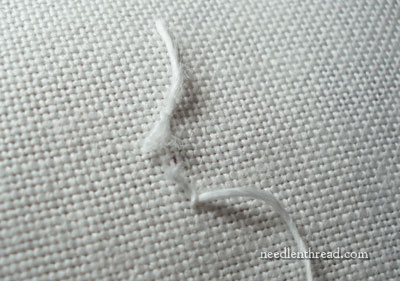
When I came across the above slub in one of the pieces of linen I’m setting up, I am afraid that I dove in picking it with a bit too much fervor.
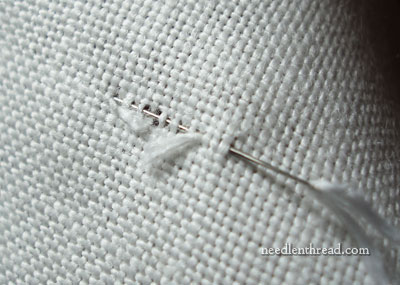
I trimmed off the fuzz around the slub, and then I started picking and prodding and pulling and picking and prodding.

Eventually, I managed to do what I didn’t want to do. I removed so much of the slub that I actually divided the thread of the fabric. In the photo above, the arrow points to the break in the thread.
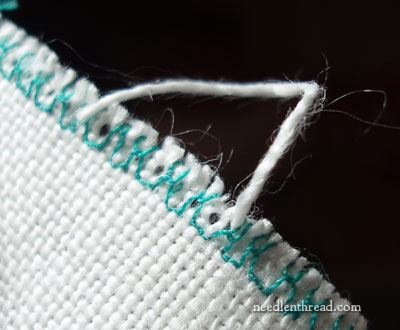
The damage, however, is not irreparable. I betook myself to the edge of the linen, and carefully removed one of the threads from the edge of the fabric. This was made a bit more difficult by the fact that I had neatened the edge of the fabric with machine stitching.
I threaded the fabric thread into a needle, wove the needle through the space where the broken thread was…
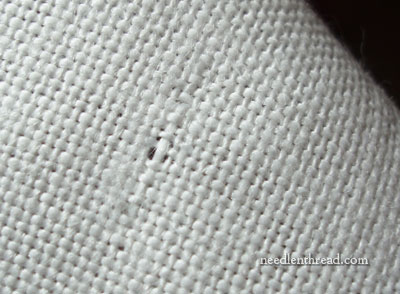
… and managed to fix the area where the break was. There’s still a bit of a distortion there, where the slub once was, but this will be less noticeable with a little tweaking and once the area is stitched over.
On the back, you can see the tails from the different linen threads. These, I’ll trim down a bit, leaving about a half-inch tail, which I will carefully stitch over whenever I get to that point on the fabric.
So that’s how I took care of a linen slub and a subsequent break in the weave of the linen.
Probably, the best original course of action would have been to trim the fuzziness around the slub and stitch over it as it was, without poking and picking at it. Still, if you ever find yourself in the same situation – or if you ever accidentally clip a thread in your linen – now you know how to fix the break.
What do you do about slubs? Do you ever find yourself picking at them? Or do you just leave them be? Share your tips in the comment section below!