When I lived in a dormitory in college, I was desperate for a light table for tracing embroidery designs. But light tables were way beyond my means. But I had a friend! And he had some left over plexiglass! So he gave me a large sheet of it. It was 1/4″ thick, very stiff, not quite as brittle (or breakable!) as glass, and a whole lot lighter. I put my desk lamp under it, and used the make-shift plexiglass table as my light box. It was GREAT. It was big – about 36″ x 40″ – and it was free. I ended up using it practically permanently as an extension to my desk, even though it meant there wasn’t a whole lot of room left in the room!
I’ve been venturing into some new embroidery projects which I already briefly introduced to you a while ago. The project I’m concentrating on first (“Proserpina”) is about 12″ long, which necessitates either moving the design around on my minuscule plastic light box (which is actually a kid’s tracing box from a local craft store), or finding some other solution to transferring the design. I was a bit frustrated at first…. but then….. wistfully recalling the spent days of my youth, and waxing melancholic over the joys of living in a cramped dorm room, I bethought myself of plexiglass.
Now, if you can afford to, you can certainly buy large, pre-made light tables that are used for drafting and so forth, but they are wickedly expensive. The small light tracers that are sold for basic tracing of small things (and have about a 9×12″ surface) are more affordable, but the 9×12″ surface is not everything it’s cracked up to be. For one thing, the brightest part of the tracing area is smack in the middle, and as you move towards the sides, the light grows dimmer and dimmer. So to see anything detailed with clarity, the design needs to be centered right over the middle of the area – no good, if you’re tracing a larger embroidery design.
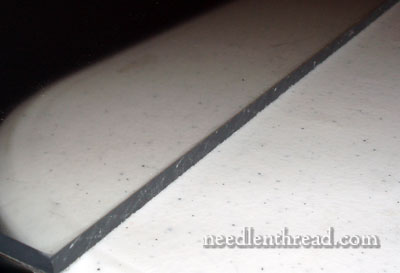
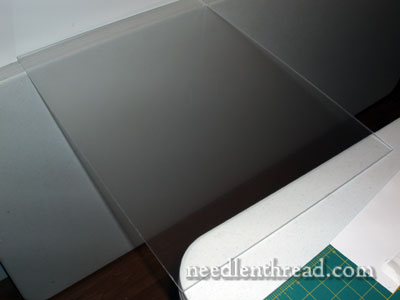
For a larger tracing surface, consider a piece of either clear or translucent white plexiglass. It should be around 1/4″ thick, so that it is firm and hard, even in a large sheet, and can support you and your work while you’re drawing. The thin plexiglass (a bit less than 1/8″ thick) is too flexible and won’t work as well.
Here in the US, for an 18″ x 24″ sheet, it’ll cost around $20 – $22. I bought mine at a local hardware store, and I left the protective film on one side of it, just to help diffuse the light a bit.
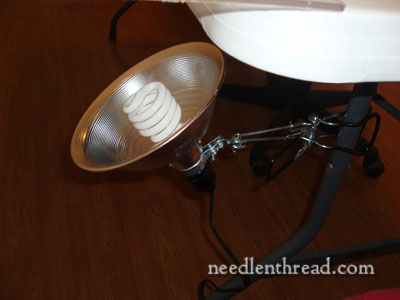
I happened to have on hand a utility clamp light. This is the kind with the extra-strong grip and an on-off switch. They cost about $11 at a local hardware store. The bulb is separate, but most folks have spare light bulbs floating around the house, so you probably wouldn’t have to invest too much for the bulb. Use a bulb that puts out enough light – the equivalent of 100 watts or more, if possible.
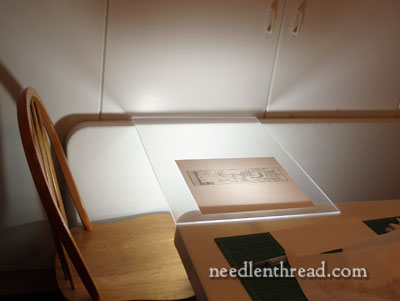
You’ll need two “sides” to your light table. I’m working outside in my garage-gone-studio, where I have two 6-foot folding tables. I usually only have one up at a time, to save on space, but the other is leaning against the cabinets there, so I used the one that’s up to support one side of the plexiglass, and the edge of the folded one to support the other side. I clamped the utility light on the leg of the table and turned the lamp up towards the plexiglass. And voilá! A perfect light table with a large hard surface, good illumination, and a relatively small dent in the pocketbook.
And it’s pretty easy to store, too!
So that’s what I’m using these days for transferring my current projects. These projects will be taking up most of my time in the next few weeks, which means I should have a lot to show you as I go. Right now, I’m musing over some thread choices and stitch choices, so I’ll discuss that process with you, too. I hope you had a terrific weekend! It was a “catch up” weekend for me, and now I’m just about ready to launch into some Really Fun Stuff! I hope you’ll join me for the journey!