This summer, contrary to all previous plans and imagined agendas, I’ll be teaching an ecclesiastical embroidery class twice a week. I shouldn’t really call it a class. It involves one person, to whom I couldn’t say no. I’m glad of it – even though I hadn’t intended to teach at all this summer, a regularly scheduled meeting time twice a week is a great mainstay when it comes to keeping a structured schedule. So, I succumbed, and the first step in preparation for the class was the design process.
Before entering that process, I considered a few things: 1. What does the student already know? 2. What does the student want to learn? 3. What is reasonably achievable in the time that we have? 4. What are the various approaches we can take to reach our goals? 5. Of those approaches, which makes the most sense?
Next, I dug out my Ecclesiastical Stuff box.
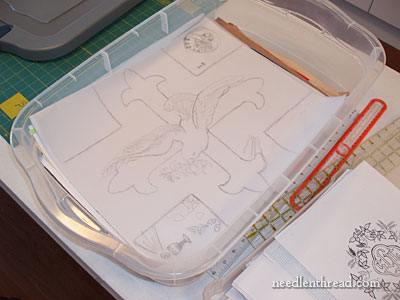
This is just a plastic tub where I keep all kinds of drawing paraphernalia relating to church embroidery that I’ve collected, that might give me some ideas.
Deep within the box there are some photocopies of old vestments. Yes. Photocopies! They’re from a set of woven cloth-of-gold vestments from late 1800’s, that were displayed (and won prizes) at the World Fair. The cloth of gold was woven with red thread to create the designs on the vestments, and the cloth was woven to fit the pattern of the vestment, telling the story of the life of Christ, from nativity to the resurrection. It’s a magnificent set. I expressed interest in it to the priest in charge of the sacristy where it is housed. A couple weeks later, full photocopies of the entire set arrived in them mail! He had literally placed the set on a large bed photocopy machine and photocopies every element of the set! This happens to be one of my favorite design treasures…

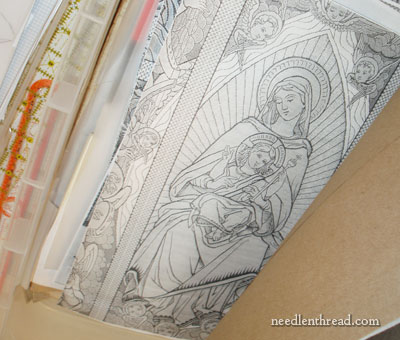
There are also different old needlework journals in the box. Lots of these old journals feature ecclesiastical designs, so I’ve separated out the ones that do, and stored them in this box.
It’s always helpful to have design sources on hand for ideas, so I started shuffling through the box for anything that might spark a notion for this project.
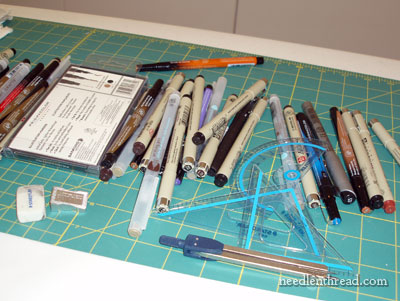
Then there’s the haphazard collection of tools – lots of drawing pencils and pens, a protractor or two, a compass, precise rulers, and a Really Good Eraser, which is my most-used tool.
I work on graph paper, 8 squares per inch, and specifically, it’s vellum, so it is semi-transparent, which works well for tracing.
My student wants to learn more traditional techniques in ecclesiastical needlework, as seen on old vestments. Specifically, she wants to learn goldwork and silk shading, and she wants to learn it by working on an element that she can actually use on a vestment. Old vestments are often either fully embroidered (whoa, Nelly – that’s too much!), or they have a large embroidered cross on the back (still too much!), or they might just have an embroidered “medallion” that is placed at the intersection of the transept and pillar on the cross on the back of a vestment. Yes, a medallion is something more manageable.
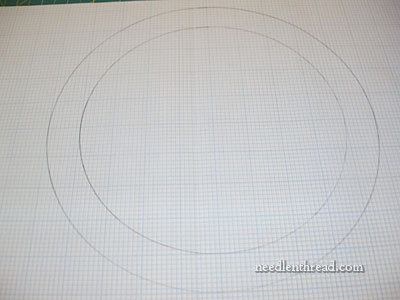
I began with a circle. The medallion will be treated like an appliqué when it is finished. It will be cut out of the fabric and applied to other fabric. There are other shapes that are used for medallions, but the circle is pretty basic and it is easy to appliqué, so I started there.
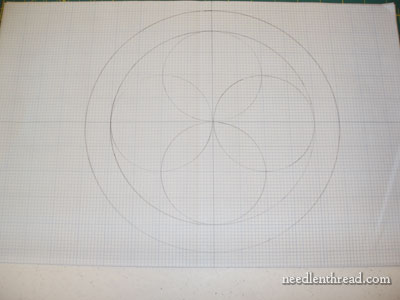
On this type of church embroidery piece, the framework of whatever final design will go in the center of the medallion is usually symmetrical. And that comes in handy in the designing part, but it can become downright tedious in the embroidery part. Symmetry lends to repeated design, especially for the elements that will adorn the framework for whatever goes in the middle of the medallion. Embroidering the same thing repeatedly can be … well, boring. But at the same time, it’s a good learning experience, because the repetition lends to improvement of technique as the piece goes along.
Anyway, the point is, the framework on these types of things is generally symmetrical and made up of repeated elements.
Never underestimate the power of a good compass when working on this type of thing! I Love My Compass.
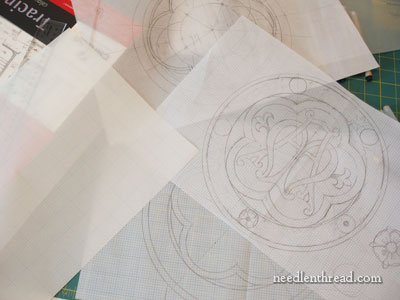
Even though I started off with a kind of “quatrefoil” design in the middle of the circle, it eventually evolved into a “cinquefoil” design, with five scallops. This is when a good protractor comes in handy. To get the scallops right, a line has to be marked off every 72 degrees. If you guesstimate something like that, the finished design, which should look symmetrical, may end up slightly “off” – and you will forever notice it, and it will drive you nuts! (Trust me, I’ve done it!)
So, about five starts and stops later, a design was starting to develop.
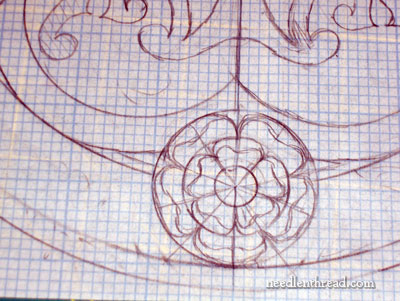
Repeating the cinquefoil element throughout the design, I decided to work in five stylized, Tudor-ish roses (a typical element in ecclesiastical embroidery). They have five petals in each of two rings. I figured this would be a good element for silk shading.
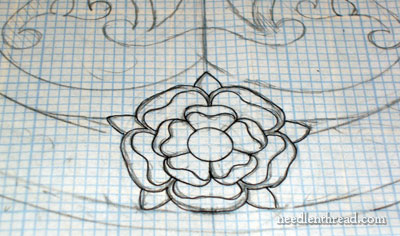
After drawing the rose, I inked it in and cleaned it up a bit, to see it more clearly. I like it. I’ll probably keep it.
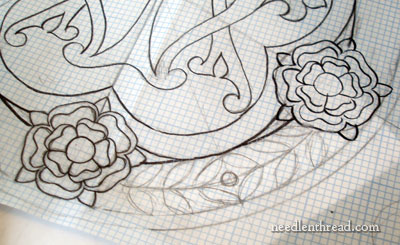
I repeated it in the next scallop point, and sketched in a possible filler design between the two roses. I’m not 100% sold on this – the advantage of leaves would be another opportunity for some silk embroidery and some color, but I think I still need to work out a few different ideas here that are joggling about in my head.
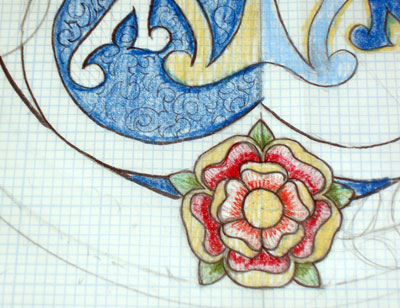
Finally, in a Very Basic Way, I globbed in some really sloppy color with Prismacolors. The background of the design above, I split into two, to test two different color options. I’m debating the color of the background. If we work this on a light ground fabric, the background around the central monogram would be light. But there are lots of possibilities for ground fabric for this type of design: velvet is a possibility, and there are some gorgeous blues out there; or the design can be worked on linen and completely embroidered, including the background; or the design could be worked on linen, and the background of the center part could be appliqueéd velvet – or maybe appliquéd silk in a darker color…. These are things that are swashing about upstairs in my head, but I haven’t arrived at any set conclusion.
Today, though I will give the ground fabric much more thought, while sifting through thread types and thread colors and metal threads. Incidentally, the design right now is about 9.5 inches in diameter, and I’ll be reducing this to 8″. So all in all, the medallion is “small” – but if you consider the amount of work that will go into it, if it is fully embroidered, it’s going to take some time to get those 8 inches covered!
And there you have my haphazard approach to design, and my progress to this point. I’m looking forward to sharing the development of this project with you. It’s my “Big” summer project, but not my “Only” summer project – I’ll show you what else I’ve got lined up, later this week!
Enjoy the day!

