Goldwork embroidery is great fun, but it’s a time-consuming type of hand embroidery. It’s not something that can be rushed. And when you’re feeling your way through an embroidery design – not quite sure what thread will look just right – there’s bound to be some trial and error.
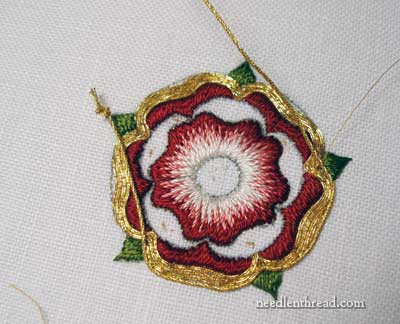
For example, as I was working along on the goldwork & silk tudor rose I showed to you yesterday, I got it into my head that I Really wanted to use a 2% gold twist around the outside edge of the outside petals on the rose. I wasn’t quite sure how it would look, but I had various sizes on hand, so I selected one of the smaller sizes and started couching.
As it turns out, I progressed 4/5ths the distance around the flower when I decided that no, I didn’t like it after all. It didn’t define the edge. In ecclesiastical embroidery, it’s important (especially on small elements) that the edges are defined, because then they are better seen from afar. Since this is for an ecclesiastical piece, the edge needed a bit more definition than the gold twist gave it.
To get definition on the edge, I could have stitched a little line of dark thread outside the gold twist, but I didn’t want to fatten up the design too much.
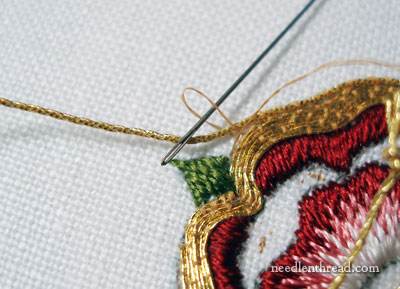
So I picked it out. The best way I’ve found to take off a couched gold thread like this is to pull gently on the gold, away from the last stitch placed in the work, until the last stitch is visible. Take the eye of the needle and slide it into the last stitch, and pull the stitch out. Continue one by one with each stitch, until all the couching stitches are removed. It’s easier to do this than to cut the couching stitches on the back when you’ve done a lot of similar goldwork in the area, because you may cut the wrong stitches! Just be careful when pulling on the gold thread – treat it gently.
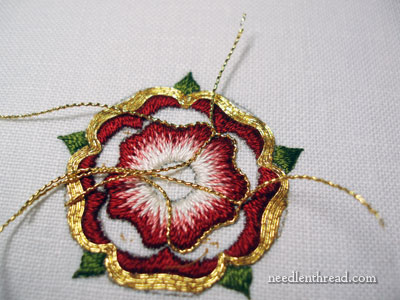
My next trial-and-error approach was to outline the petals in the center of the flower. I wasn’t sure this wavy check thread would do it for me, but what the heck? Might as well try!
And golly, do I just love plunging all those ends! I figured I better make my decision on whether or not the check thread would work, before plunging any ends. It would be much more difficult to remove once the ends of the metal thread were plunged to the back!
As it turns out, I really liked the check thread a lot! (I’ve previously written about this thread, so you’re welcome to visit any of those links to see up close what check thread is.)
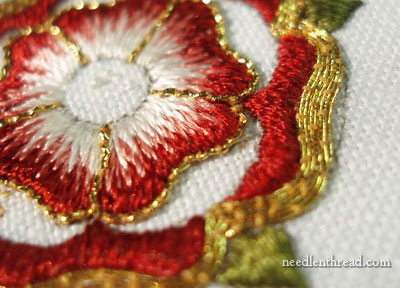
So I plunged the ends and neatened that area up, and was quite pleased with that part of the day’s work.
Incidentally, I didn’t finish the Tudor rose yesterday before the sun went down. I did, however, manage a mighty fine hole in my finger (#12 crewel needles slip right in!), and I had to resort to a thimble. I’m getting more adept at using a thimble these days (this thimble, in particular). I would have never attempted to get used to one, had it not been for the fact that I had a student who used one with such ease that I was almost green with envy. It’s still a little awkward, and it does slow me down. But I’m getting there, and I can see how a thimble can become a stitcher’s best friend!
Ok, then! Guess what I’m doing today? Before the sun goes down…..
Right.
You’ve heard that before!

