The next step on the Goldwork & Silk Tudor-style Rose project involves filling up the rest of the inside petal space with #7 tambour gold. If you’re just joining in on this project, feel free to read up on the rest of the stages. You’ll find the embroidery pattern, plus each developing stage of the project, listed in the goldwork & silk Tudor-style rose index.
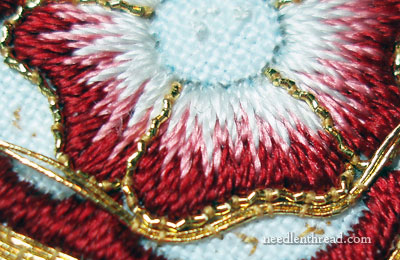
After adding the check thread on the inner petals of the rose to give a little texture to the outline of each petal, this remaining space at the tip of each petal is filled in with the #7 gold tambour thread (you’ll find a list of all the materials in this project in the first instructional post). The gaps are filled with the tambour thread in the same way that the outer petals were filled, working the tambour thread in pairs, couching them close together.
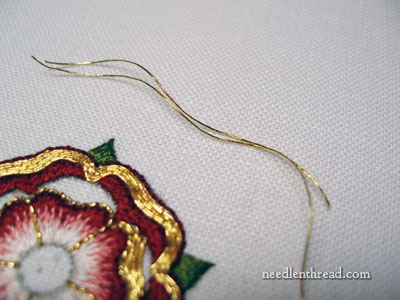
I cut the tambour thread in short lengths (about 2 -3″ long, to give plenty of extra thread for easy plunging). To “tame” the tambour thread a little, pull slightly on the ends of the cut threads. This will stiffen them up and make them easier to manipulate.
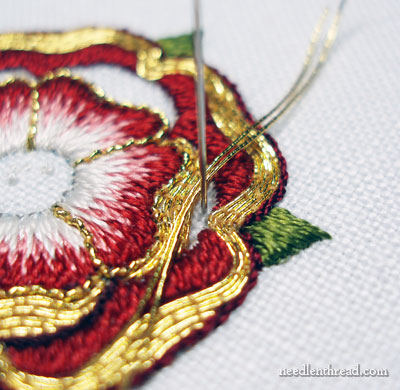
Lay the threads on your work, positioning them where you want to couch them, and begin couching them in the middle, working to one side of the couched gold threads. Then go back to the middle and work to the other side. I find it easier to bring the needle up to the outside of the gold threads, and take it down towards the previously couched rows. That way, I don’t have to poke around underneath the already-couched rows, to find the right spot to emerge with the needle. This keeps me from possibly damaging the already-couched rows of thread.
As the area fills up with the couched threads, you can either leave your ends to plunge all at once, when the petal is filled, or you can plunge each row at a time. Next time I work this project, I’ll plunge each pair as I go and anchor the threads on the back right then, rather than waiting until the whole petal is full. Why? Because it’s easier to manage anchoring one pair of threads on the back at a time, than having to sort through the hairy mess that develops when you plunge a lot of threads around this small of an area.
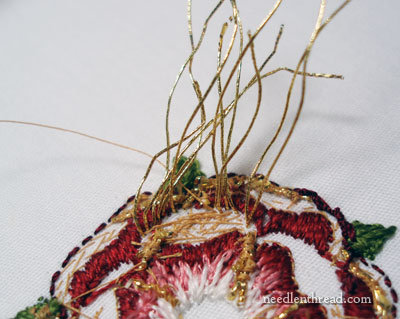
This is the hairy mess. To anchor the threads (I’m sorry I didn’t take close-up photos of this process – but I will, the next time I work the rose), you stitch over a group of threads with your couching thread, stitching over the gold and under the back of the couching stitches that criss-cross the back of the work. I generally work in pairs, but you can actually anchor a couple pairs at a time, if you work them carefully, without letting them bulge into one huge lump. Overstitch the gold with about three or four good stitches on the back, and then cut the excess away. To make this process easier, you can work with a curved needle – I know some people prefer a curved needle for anchoring their plunged golds – but in this tiny space, it was actually easy enough with the regular needle that I used for couching.
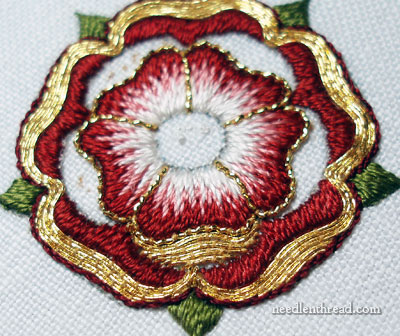
Here’s one filled petal, with the gold ends plunged. Notice that there’s a little white showing around the outside edge of the petal – just a tiny bit there. But that’s ok, because we’re going to outline that petal with a dark red silk, so that white bit won’t show.
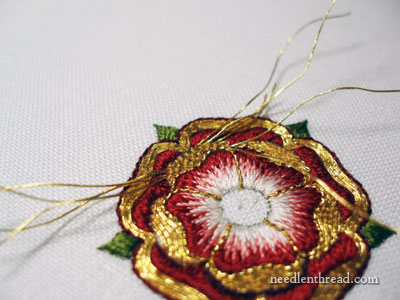
The final petal here is ready for finishing. I use a plunging lasso to pop these thread ends to the back of the work. It works really well in this tight little space. Plunge one gold thread at a time, not the pair.
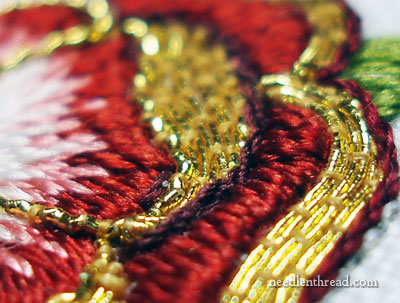
Following the same method for stem stitching the outside petals of the flower, I worked the stem stitch around the tops of the inside petals, using the Soie 100/3 (#518). Just a reminder: this is another z-twisted filament silk thread, so if you want your stem stitch to look rope-like, keep the working thread above the needle, rather than below it. In this way, you’ll achieve a nice twisted rope look to your stem stitch here.
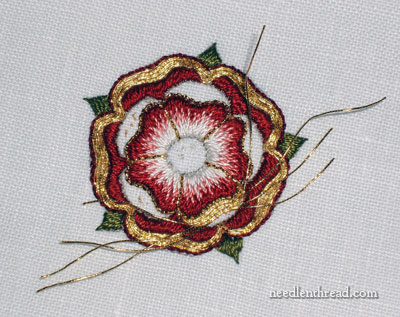
The final step in this project is filling the center of the flower – we’ll see that next week!
To follow the development of this project step-by-step, visit the Goldwork & Silk Tudor-style Rose Tutorial Index.
Have a terrific weekend!

