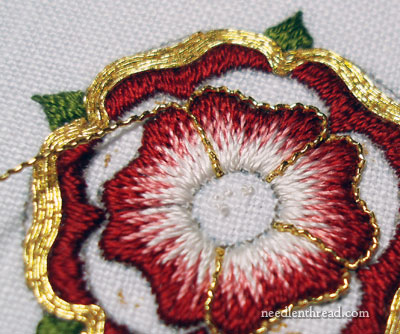
So far, on the Goldwork & Silk Tudor-style Rose embroidery project, we’ve satin stitched the outer leaves and petals, embroidered the inner petals in long & short stitch, couched the gold tambour thread around the outside petals, and now it’s time to move to the inside ring of petals.
On the inner ring of petals on this piece, I’ve used two types of gold thread: the #7 tambour thread that I used on the outside petals and a #7 check thread, to add some sparkle and texture to these inside petals.
Check thread is quite easy to work with. I’ve written about it before, when I used it in my goldwork pomegranate project. You handle check thread pretty much the same way you handle passing thread – the only difference is that check thread is wavy. It’s great for outlining!
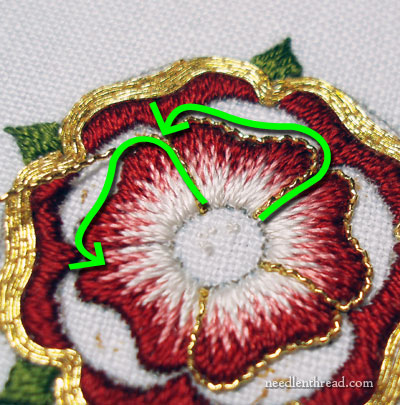
The green arrows mark the path for each piece of check thread. For the 1.5″ rose, you’ll want to cut 5 pieces of check thread, each about 3″ long. Starting in the middle of the flower and leaving about 3/4″ overhang of check thread, couch the check thread up the right side of the petal, around the top, and end it in the little “valley” where the adjacent petal meets the one you’re presently working on.
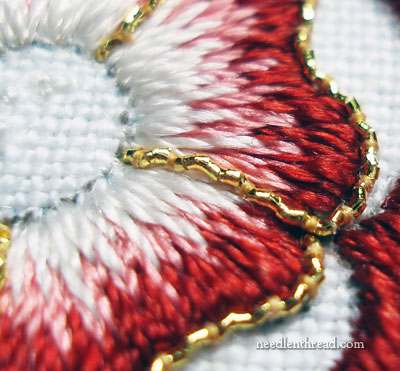
I used the YLI #100 silk thread that I talked about in yesterday’s post to couch the check thread, and I couched at about every other “wave” in the thread.
After couching up the right side and across the top of each petal, plunge your ends and secure them on the back. This is how I secure my plunged goldwork threads on the back of the work. I don’t always “strip” the gold, but sometimes I do, if I need to squeeze the threads into a tighter space. It just makes the threads a little easier to secure.
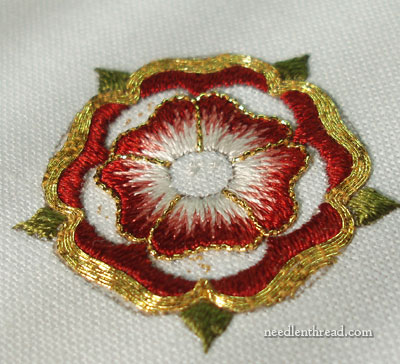
Work all around the five inner petals this way, until you’ve plunged the last bit of check thread. Now, you’re ready to fill up the rest of those inside petals with gold! But we’ll save that for a bit later!
Here’s a lits of all the Goldwork & Silk Tudor-style Rose tutorials in sequence, in case you want to follow this project from beginning to end.

