In the Medallion Project that I’ve been working on, the background is stitched in flat silk that is held down by a meandering gold thread in a technique called “vermicelli.”
Today, I’d like to show you how I lay the flat silk, and explain why it’s useful to change the direction of filling an area while doing so. For the most part, I don’t change the direction of stitching, but instead I turn my frame 180 degrees. We’ll look at laying flat silk threads, and then how to fill an irregular shape, changing the direction of the filling process along the way.
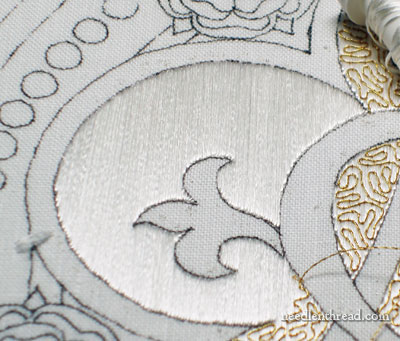
First, it’s useful to understand how flat silk is stitched to fill a large area. While the silk above may look as if it’s been satin stitched, in fact, it isn’t. This smooth flat silk filling is accomplished by using a technique called “laying” the threads, or “laid work.” This technique can be used in all types of embroidery, so whether or not you’re working with flat silk doesn’t really matter – you can do this with any type of thread, as long as the resulting long stitches are somehow secured, by couching some type of thread over the top of the stitches.

The diagram above (from my satin stitch dot tutorial!) demonstrates how to “lay” threads for laid work. The red lines represent the straight long stitches on the front of the fabric. Coming up at A, you take a long stitch and go down at B. Now, this is where the difference between “laid work” and satin stitch is seen: instead of bringing your needle back to the front of the fabric next to A, you hop sideways to C, right next to B, bring the needle and thread to the front of the fabric, and then take the stitch down at D, which is right next to A. This minimizes the thread on the back of the fabric – there are no long stitches on the back, only on the front.
So that’s the method of stitching.
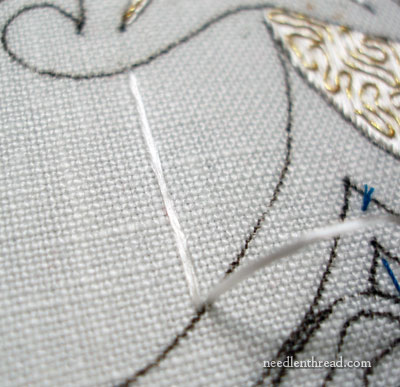
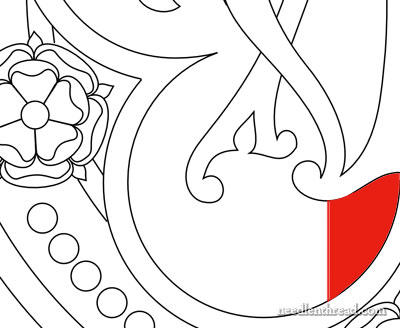
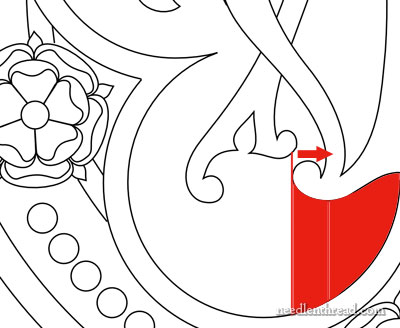
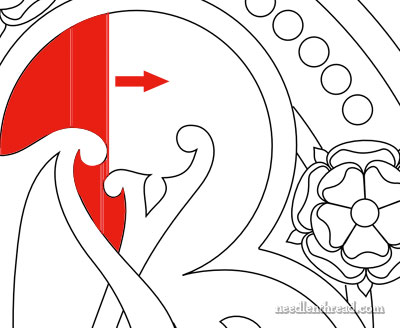
To begin filling an area, I start away from the edge of the area and set in my first long stitch. Starting away from the edge helps establish the correct angle of the stitch.
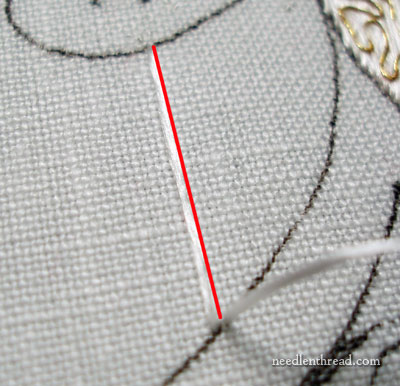
By looking at the red line in the photo above, you can see that the angle of the stitch is parallel to the weave of the fabric. It is straight up-and-down. All the silk stitches used to fill the background of the Medallion are completely vertical.
From the point of this first stitch, represented by the red line in the diagram above, I am going to fill the rest of that little area to the right of the red line.
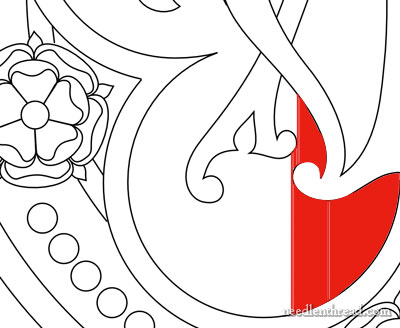
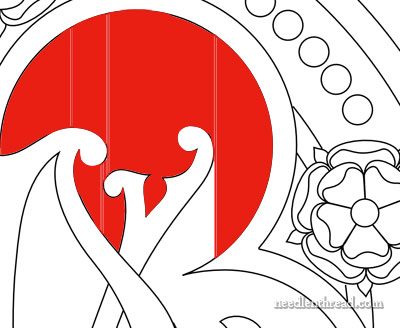
Once that area is filled, I’m going to move back to the beginning of the area (where the initial red line was), and fill to the left. BUT…. (there’s always a but!)…
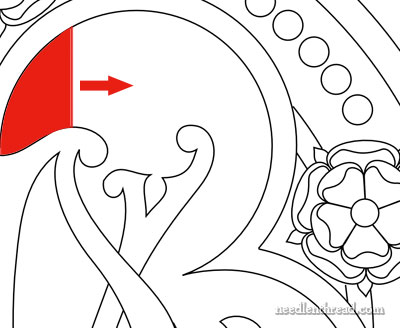
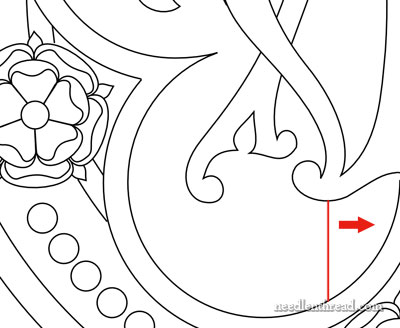
… at this point, I turned my frame 180 degrees, so that technically, I’m still stitching from left to right.
It may seem rather a pain to do that, but to accommodate holding my laying tool in my left hand (the tip of which is pointing to the right, as indicated by the red arrow), it makes more sense to fill from left to right. Turning the frame ensures that the tip of my laying tool does not come into contact with previous stitches.
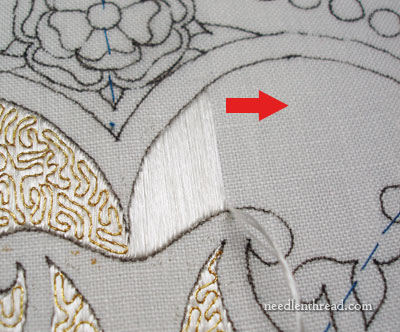
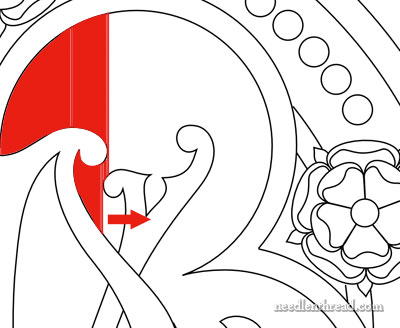
I filled from left to right, to this point in the pattern.
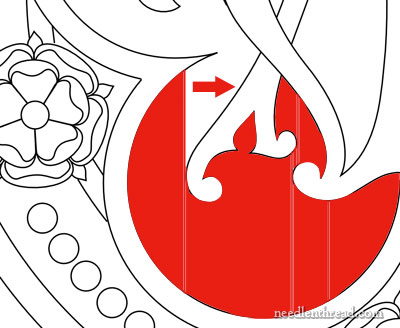
Now I have to fill this little area in the background, and so from this point, I turn the frame again 180 degrees, so that the design is now upright, and I continue stitching from left to right, to fill that small irregular shape of the background.
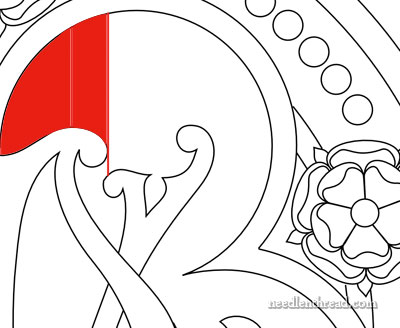
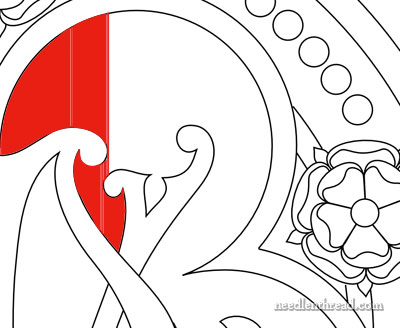
When I arrived at this point of the filling, it was time to turn the work 180 degrees again
Now I can fill the remainder of that shape from left to right, too.
While it may sound as if I’m rotating my frame around every few stitches, each of those areas, though small, takes a bit of time to stitch!
Now that this little area is filled, I can go back to the larger part of the background that still needs to be filled.
I’m still filling from left to right, so I don’t need to turn my frame again at this point.
Once this much of the filling is finished, it’s time to turn the frame 180 degrees again (so that the design is upright).
Then, working again from left to right, this area is filled…

And now, instead of rotating the frame and continuing with the filling, it’s a good time to stop and start couching on some gold.

I find it easier to work a smaller section of flat silk and then couch it over with the gold, rather than filling all the silk in the whole background first, and then working all the gold. Not only does alternating silk and gold provide a bit of variety in stitching, but it also secures the silk right away, rather than leaving it exposed to snagging.
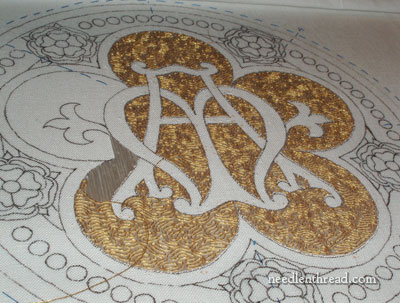
Here’s a shot of progress to this point, taken from farther away. The gold really gleams!
Even though it looks like a lot of work, this type of stitching is not really difficult. It is a little repetitive and it is definitely time consuming, but it isn’t hard. My favorite part of stitching in these techniques – laid silk threads and vermicelli goldwork – is the easy rhythm that develops during the process. Both techniques do require attention, but they don’t require any difficult manipulation of complex stitches, so the frustration factor is very low, but the satisfaction factor is pretty high!
Now it’s time to get the background completely finished, so we can move on to the center monogram!
If you’d like to see this project develop step by step, you’ll find all the articles relating to it listed in order on the Project Index for the Marian Medallion.

