Have you ever noticed that there seems to be an infinite variety of surface embroidery stitches that you can play with? Ok, infinite might be an exaggeration, but there sure are lots of them! And playing around with all those stitches can provide all manner of fun for those of us who are stitching-prone… or stitching-obsessed, however you want to look at it!
But even with the simple stitches, you can run into little glitches that slow you down, right?
Today, we’re going to look at a stitch glitch. Here’s the glitch: You’re whipping a line of stitches (say, chain stitch or backstitch or running stitch). So, what do you do when you run out of thread right in the middle of the line?
Let’s look at it.
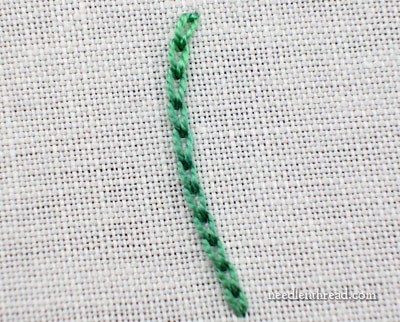
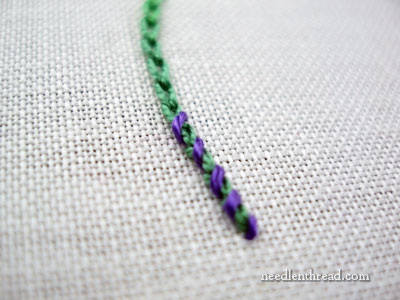
Here’s a line of chain stitches. What we want to do is to create this effect on the chain stitched line:
This is called “whipped chain stitch.”
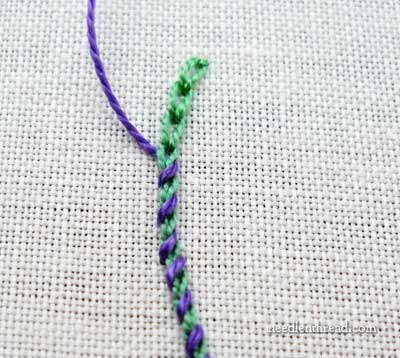
To whip the chain stitch, bring your purple thread out at the base of the chain stitch line, and “whip” the chain stitch by passing under each chain stitch from right to left (or left to right, if you’re a lefty), without picking up any fabric. Just run the needle right under each individual stitch, always passing the needle under the chain stitches from the same direction.

If you happen to be working with a sharp-tipped needle, you can ease the passing of the needle under the stitches by pushing the eye through first, instead of the tip. This keeps the sharp tip of the needle from catching on the previous stitches.
Notice that in the second stitch, I’m still taking the thread through in the same direction as the first stitch – from right to left.
Continue up the line this way, until you’ve whipped the whole line of chain stitches.
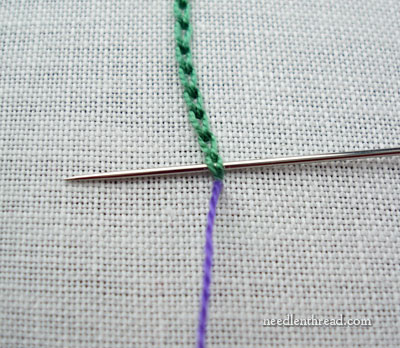
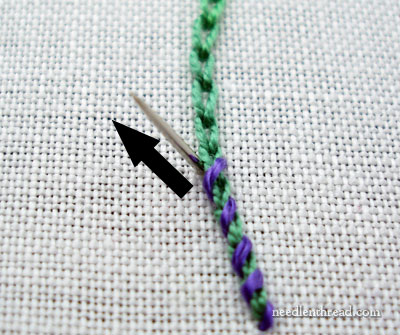
The glitch: You just ran out of thread right in the middle of whipping your line of chain stitch!
Here’s the fix: To end the thread, move up to the next (un-whipped) chain stitch. About halfway up the length of that chain stitch, working from the side of the stitch, angle your needle into the fabric, so that the tip enters the fabric underneath the chain stitch, not off to its side.
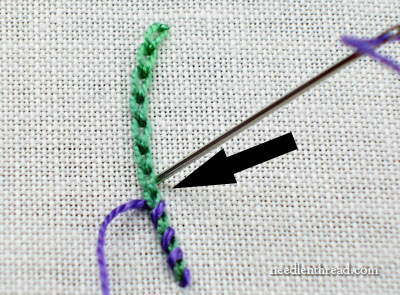
Pull the needle and thread through to the back of the fabric. This will create a slanted stitch over the chain stitch line, at the same angle as all the other whipped stitches.
Turn your work over, and run the thread through the back of the chain stitches there to secure it, and then cut it off.
Start your new thread by running it under the back of the chain stitches on the back of the fabric to secure it (the same way you secured the previous thread).
Then bring the needle up just opposite to where the last stitch ended, on the other side of the same chain stitch. Emerge from the fabric underneath that same chain stitch, and angle the needle out to the side of the chain stitch.
Pull your new thread through, and you’re ready to start whipping the line again.
Can you tell where I changed threads?
So that’s how you get around that stitch glitch!
When you’re whipping any line of stitches (whether chain stitch, running stitch, backstitch, stem stitch…) it is much easier if you don’t have to end the thread and start a new one. If you can, cut your thread long enough to whip the complete line. Sometimes, though, this isn’t possible. In such circumstances, it’s good to know how to start a new thread in the middle of the line!
If you have any questions about individual stitches or glitches that you’d like to see explained here on Needle ‘n Thread, feel free to leave a comment below and I’ll see what I can do to help you out!

