After working out the colors and procedures for the stem stitch filling on the outer edge of the Medallion (it’s not all finished yet!), my next step was to concentrate on the goldwork dots and makes some decisions about them. Around the outside of the Medallion, you see, there are 50 round dots, each about 5/16th’s of an inch in diameter. So they aren’t large dots, but they are dots nonetheless, and each has to be individually worked.
What was I thinking?!
Once I finished one section of the blue outer edge of the circle, I took a break to think about those dots.
My original plan was to outline each of these little dots with pearl purl wrapped with silk (much like the Lizardine technique around the monogram), and then fill with chipping in check purl, just the like the center of the Tudor-style rose on the design. The photo above documents my trial of this technique.
A couple things perturbed me:
1. To bend the pearl purl smoothly around this small of a circle and make a decent enough join in the two ends is somewhat difficult, but the difficulty is exacerbated by the stretched purl and the in-between layer of silk. It’s just too tight, and it’s too fiddly and time consuming.
2. While I like the gold / blue twisted effect (and I especially liked it around the monogram), here, it doesn’t make a clean enough line around the dot. Too much blue, not enough gold.
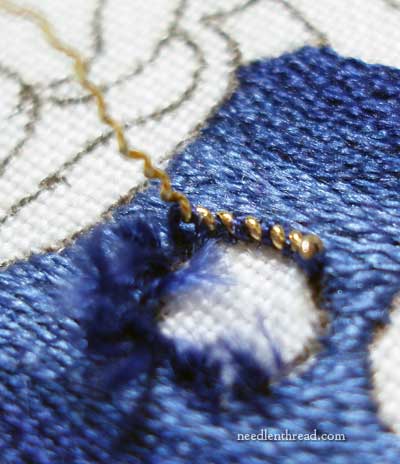
So it came off. Now, picking off real metal threads from an already-stitched background is something that should be done carefully. Tweezers are essential tools at this point – but not sharp-tipped tweezers that can snag the silk. I use blunt tipped tweezers in places like this. They grip, but they don’t stab!
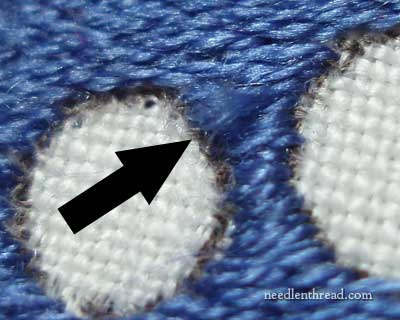
But … rats … I still snagged the silk! See the problem? I caught a bit of the background silk and pulled it up. To fix that, I threaded up a strand of the same color of blue, and took one stitch over that area on the front, pulling the silk back into place, and then secured everything on the back.
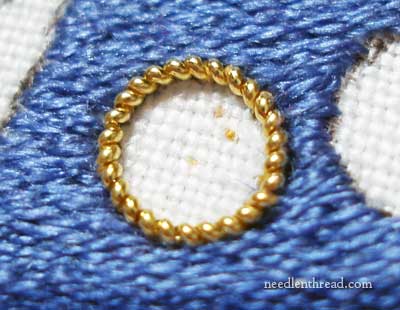
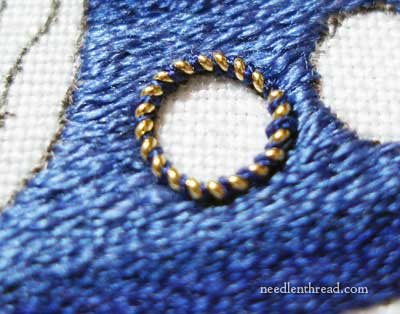
Ah. Just a gold ring. Much better! The outline is cleaner, and it’s a lot easier to work with just the gold without the silk twisted in it.
When you work with pearl purl, you have to give it the slightest, tiniest bit of stretch before stitching it down. If you’re working in lines and loose swirls, this bit of stretch is just barely there, enough to barely separate the little “beads” of purl, but not enough to notice the separation. This helps remove some of the bwoinginess from the wire (it seems to stiffen up a tad and it becomes easier to manage), and it also separates the coils just enough that the couching stitches slip easily between them without being seen.
When working around a very small circle like this, I found that the stretch on the wire is just slightly more than it would be if working a longer or looser line. Otherwise, the beads of the purl try to shoulder each other out of the circle.
Stitching the dots was an adventure – we’ll revisit them later on and I’ll show you the filling and a little extra touch around the outside.
If you’d like to follow this project from beginning to end, in step-by-step fashion, feel free to check out the Medallion Project Index. If you have any questions, comments, suggestions, feel free to leave a comment below!

