The last time we looked at the Medallion Project, it was undergoing a little demolition. But the demolition wasn’t really a set-back, you see! It was just Something that Had to Be Done. And I’ll tell you why, below. Trust me, the reason will not bowl you over with any brilliance. It was just a small, stupid mistake on my part!
The five goldwork and silk Tudor-style roses around the outside of the medallion are finished, too, which is a major chunk of the piece at this point. They were actually finished before I started in on demolishing the dots, though after a while, these little details begin to blur together…
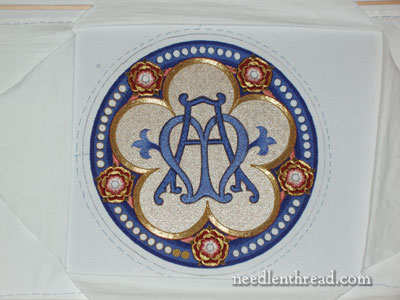
Here, we have the medallion from a bit of a distance, straight on with a flash, which really picks up the flat silk on the background of the monogram area. The roses are finished, with the exception of their gold centers.
Isn’t it funny how, when seen from a distance, it just doesn’t look like that big of a deal. It would be hard to convince people who know nothing about needlework by hand that they are looking at over 400 hours of work right there!
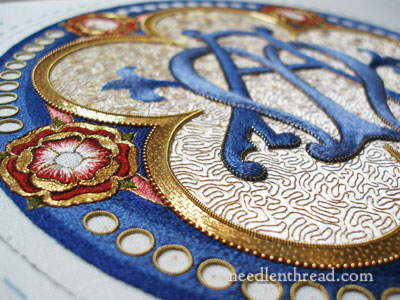
You can see in this photo that these dots are still outlined, because the dots that I demolished the other day were not these dots. The dots I demolished were the first ten goldwork dots on the lower right side of the medallion.
Note: Take clear, consistent notes when you work on a project like this. I generally do, but there are times when I tell myself I’ll “write it down later,” and then I forget to. The first ten dots had to come out, because I used a different thread size on them. I used a size 1 on the pearl purl outlining the dots. I should have used size “very fine.” The very fine looks much better than size 1. It takes the tight curve of the circle better. Initially, when I discovered the mistake, I thought that it might not be that noticeable. And maybe it wouldn’t have been that noticeable. But I sure saw it, so the first ten dots had to go.
It was a good lesson! Don’t forget – when you’re working a project, especially a Big One, keep good notes, and write down any changes you make immediately.
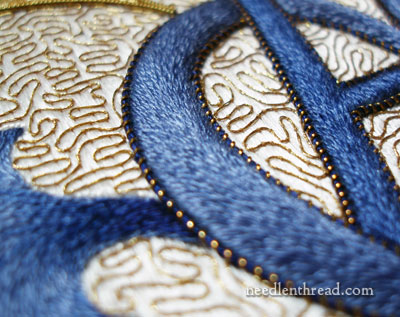
When I’m stitching, I often find myself thinking about the project I’m working on. Not just thinking ahead, mind you! I think back over the parts already completed. The other day, I found myself trying to pin down my favorite part of this project. And this is it, right here in this photo: the background of the monogram area, the monogram, and the lizardine outline. I’m not sure why I like this part best, but I do.
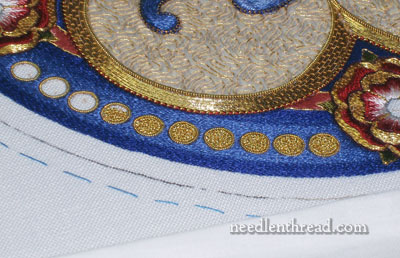
And here, you can see that the New Dots are filling up!
Another Note: This is not a technique that I would recommend for beginners. Making the join on the pearl purl couched in tiny rings is really difficult. If I were doing the project again (hahahahahahahahaha), I would not do the dots this way. But it was too late to change tactics at this point. I was actually hoping that, by the time I reached dot #25, some Magic Formula for making the Perfect Join with pearl purl couched in tiny rings would make itself apparent. But it didn’t work that way!
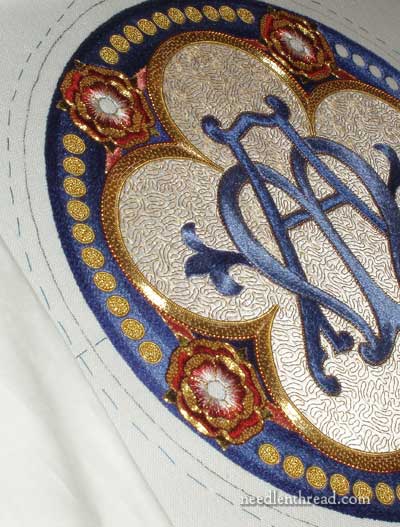
And…. Almost there!
If you’d like to follow along with this project from beginning to end, in chronological order (with the backstory, tips, techniques and instruction for various parts, and even all the mistakes!), you’ll find every article relating to the project listed in the Medallion Project Index.
