The Dot Dilemma – that harrowing situation of stitchery, when a thread carried between French knots is visible from the front of the work. How do you solve the problem of carried threads between isolated French knots?
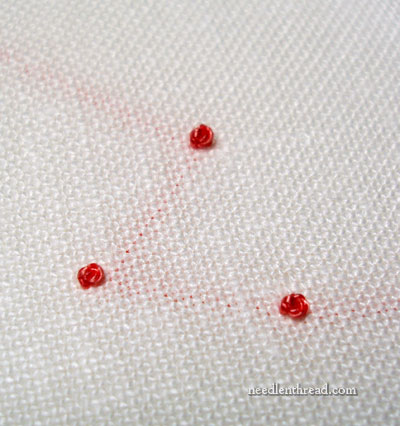
Today we’ll look at one way to start and end isolated French knots. I call this the “Tied Off” method.
Isolated French Knots: Tied-Off Pros
1. The tied-off method is easy for beginners to get the hang of and to do right the first time. If you happen to be teaching children to embroider, they pick up on this method really well, because they see it as something familiar to them. Most kids who have learned to tie their shoes, get it. And strangely enough, they see the whole process as part of the stitch, and they enjoy doing it, regardless of the fact that they are ending and beginning their threads quite often.
2. This method works just fine with cotton floss, perle cotton, wool, and stranded (spun) silk, which are among the most commonly used embroidery threads.
Isolated French Knots: The Tied-Off Method
Let’s look at how to stitch isolated French knots using this simple tied-off method. Ready?
Start with a waste knot: knot the end of the thread, and take your needle and thread down into the fabric from the front, about 1″ – 1.5″ from where you want your first French knot to be, and leaving the waste knot on the top of the fabric.
Bring your needle up wherever you want your first French knot to be located.
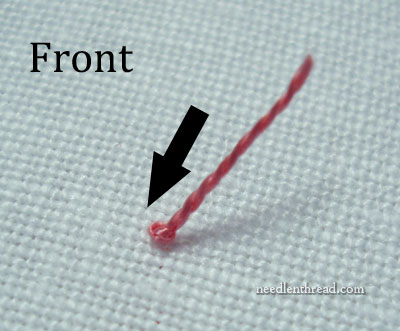
Make a French knot.
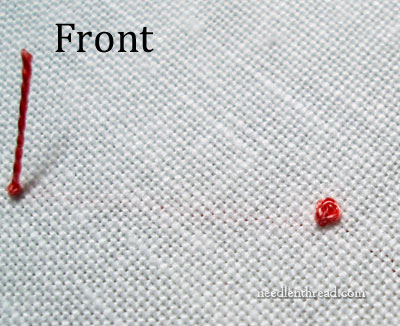
On the front of your fabric, you should now have a French knot and a waste knot, with about 1″ – 1.5″ between them. Your needle and working thread should be to the back of the fabric.
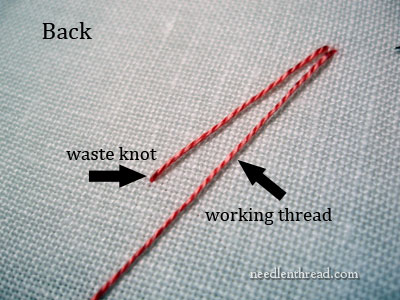
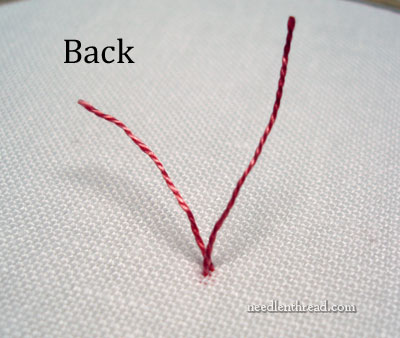
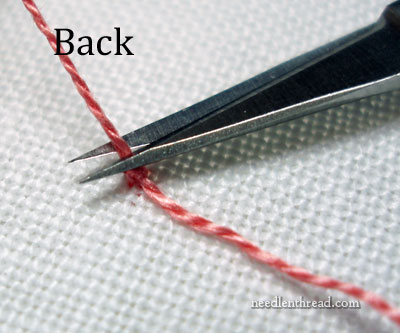
On the back of the fabric, you have two threads now: the thread attached to the waste knot and the working thread that you just used to make the French knot.
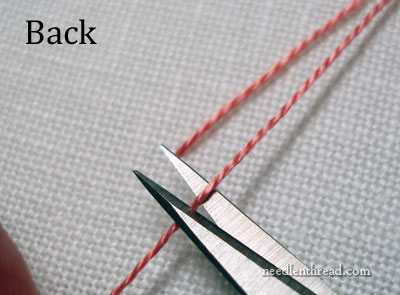
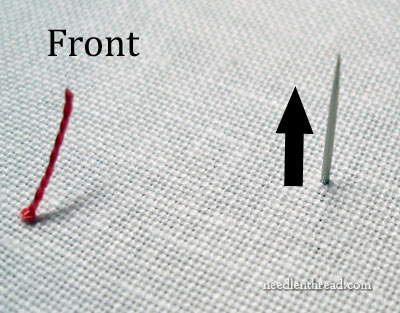
Snip the working thread so that it’s as long as the waste knot thread – about 1″ – 1.5″ long.
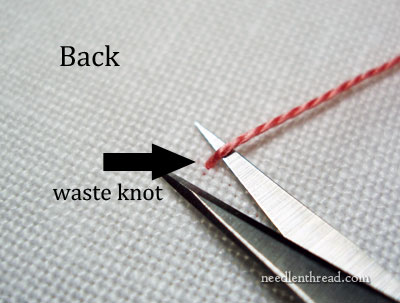
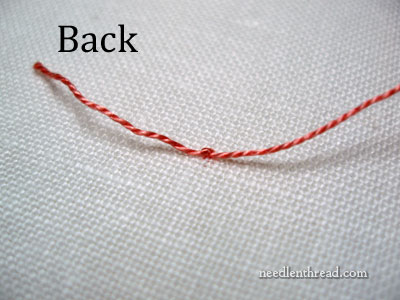
Then snip the waste knot thread, right close to the fabric.
And now you have two nice little loose threads on the back of your fabric. Too bad we can’t just quit here, but at this point, your French knot is quite vulnerable. In fact, if you aren’t satisfied with the French knot and you want to re-work it, you can just pull straight up on it and pull it out of the fabric.
But I know you actually made a perfect French knot, so leave it there, and let’s continue!
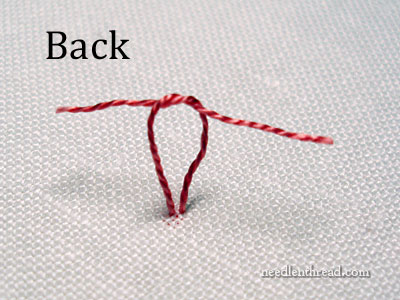
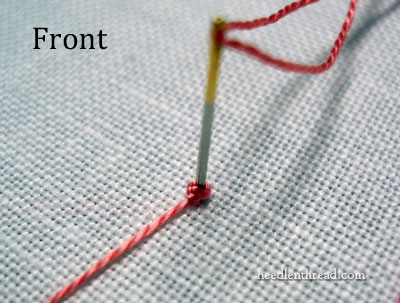
Here comes the shoe-typing part. At this point, you surely know what to do: you’re tying a knot in the back of the thread. Do the over-under thing with the two tails…
… and pull the first half of the knot nice and snuggly down to the fabric.
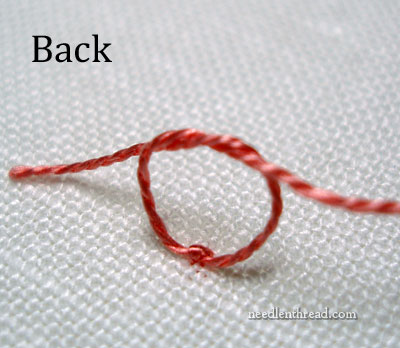
Then do the over-under thing again and tighten it snugly to the first half of the knot.
And now, you just snip the tails off, close to the knot, but not right on top of the knot. You should leave tiny “arms” there – small, but not extending beyond the bulk of the French knot on top.
That’s it! And it was as easy as… well… tying a knot.
Tied-Off Cons
(Of course, there must be cons!)
1. This method leaves a bit of a goodly sized bump on the back of your fabric if you’re using perle cotton or any heavier thread. It isn’t so bad with a couple strands of regular cotton floss, but heavier threads can be rather bulky. On the other hand, just about any method of starting and ending a thread and taking a stitch in this limited amount of space is going to create some bulk, so… you have to decide for yourself if you can live with the bulk.
2. This method does not work well with filament silks (those are the shinier silks), some boingy stranded silks, or with rayons. The threads are too slippery and the tied-off knot on the back doesn’t hold well.
3. It’s a jolly waste of thread. By the time you’ve finished, you’ve used about 3″ of thread for one tiny French knot. There are other methods of starting and ending isolated French knots that use up much less thread. You have to weigh the ease of the method against the waste of thread. With children and with beginners, I’d say it’s worth “wasting” the thread (really, it’s all part of the process, so I’m not sure you can call it waste) until they have the hang of stitching and can use other methods easily and successfully, with minimal frustration.
So that’s one method of working isolated French knots. We’ll look at variations on another approach a bit later in the week!
Any questions, comments, or suggestions? Have your say below! Everyone benefits from exchanging ideas and asking questions, so do feel free to use the comment form below if you’d like to add something to the discussion.
I’ve added this article to the Stitch Glitch series here on Needle ‘n Thread. Stitch Glitch is a series that explores little difficulties that you might run into with individual embroidery stitches – for example, how to end one thread and start a new one in the middle of a line of particular stitches, how to join stitches in a smooth circle, and similar questions. If you have any questions about difficulties with a particular stitch and would like to see a tutorial on how to solve those difficulties, let me know by leaving a comment below or dropping me an e-mail. I’ll see if I can work something up for you!

