Damp stretching or blocking hand embroidery is one of the best ways to make ready a piece of hand embroidery for finishing or framing. I call this step blocking sometimes and other times, I call it damp stretching or damp blocking. The terms can be used interchangeably. The idea is simply that you are squaring up a piece of embroidery, stretching it out, and removing all the wrinkles, all at the same time.
I rarely take pictures of this process, because by the time I get to it, I’ve either finished taking pictures, or I’m not ready yet to take pictures. But it’s good to know how to do this, if you don’t already know. If you photograph your needlework, this is a wonderful way to get it ready for nice, clear, crisp photos.
Damp stretching in this manner assumes that your fabric is clean already. If you have stains or marks on your fabric, you should take care of those before blocking.
Especially if you’ve used a hoop for your embroidery project, blocking it afterwards is a must. Stretcher bar frames and slate frames and the like minimize the need to do this, but they don’t eliminate the need altogether. While you won’t have hoop wrinkles on a piece of embroidery that’s been stretched on a frame, sometimes when a piece is framed up, it could have been slightly distorted. Blocking will help remedy most problems of distortion, unless they are really, really severe.
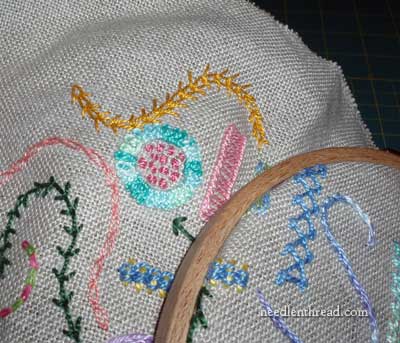
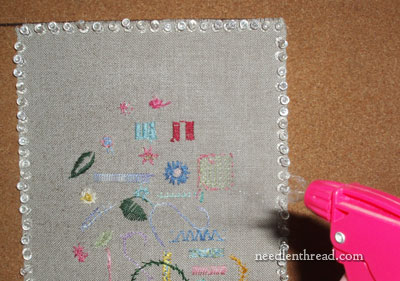
Above, you’ll see a piece of scrap fabric with some sample stitches worked all over it in different types of thread. The fabric is called Montrose 1775, and it’s a nice, natural, chucky-ish linen (an even weave) that’s great for historical samplers, but also works really well when working out stitch samples using heavier threads like perle cottons, wools, and so forth. In fact, what I especially like about this particular linen (made by Legacy) is that it is so sturdy. Picking out stitches is no problem on it – the linen is very resilient. You can see that the samples were worked in a hoop and that the fabric is rather rumpled. I plan to photograph some of those samples, but it isn’t ready for picture-taking … yet.
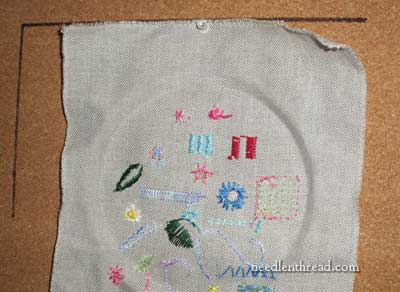
I do all my blocking on a large cork board that I bought specifically for that purpose. On the surface of the cork board are drawn (with permanent marker) many lines, dashed circles, and so forth, that act as guides while blocking. For blocking a piece of square or rectangular linen or cotton, I always start with one side along at least one straight line.
Incidentally, I know some stitchers who have very successfully used their ironing board cover to pin out a piece of embroidery, so you could always try that if you don’t have a cork board.
Whatever surface you choose to use, make sure your surface is clean.
For pins, you can use push pins, tacks, sewing pins, and the like, as long as you have a good supply of whatever type of pins you are going to use. I find push pins the easiest to use for this procedure.
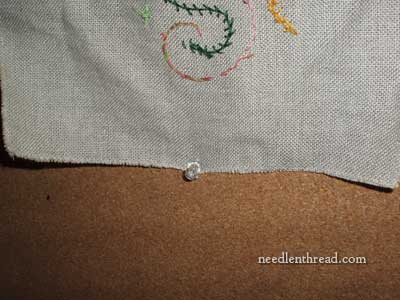
I usually turn my embroidery face down on the cork board, so that I’m working on the back of it. If you’ve used highly dimensional stitches, don’t turn it face down. Line up the top edge of your embroidery with a straight line, and push a pin into the center at the top edge.
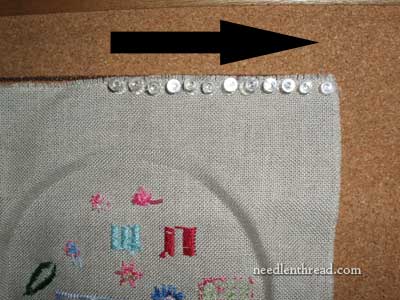
Pin out to the side edge across the top, keeping your fabric lined up with the straight line. You don’t have to pin as closely as I did, but you do want to keep the pins fairly close (every 3/8th inch, perhaps).
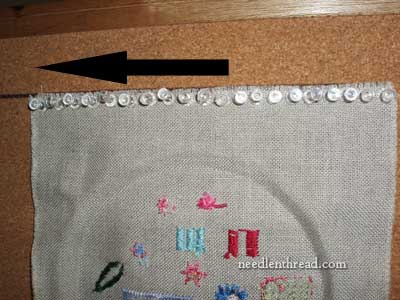
Go back to the center, and pin to the other edge of the fabric.
It’s important to work from the center out, so that you keep your fabric along the straight line and it doesn’t buckle up at all. You’re essentially pulling it out to the edges from the center point.
Once the top edge is completely pinned, move to the opposite edge (the lower edge) and start the process over again, beginning with the middle pin. As you pin the lower edge, stretch the fabric ever so slightly. Think in terms of making the fabric flat on the surface of the cork board.

Pin from the center to the outer edge, then go back to the center and pin to the outer edge.

This is what it looks like at this point, and you can see that some of the wrinkling is already alleviated. But we’re not finished yet!
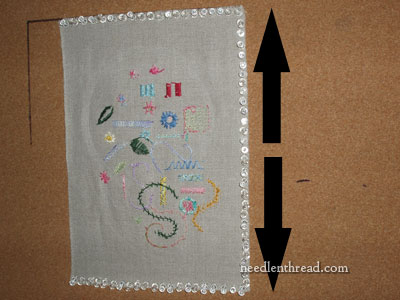
Pick either side and do the same thing, starting from the center and working to the upper edge and then back to the center and working to the lower edge.
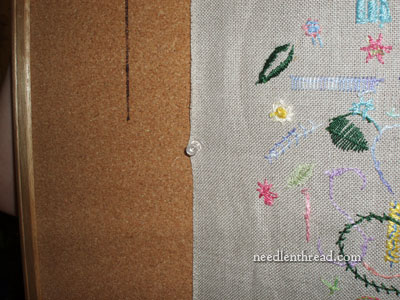
When one side is finished, move to the last side of the piece. Here, you can pull the fabric again, creating tension with the opposite side. Repeat the pinning process.
At this point, you can see why I mentioned that you don’t have to pin as closely as I did on this particular piece!
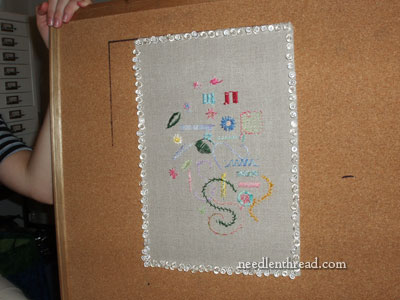
All pinned up and square!
Using a spray bottle set on “mist” (not a direct stream of water, but a light spray), spray the fabric all over.
Next, go do something fun and forget about the piece for a while.
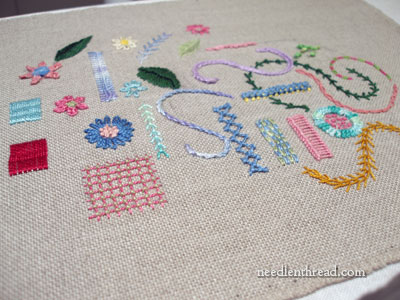
When it dries – voilá! – you have a perfectly flat, squared-up piece of needlework, ready for photographing or for finishing or framing. All the wrinkles will be gone, the weave of the fabric will be where it should be, and you’ll be awed at the smooth beauty of the piece. It may seem like it takes “too much time,” but the finished results are worth it, and it’s a much more certain way of smoothing and squaring up a piece of embroidery, compared to ironing (which can warp the embroidery or crush the stitches if extreme care isn’t taken).
Hope this helps you with your embroidery endeavors!
You can find many more tips & techniques for hand embroidery right here on Needle ‘n Thread.

