Oh, the plaited braid stitch! It is a beautiful stitch, but unfortunately, for some reason, many stitchers are intimidated by it. Let’s alleviate that intimidation, shall we?
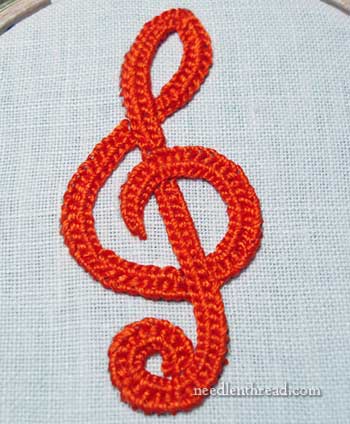
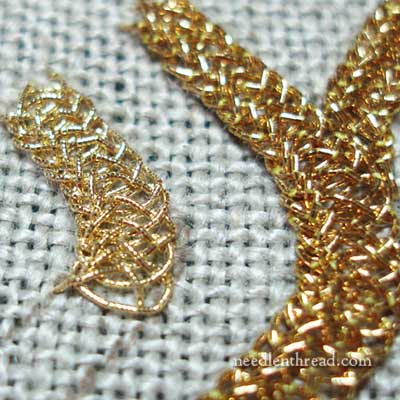
See, plaited braid stitch is often presented as an historical stitch that is “only” used with metal threads in historical re-creations. I say pooh-pooh to that! Why should such a gorgeous stitch be used only in historical contexts? Sure, it’s been around for a long time! But why aren’t we using it in modern applications as well? Possibly because the instructions for the plaited braid stitch presented in most stitch dictionaries tend to be confusing, making the stitch difficult to master.
There are also several variations of the stitch, along with many opinions on whether it should be worked towards you or away from you, horizontally or vertically, with this thread or that thread, using the right hand or the left hand, using this type of needle or that type of needle – and all of these opinions lend to the confusion. They also tend to make the stitch seem inaccessible for the beginner
And that is another thing to which, like Madeline facing the tiger at the zoo, I say pooh-pooh!
While an absolute beginner who’s never stitched before probably wouldn’t launch in to hand embroidery with the plaited braid stitch, if you know some basic stitchery, the plaited braid stitch really is just as simple as any other stitch made up of various movements.
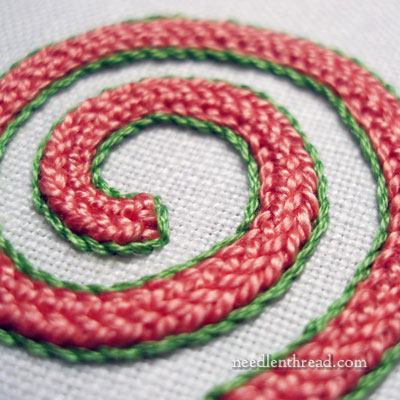
So, to help you conquer the plaited braid stitch, here’s a short video on how I work the plaited braid stitch. In the plaited braid stitch video, I’m using perle cotton #5 and a #22 tapestry needle, and working on linen.
So that you can clearly see the movement of the stitch, I’ve worked it rather loosely. The key to a beautiful plaited braid stitch is correct tension and correct spacing for the thread you’re using. Once you understand the movement of the stitch, with a little bit of practice, you’ll be working your own plaited braid stitch in no time!
There’s not a lot of time in a how-to video to cover various aspects of the stitch, so I’ve created a Stitch Play Printable for Plaited Braid Stitch that takes you step-by-step through the stitch with both photos and diagrams, and also demonstrates how to work the stitch for the right handed embroiderer and the left handed embroiderer.
The Plaited Braid Stitch Printable includes information on materials (fabrics, threads, needles); instructions for starting and ending threads, for working intersections, and for working wavy lines and curves; tips on stitch size, thread types, and line width; four practice exercises to help you master the stitch; three extra knot work designs for further practice; and a complete list of resources for fabrics, threads, and needles.