Satin stitch is one of my favorite stitches. Silk is one of my favorite embroidery fibers. Add the two together, and I’m in embroidery heaven. (I’m sure there is such a place…)

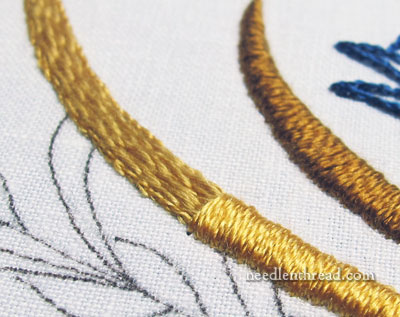
In most circumstances, I pad my satin stitches. This can be done a number of ways. In the type of embroidery I’m doing on this particular project, I use thread to pad the stitches. First, using split stitch, I outline the element that is going to be satin stitched. Then, inside the split stitch outline, I work long split stitches to fill up the whole area.

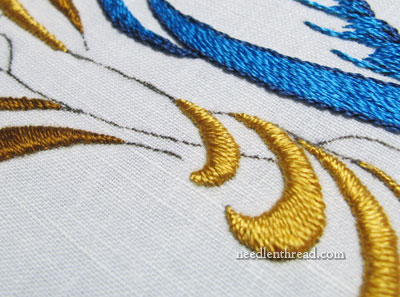
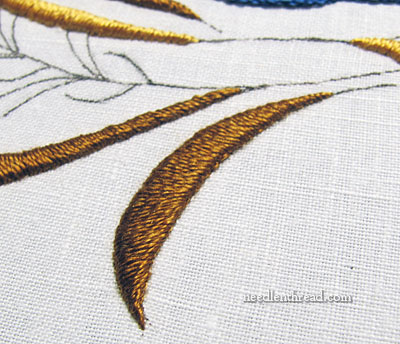
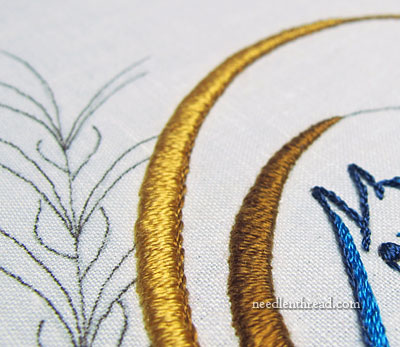
Then, once the shape is filled, I work satin stitch over the padding, on the outside of the split stitch outline. This lifts the satin stitching, creating a kind of relief area that adds a bit of shadow to the element or the fabric, depending on the location of the light source.

One disadvantage of padding satin stitches like this is that it takes up quite a bit of thread. After all, you’re essentially working two solid layers of stitching.

With silk, this can be especially problematic because silk is expensive. The solution? Match, as closely as possible, a soft cotton thread (like floche or cotton a broder – or even regular floss, though I think the softer twisted threads work better) with the color of your silk. Do the padding with the cotton, and the satin stitching with the silk.
If you can’t find a perfect match in cotton with your silk, that’s ok! Find as close a match as you can. It’s always preferable to go slightly lighter than the color of your silk, than darker, but just get as close as you can.
And that’s how you can save some silk when working padded satin stitch!
