Remember the star stitch tutorial that we looked at last week for the Stitch Play series? I had this odd feeling that I wouldn’t be able to leave it alone – that exploration of further samples and testing combinations was definitely a Must with this technique.
There’s not enough time in the day (week, month…) to play with every single possibility when it comes to embroidery stitches, but I did manage to squeeze in a few play sessions with the star stitch – some successful and some not so successful!
This is what developed…
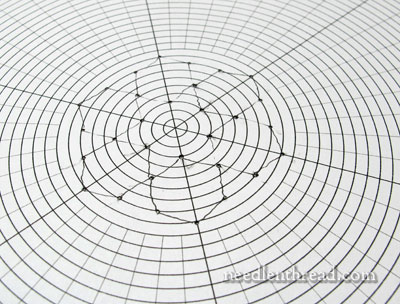
First, I wanted to explore the question of grouping. Using the polar graph paper that I wrote about before, I started with the typical six point star, using dots around the center of the polar graph. Then, I repeated this exact pattern of dots, radiating out from the center collection of dots, to create a layout for a grouping of stars consisting of a central star and six stars surrounding it.
Incidentally, if you connect the dots of any of these 6-pointed stars with straight lines around the perimeter, you end up with perfect adjacent hexagons, which opens up further possibilities for playing with stitches! But we’ll leave that for later…
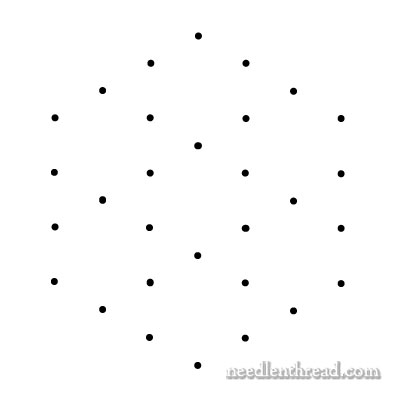
This is the layout of the dots that I ended up with.
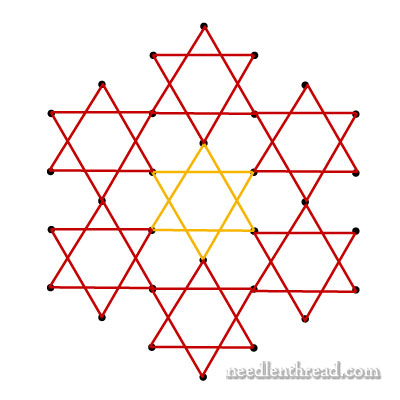
If you connect the dots into the star shapes, this is what you end up with – the center star, and six connected stars around it.
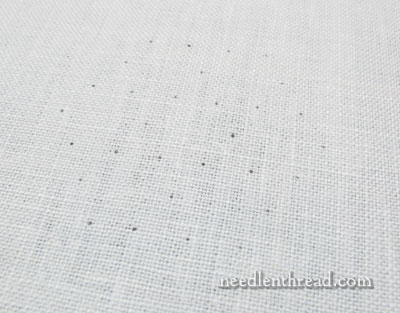
I transferred the cluster onto my fabric in the same manner as before – piercing holes at each dot on the layout, placing the paper over my fabric, and inserting the tip of a mechanical pencil into each hole to mark the fabric lightly.
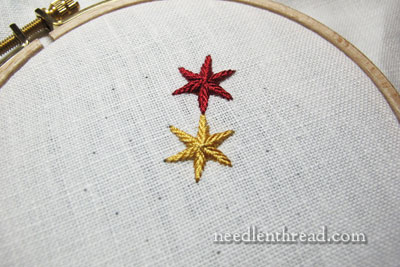
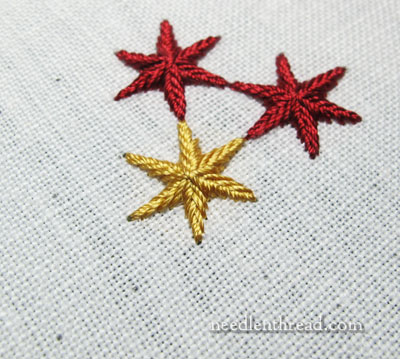
Then it was just a matter of stitching up some stars! The center star is worked in a gold-colored Soie Perlee, and the surrounding stars are worked in a deep red Soie Perlee.
It really takes no time to stitch up one star – just a few minutes, really. Stitching up seven increases that time (sevenfold, as a matter of fact!).
I found myself enjoying the whole method of stitching the stars – it’s quite relaxing and simple, once you have that “forward two, back one” pattern that we talked about in the original star stitch tutorial.
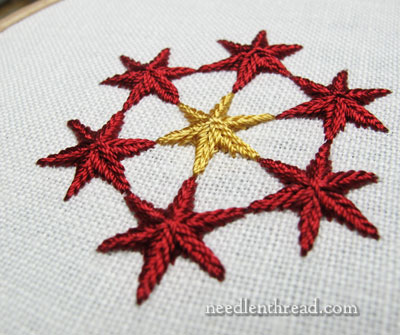
I liked the way the stars grouped together – the way the tips touch, the symmetry and geometry of the whole layout.
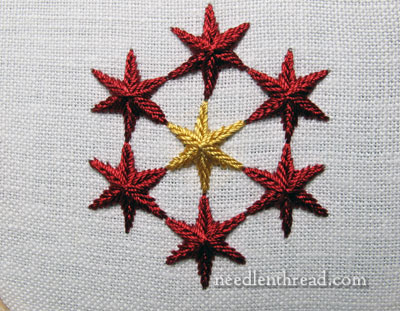
My original intention was that this grouping could make a pretty quick and simple hexagon-shaped Christmas ornament. Instead, it ended up looking more like a military badge, which isn’t really the “feel” I like to get across at Christmas! I think it needs something else to soften the look of it. Or perhaps a color change…
But in any case, it’s a start, and it was fun to play with the connected stars!
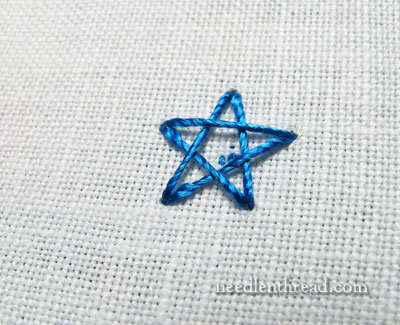
Next up was a 5-pointed star. Using the exact same method for making the 6-pointed star, I worked up a wee 5-pointer, to see if it would work into a good-looking star.
It does! And it was so simple, and so quick!
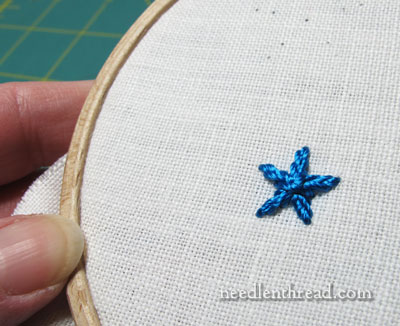
The 5-pointer is perfect for your starry skies in winter, and when you take up your sunny summer beach stitching, it’ll make a great little starfish!

Then I tried to get all fancy with a much larger 8-pointed version with a long tail. This time, I went forward three dots, back two, forward three, back two, to work my way around the star. This brought the threads closer to the center, so that I wouldn’t end up with a hole in the middle of the star (as illustrated in the original star stitch tutorial, where I worked an 8-pointed star and ended up with a hole in the middle).

Oh gosh. Everything was going along semi-fine until the very end, when I must’ve gotten confused or interrupted or something. Those last two stitches just don’t seem to be in the right place, do they? Still, the concept worked. I just don’t like the ending overlap on those final stitches. I may have to play with this one a bit. I’m wondering about changing the length of alternating spokes…
In any case, as you can see, there’s a good many possibilities with this whole star stitch thing! It’s a perfect “Stitch Play” scenario – the more you play, the more you learn, and the more ideas are generated to play some more!
Have you played with the star stitch yet? Do you have any ideas you’d like to try out with it? Are you wondering how any particular approach might work, and you’d like me to try it out for you? Feel free to have your say below!
Tomorrow…. Thanksgiving Day! (Already?!?) I do believe the Textile Turkey is going to make an appearance. See you then!

