Yesterday, we removed some stitches on a misshapen element on my silk embroidery project. Today, we’ll put them back in!
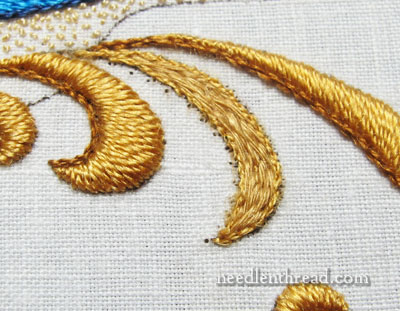
This is where we left off, with the original satin stitch layer and outline of stem stitch on the inside of the curve removed.
My goal in fixing this element was just to fatten up the outside curve a tiny bit.
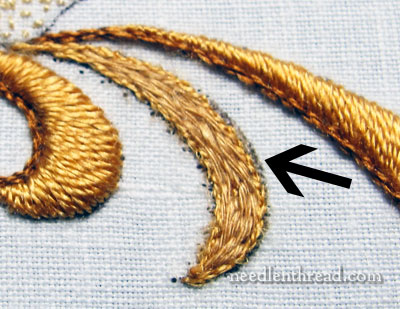
To fatten up the curve area, I needed to extend the element a little bit on the lower part of it. I don’t want a dramatic curve here. Although the elements to each side have a decided curl to them – they sweep all the way around, practically – this particular element in the design is not really “curled.” But it still needs a little more curve to it than it has, just to keep it from looking quite so straight and stubby. So, using a tiny pen (and a very steady hand!), I touched in an edge on the right lower two-thirds of the element, around to the tip.
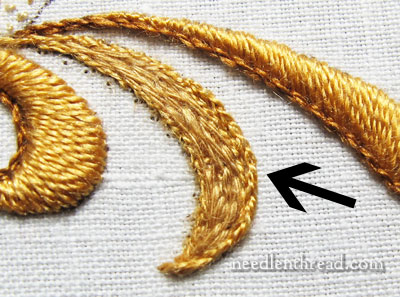
Using one strand of Soie d’Alger, I extended the padding by split stitching over that dark line. Now, it’s just a matter of satin stitching again.
Satin stitch on this type of element is sometimes tricky, because you want the satin stitch to work around the curve of the element, but not so much that you’re dealing with dramatically different angles. If the angles change too dramatically from top to tip in such a small space, things can get bulky and tight looking.
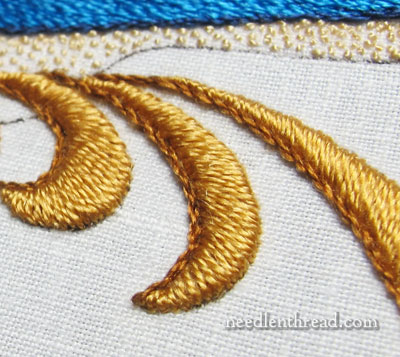
So, there it is, the new satin stitch, with the stem stitch outline on the inside of the curve. I like it much better.
As a reminder, here’s the original:
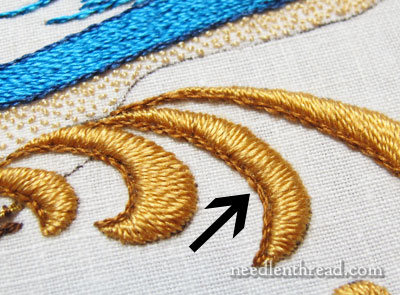
And here’s the fix again:
Better? I was much happier with it, once finished.
The moral of the story: don’t be afraid to fix things that bug you on your needlework projects. Before you do, it helps to step away for a while, clear the head, and then tackle the fix. Don’t put it off too long and let it build up into something supposedly insurmountable, though! How often do we run into snags on a project and then avoid getting back to it, because we’ve turned what’s probably a small fix into a huge mountain of a problem? I have a tendency to do that, so I generally force myself to tackle the fix, and I usually do it in these two stages: take out the problem and step away (overnight, for example), and then go back in to fix it the next day, with a fresh perspective.
What about you? How do you approach a fix on your needlework projects? Of course, you might be among the fortunate who never make noticeable mistakes! But if you’re not, do you work by a specific plan of attack? Do mistakes slow you down or halt you completely on a project? How do you talk yourself past the road block? Input, advice, comments, suggestions, mistake anecdotes? Do tell! Leave a comment below and we can all commiserate and congratulate together!

