Day before yesterday, we talked a little bit about developing an embroidery pattern that incorporates monograms into a one-word design. We started with the letter J in this Holly and Joy design. Yesterday, we added the letter O, and today, we’ll finish off with the last letter, a simple decorative border, and some layout options.
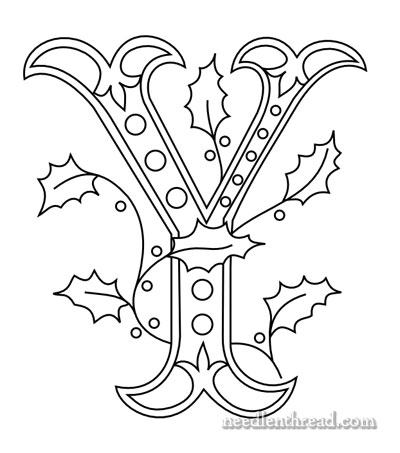
The letter Y completes our simple word – JOY. But it’s looking rather lonely (and very large), so let’s put them all together!

There they are – and they’re ok as they are, but we can go a little farther if we want.
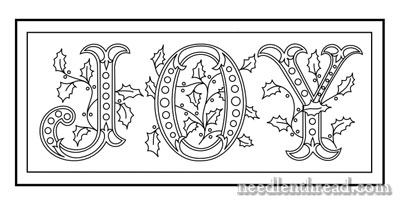
To block the letters in and kind of “ground” the design, we can add a couple line borders.
There are heaps of ways to interpret lines in embroidery. You could, for example, embroider the inside, lighter line in a simple chain stitch. The outside, heavier line, you could work in a heavier braid type stitch. Plaited Braid Stitch would look lovely, as would Cable Plait Stitch, or Hungarian Braided Chain Stitch, or even this variety of interlaced chain stitch. For something a little lacier and open, you might try something like Spanish Knotted Feather Stitch, and you could dress that up a bit by adding little beads to the side loops it forms. It all depends on how heavy or decorative you want the outer line.
But then again, you might decide that you want something other than lines around your lettering. Let’s try something a little more decorative:

Adding a stylized holly border works pretty well.

And you can flip the direction of the holly, if you want.
What about changing the orientation of the lettering?
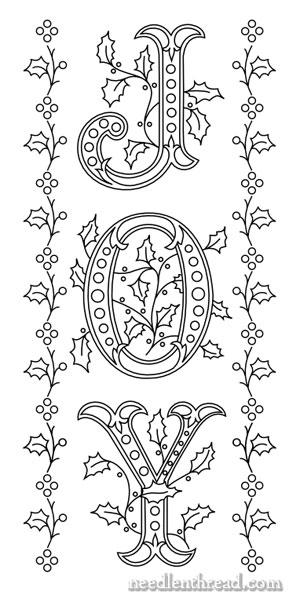
There’s no rule that says lettering has to be horizontal. You can line the letters up vertically, too. If the holly edges are too “busy” in this version (I think they are a bit busy), you can revert to a simple line border – or no border at all!
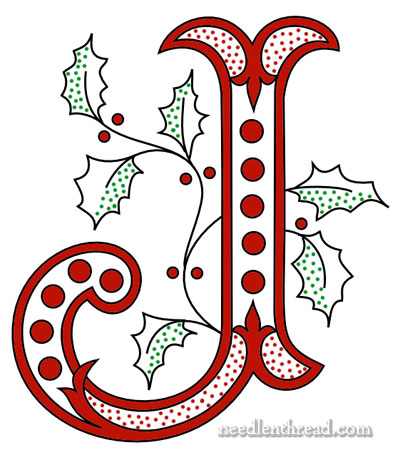
Embroidering the Letters
The type of embroidery you use on the individual letters in the design will depend on a couple things: 1. What you want the finished design to look like; and 2. Your stitching skills.
If you want a lacy, open, light design, you might just outline all the letters and decorative elements of the letters, in a stitch like stem stitch. Satin stitch, of course, is the Ultimately Beautiful Stitch for monograms, but if it is beyond your skill level right now to produce a good satin stitch, then you might opt for filling the outlines of the letters with stem stitch filling or split stitch filling. The dots inside the letters? You could use the Rhodes stitch in dots, which we looked at the other day. Or satin stitch dots. Or you could just outline them. Again, it all depends on the look you want, and your skill level.
The holly? If you want it only outlined, try a stitch like stem stitch (rather than the fly stitch holly leaves we created last week). The style of lettering is a little formal, and I think it calls for something a little more structured than the fly stitch holly. If you want the holly leaves filled, you could opt for long and short stitch, and shade them a bit (if you’re working in colors), or you could opt for a variety of other filling stitches.
And of course, never underestimate the power of the simple seed stitch, especially when working with monograms!
Holly and Joy – Free Embroidery Patterns
Here’s a list of free Holly and Joy embroidery patterns for you. You can mix them up in any way you like!
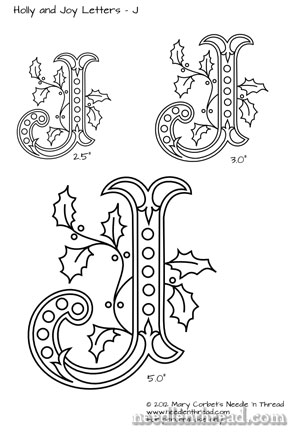
The individual letter pages offer three sizes on them: 2.5″, 3.0″, and 5.0″ monograms. If you choose “no scaling” in your printer settings, they should print at the right size. And of course, you can always enlarge or reduce them as needed.
Individual monograms:
Holly and Joy – J Monogram (PDF)
Holly and Joy – O Monogram (PDF)
Holly and Joy – Y Monogram (PDF)
Holly and Joy:
Holly and Joy – 4″ high horizontal (PDF)
Holly and Joy – 5.5″ high horizontal (PDF)
Holly and Joy – Vertical (PDF)
I hope you enJOY Holly and Joy!

