Last time we looked at the Mission Rose project, the two large leaves were finished. Though still suffering a little bit of an internal debate over them, I decided to move on to the little leaves on the rest of the design.
The small leaves that are inset around the center rose are worked in long & short stitch in the same colors as the two large leaves, so there’s nothing too new there.
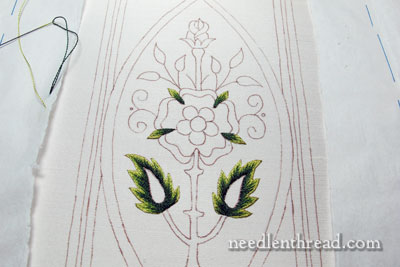
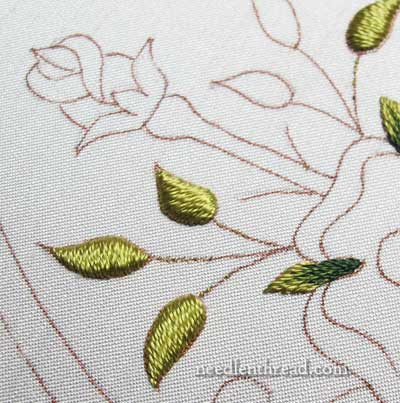
Those little leaves inset in the rose are irregular in shape, and the best way to attack them is to start on the outside of the leaf shape with a split stitch line (worked only along the exposed part of the little leaves, outside the rose shape), and then work the long & short stitch from light to dark into the center. You can see all four of them completed in the photo above. They’re really quite small and only take a few minutes to stitch.
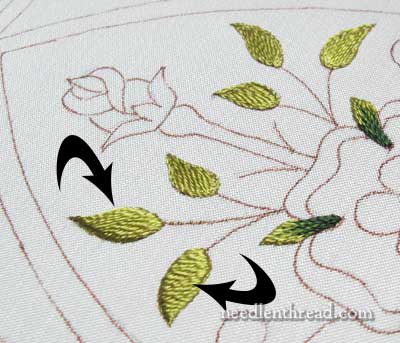
More problematic in my mind were the little leaves above the rose, arranged in two groups of three.
These, I wanted a single color of green (the lightest green of the three I’ve used so far). Instead of working them in long & short stitch, I opted for padded satin stitch. Slightly lifting the satin stitch, I mused, would give a little sense of dimension to the leaves due to the shadow created by the height, without actually shading them with another color of green.
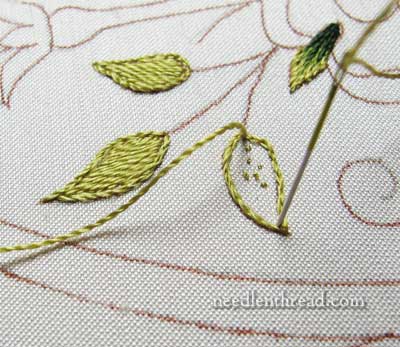
To pad the satin stitch on these leaves, I started with an outline of split stitch, and then worked long straight stitches inside the outline, down the length of the leaves.
To conserve thread and to minimize build-up on the back of the leaves, I didn’t use satin stitch proper for these filling stitches. Instead, I used a “laid thread” stitch, working a long stitch and then jumping sideways to start the next long stitch right next to where the first one ended.
In this manner, you can get a good coverage with the filling, but on the back of the leaf, you don’t have another layer of thread as you would if using a regular satin stitch for the filling.
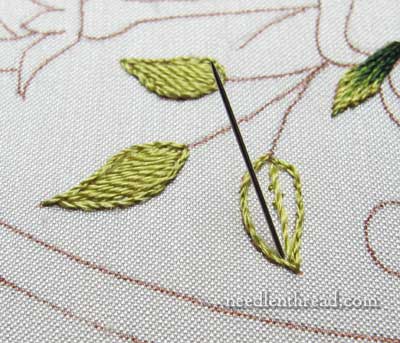
So here are all the leaves, outlined and filled with straight stitches.
And it seems that all should go fine from here, right? Just a matter of working the satin stitch over the outline, right?
But ….
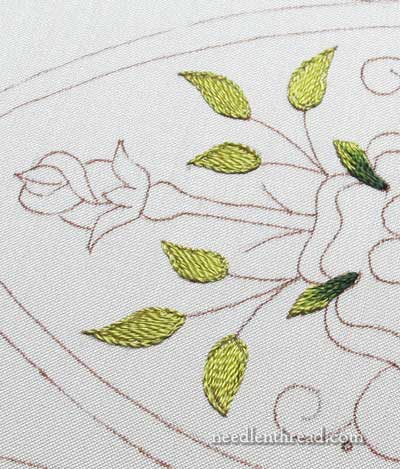
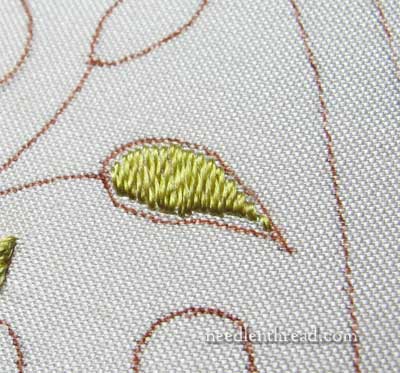
You can see in the photo above two of the leaves, satin stitched. They’re “ok” – the satin stitching worked out fine enough, but I wasn’t really satisfied with the height of the leaves.
The outline and filling created a raised satin stitch, certainly, but I wanted a little more roundness to the leaves – a little more height to create more of a shadow and a sense of dimension.
And so, out came all the outlining and padding, and I started over, this time foregoing an outline altogether, and beginning the filling stitches well within the perimeter of the leaf.
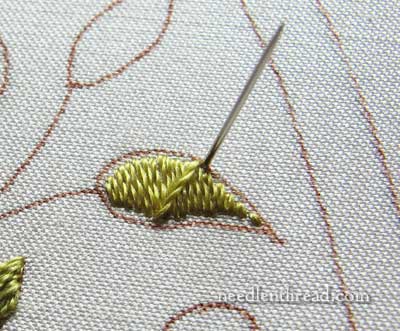
I worked the padding in one direction, and then over it again at a slight angle, until I had two layers of padding build up inside the drawn leaf.
Finally, I worked a third layer – the satin stitch proper – at an angle over these two built-up layers of padding, and I was much happier with the results.
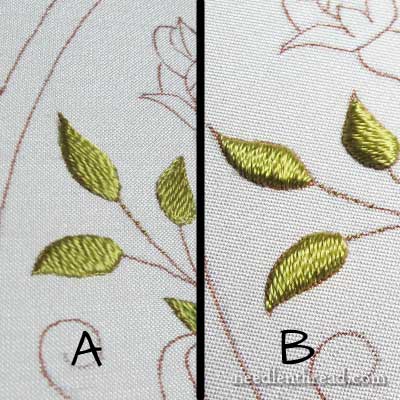
Here, you can see the difference between the two approaches to padding the leaves. The rounded height of the padding (B) produced more “lift” than the outline and single layer of padding stitches (A), resulting in more of a shadow on the edges of the finished leaves.
Two more little leaves to finish, and then I’ll show you the whole piece with all the green in place next time we look at the project.
…. Assuming, of course, I don’t make change my mind again. Who knows? The leaves could be purple by then!
If you’d like to read the backstory on the Mission Rose project and follow it along step-by-step as it develops, please visit the Mission Rose Project Index, where you’ll find all the articles relating to this project listed in chronological order.

