“Reverse stitching” – i.e. ripping out previously stitched areas – is ever a part of the embroidery process.
Mentally, I prepare myself for the frustrations of picking out stitches by convincing myself that it really is just part of the process. Looking at it that way, I can then convince myself to actually enjoy it as part of the whole Embroidery Journey.
Yep. Sometimes, we just have to play mind games!
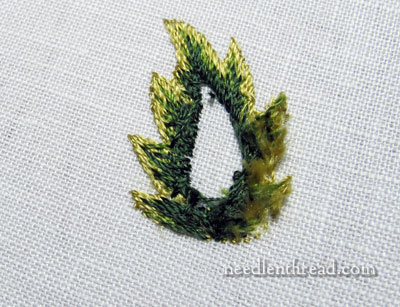
In any case, after my first escapade with the second leaf on the Mission Rose project, I decided to take the leaf out and start over. And this is how it went:
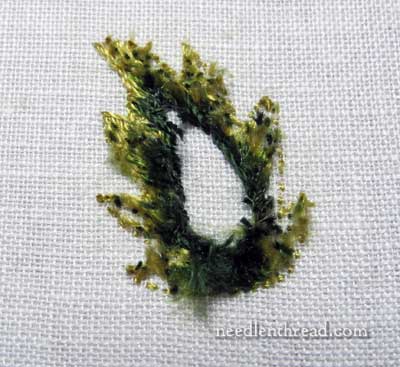
The first step – removing the first attempt. This is the back of the project, which you can see is lined with linen. I always find it much easier to pick solidly stitched areas out from the back of the fabric, rather than from the front.
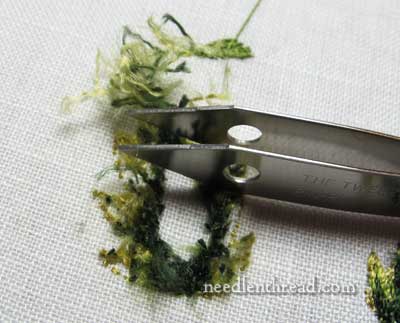
To pick out this type of stitching, it’s practically impossible to go thread by thread, so I snip the back of the stitches, sliding a sharp, tiny scissor blade underneath them, working in a small area at a time, getting out the bulk of the thread. I also occasionally use a tiny seam ripper, if I can’t get the right angle with scissor blades.
When going through this part of the process of snipping, it’s really important not to send the scissor blade or the seam ripper straight through the fabric (for obvious reasons!).
Still snipping and picking….
At the beginning of the whole snipping & picking process, I use my fingers to pull out the initial threads, which usually release pretty easily.
Then, as the stitches become a bit more stubborn, I break out the Big Tools. Tweezers are the tool of choice at this point. I love this little pair – they’re about 2″ long and they fit right between my finger and thumb. They come to a point, but they aren’t sharp.

Here’s the front of the fabric, with the leaf removed. It held up pretty well!
When you start picking out this type of silk thread, it’s not usually for fuzzies to develop. To remove any fuzzy residue, I tap the sticky side of Scotch tape over the surface the fabric, front and back.
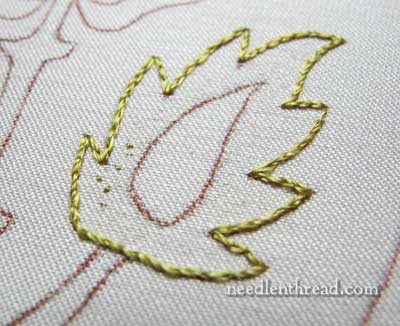
And now, back in with the split stitch outline in the lightest green. This is the same process I used when embroidering the first leaf on the Mission Rose.
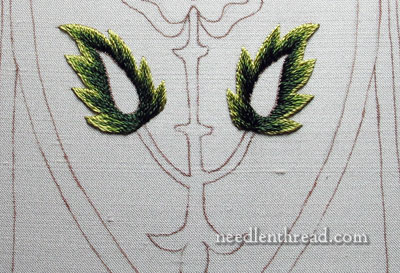
And then the second leaf is in again. I like it better this time.
I’ve been mulling over the leaves all weekend. Are they too dark? My “vision” for them was that they are dark green leaves over all. But now I’m second guessing that, and I’m also second guessing my plans for the interior of the leaves. Hmmmmm….
Well, there’s nothing for it, really. I’ll move forward, and as I go, we’ll see if Inspiration strikes. Sometimes, that’s just the way these things happen.
Next time we look at the Mission Rose, we’ll check out the little leaves inset in the rose, and the small leaves at the top of the design. Look for that discussion on Friday!
If you’d like to read the backstory on the Mission Rose project and follow it along step-by-step as it develops, please visit the Mission Rose Project Index, where you’ll find all the articles relating to this project listed in chronological order.

