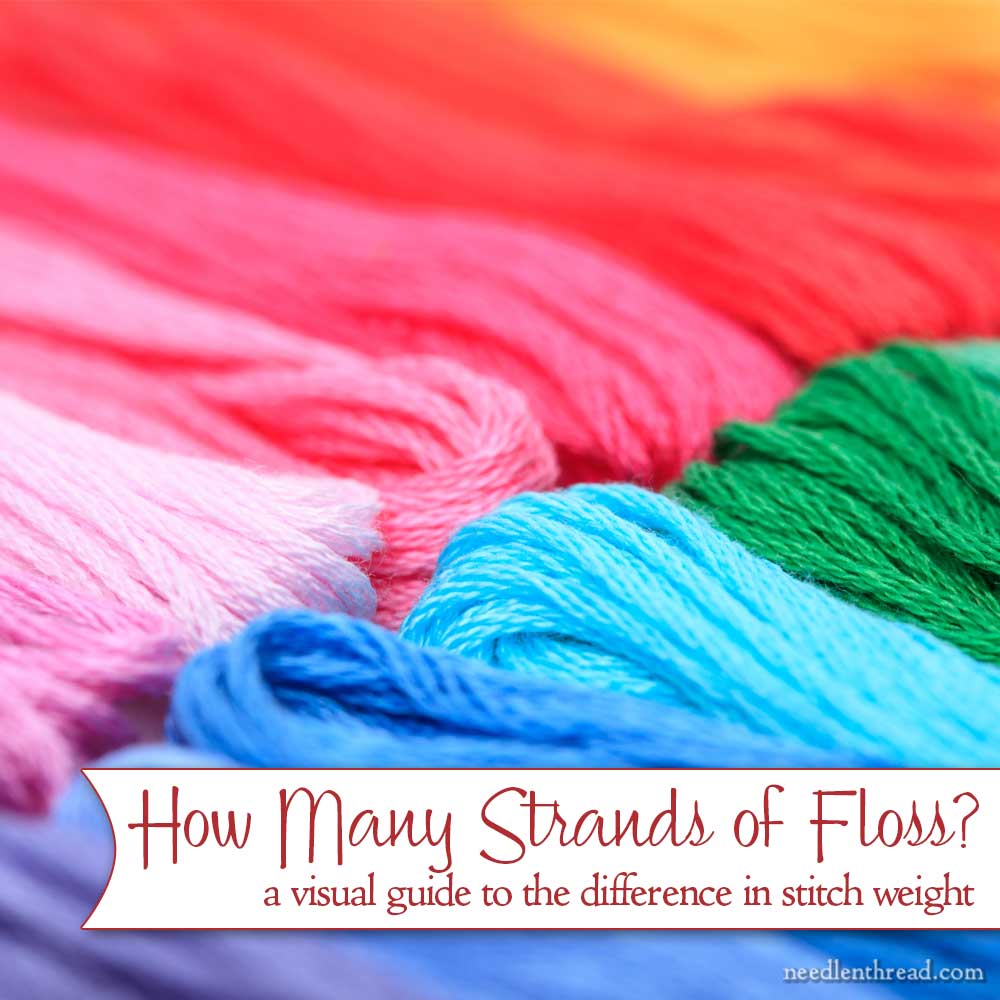
How many strands of embroidery floss should I use on my project?
When you say one strand, you mean one strand of all six, right?
Are you stitching with all six strands of floss, or are you stitching with just one?
I get questions about stranded embroidery floss a lot – and especially the first question above: How many strands should I use on my project?.
This a tough question to answer! It depends on two points: what you’re embroidering, and what you want it to look like.
Today, let’s chat about stranded embroidery floss and look at the difference between stitch weight with different numbers of strands.
Stranded Embroidery Floss, Stitched
When using stranded cotton embroidery floss, stitch weight – or the heaviness or lightness of stitch – changes with the number of strands used.
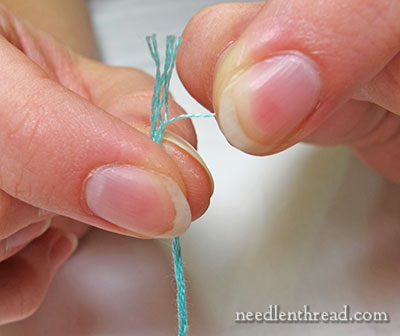
When you pull embroidery floss of the skein, it comes off in a rather thick thread that can be separated into six much smaller strands of floss, each of which can be used individually or with any other number of single strands put back together again.
The more single strands you put back together to stitch with, the heavier your stitches will be.
Here’s a visual guide to the difference in stitch weight with different numbers of strands:
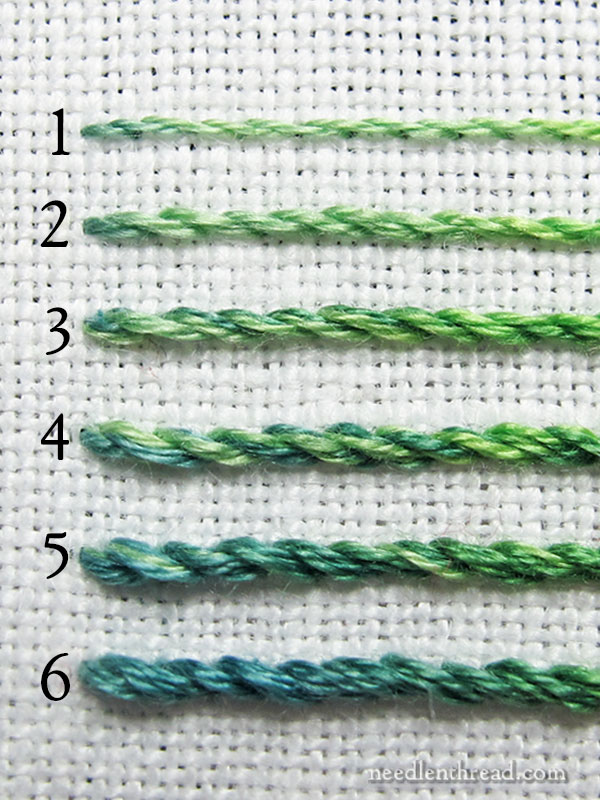
Starting at the top of the photo above, we have a line of stem stitch worked with one tiny, single strand of embroidery floss. The stitches are approximately 3/16″ long. You can see that one single strand of floss makes a very fine line.
Progressing down the photo, each row adds one more strand of floss, until the last row, when all six strands were used in the needle at once, straight off the skein, without separating the floss first.
In each row, I kept the stitches the same length – about 3/16″. Keeping the same length of stitch and increasing the thickness of the thread substantially increases the weight of the stitch and the thickness of the stitched line.
How Many Strands?
In craft embroidery today, it is quite common to embroider (especially in backstitch) with all six strands in the needle at once. This creates that chunky, cute style of embroidery that’s very popular right now.
If you want to refine your embroidery and manage more detail with finer stitches, you can decrease the number of strands until you find the weight that looks right with whatever you’re planning to stitch.
If you want a bold line that can still manage decent detail, start with three strands. If you want a finer line that’s still easily visible, try two strands. If you want a very fine line for delicate detail, one strand will do it!
Special Stitches
There are certain stitches, though, that work better when you’re just using one strand of floss, especially satin stitch and long & short stitch.
To achieve the smoothest finish on both of these stitches, one strand of floss works best.
Thread Weight, Stitch Length & Puckering
Did you know that your thread weight and stitch length can effect your ground fabric? If your thread is quite heavy (say, six strands of floss in the needle at once) and your stitches are very small, your fabric may very well pucker, regardless of whether or not your tension on your stitches is correct.
If you’re using all six strands of floss at once, your stitches should be slightly longer than they would be if you were using only three strands, to give the thread plenty of room so that it doesn’t pinch the fabric.
Over to You…
Do you have any questions about stranded embroidery floss? Any insights, suggestions, or tips to add, especially for beginners who might be just starting out with embroidery? Many heads are better than one, so feel free to join in the discussion below!
A couple articles that will help you get the best stitching results when using stranded cotton floss: How to Separate Floss (a step by step guide to preparing floss for use), What’s a Laying Tool? (explanation of a laying tool and how it helps improve embroidery); and How to Use a Laying Tool (further information on the laying tool and a video to show you how to use it).

