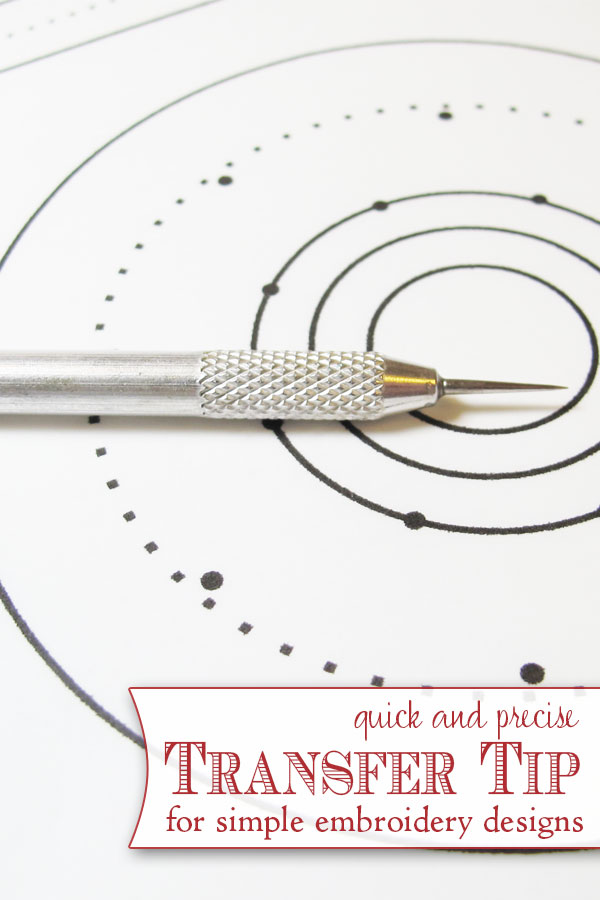
Before we launch into a “made from stash” Christmas ornament project (which we’ll start tomorrow), let’s look at a quick, easy, and precise way of transferring a simple embroidery design to fabric.
The key words here are precise and simple. This method – which is really a cheater version of prick and pounce – only works quickly if your design is quite simple.
So, simple shapes, simple lines, designs where you just need basic guidelines – that’s where this method of embroidery design transfer will come in handy because it’s quick and precise.
Types of Design Transfer
When it comes to precision in embroidery design transfers, I prefer transferring embroidery designs to fabric from the top down rather than from the bottom up.
And what the heck does that mean?
Well, it’s like this: when we trace an embroidery design (which is by far the easiest and quickest method to transfer a design, but not necessarily the Most Precise Method), we’re working from the bottom up. The design is below the fabric and we’re bringing it up from below by tracing it onto the fabric.
When you work from the top down, the design is above the fabric, and you’re placing it down on top of the fabric.
Any time you can work from the top down with an embroidery design, your transfer results will usually be more precise. So, for example, the prick and pounce method of transferring an embroidery design is very precise. Screen printing is very precise. In both of those cases, the design is on top of the fabric, and the fabric receives, somehow, the impression of the design.
Another example: iron on transfers. If they’re done right, they’re extremely precise. They’re a top down transfer. A carbon transfer (using dressmaker’s carbon) is another top down method, and done correctly with good transfer paper and a receptive fabric, it can be very precise.
The tack-and-stitch method using tracing paper is also top down, and it’s extremely precise, too, if you take the time to tack and stitch with precision.
Tracing an embroidery design – a bottom-up method – is less precise, but oh-so-easy. Why is tracing less precise? Two reasons: because you have the fabric between you and the design, which can make it more difficult to see the design and get the little details right, and because there’s always a bit of shifting, even if you’ve securely taped or pinned the fabric and design down.
Tracing is so quick and so painless, though! But what if you want a really precise transfer of a very simple shape, and what if I told you it can be done almost as easily as tracing, with none of the mess of prick and pounce, and with the absolute certitude of precision?
Quick and Precise Top-Down Embroidery Design Transfer
Here’s what I do in these circumstances.
First, I have my simple design. In this case, it is a circle design, just like the one I used for the Fiesta Fob I showed you here, only larger.
Printing the Embroidery Design
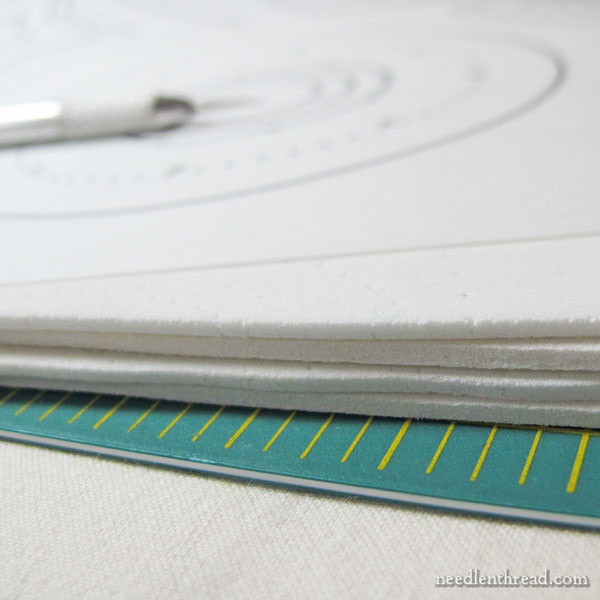
I printed the design, which is made up of concentric circles, from my computer onto design vellum, which is what I normally use when printing designs for prick and pounce or for tracing. I use Clearprint drafting and design vellum, which is available through art stores like Blick’s. I purchase the 100 sheet packs of 8.5 x 11, and they last a long time. You can find 50-sheet pads of design vellum through Amazon, too, as well as large rolls of it, for big designs!
Why vellum? Because it takes piercing very well, making a clean hole; the paper is strong, so it lasts for many uses; and it is sheer, so it’s easy to see through.
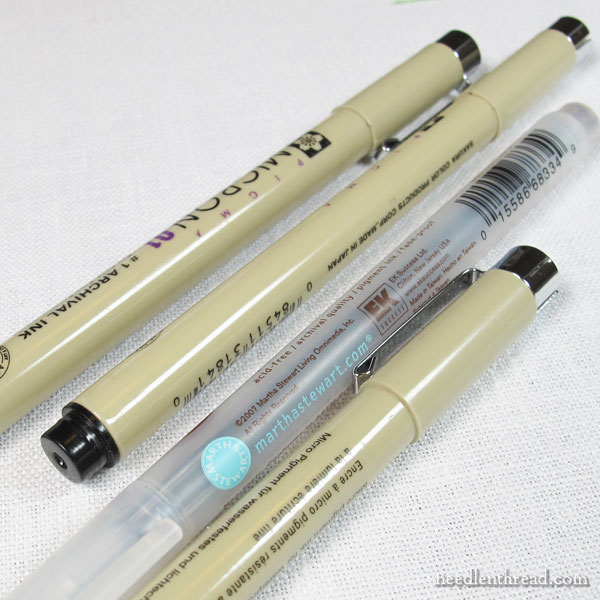
Using Micron Art Pens
For the transfer medium, I use micron pens or similar archival, permanent art pens with tiny tips. Keep in mind you’ll end up with a permanent transfer, so you only want to use this method when you’re planning to cover all your transfer marks.
If you can find a brown pen in these types of pens (Sakura makes both brown and sepia – the brown is lighter than the sepia), the resulting marks will be significantly lighter and less noticeable than black marks.
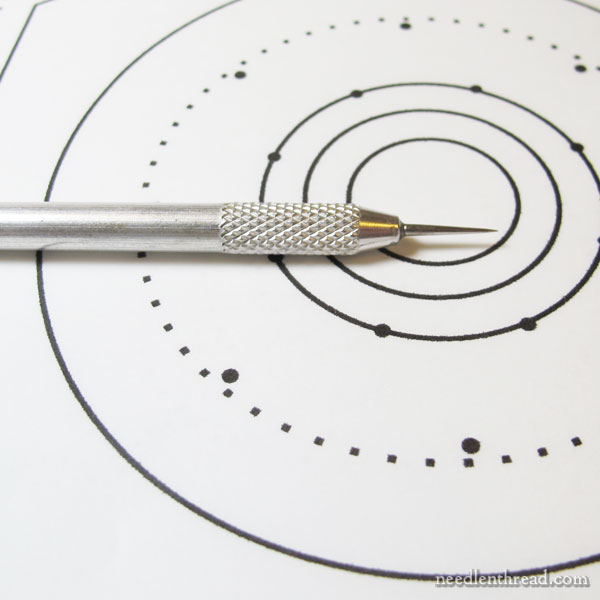
Piercing the Embroidery Design
I use a paper piercing tool and a piece of very inexpensive craft foam for piercing the design.
You don’t need a paper piercing tool – you can just use a pin or a needle – but if you do a lot of this type of stuff, it’s nice to have tools that are easy to hold. Nordic Needle carries a whole line of tools for embroidery on paper (including card making, paper piercing, and the like), and that’s where I got my piercing tools.
You can also use a tambour hook handle and replace the hook with a needle, or you can use a cork and put a needle eye-first into the cork.
Craft foam is available at any craft store, and it’s super-cheap! I bought one sheet and cut it into four pieces, which I stack to use as a piercing pad. Very easy, very economical! If you don’t have any on hand, you’ll need to use something that the tool can pierce into, like a piece of packing styrofoam (if you can stand the noise!) or a nice thick piece of wool felt or something like that.
Now, I know this is all sounding very complicated, but I assure you, it’s not!! If you don’t have the specific tools on hand, just grab whatever you do have on hand to make this work. I’m covering all the bases about the tools in case you’re interested in them, but they aren’t essential!
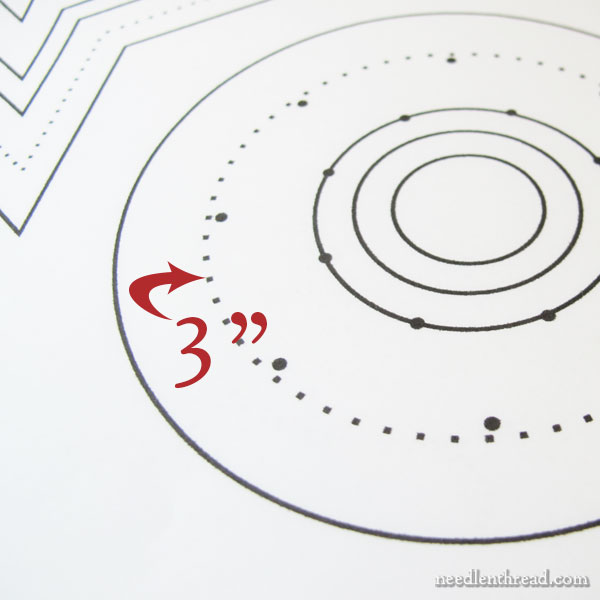
The size of this design is three inches round, with a seam allowance. The dotted line is the 3″ mark. I designed the circles (yes, so hard to design a circle!) so that the outside edge of the design line (the dotted line) would print with dots that are approximately 1/8″ apart.
The other circle lines are solid. I’m going to pierce all the lines, including the dotted line, but on the dotted line, I’m going to pierce exactly on the dots. This is just my easy cheater way to make sure that my stitches on my outside perimeter of my design are all even! We’ll discuss this further when we look at the Made-from-Stash Christmas ornament.
Transferring the Design with the Pen
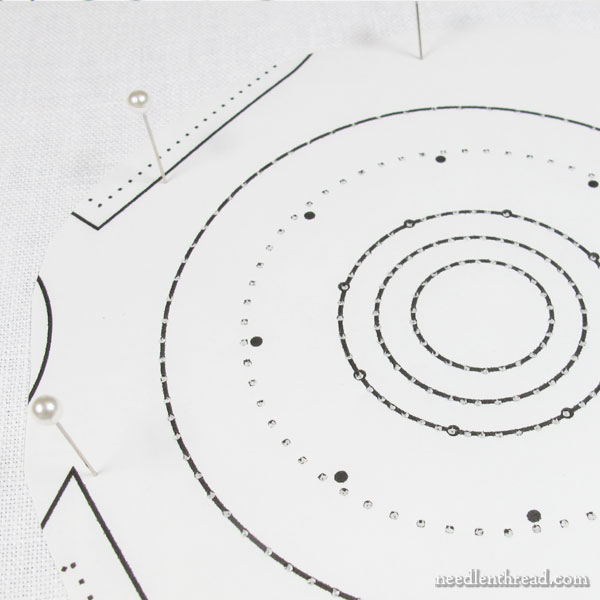
Finally, the nitty-gritty. Pierce the pattern. Space the holes fairly close, as you can see in the photo above (which, of course, you can click on for a larger version).
Pin the pattern to your fabric, which is already hooped up or framed up nice and taut.
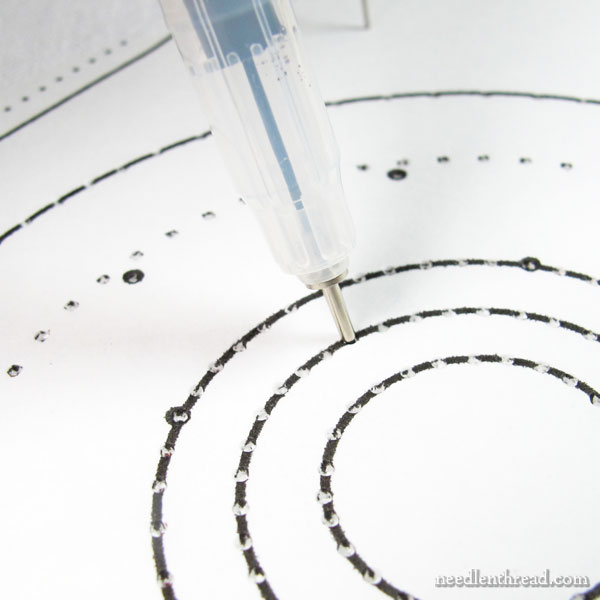
With the pattern securely in place on your fabric, use the pen to make the transfer. Just touch the tip of the pen into each dot, so that the pen tip just touches the fabric. The pen should enter the fabric vertically, straight up and down, at each dot.
This sounds tedious, but I promise – it goes very fast!

When you’re finished – voilá! An absolutely precise dotted transfer.
Each of those lines will be covered with stitching or embellishment. And the outer design line (which is the second line in) is set up for perfectly even stitches all the way around.
You might notice some darker dots? I used a black pen in the larger dots on the design, and a pale brown pen on all the other dots, so that I could distinguish the black dots.
Design Transfer Summary
The steps, in summary:
1. print design from computer; 2. pierce design; 3. pin design on fabric; 4. mark with pen.
Less Precise Design Transfer for Small Ornaments
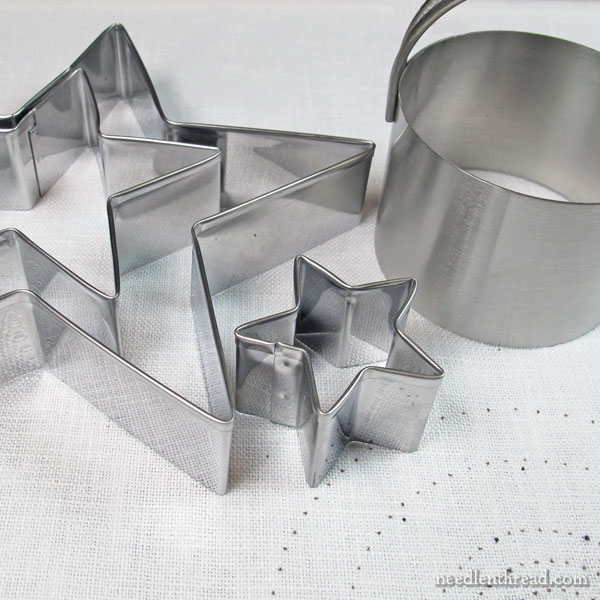
If you’re not super-worried with absolute precision when making small ornaments, here’s a really easy solution: you can always trace cookie-cutter shapes onto fabric and use those as your design outline. Star shapes, heart shapes, circles, simple snowmen – they all work!
Tomorrow, I’ll take you step-by-step through the beginning of making a small sampler ornament from your stash. It’s So Much Fun!
See you then!

