What do you get when you cross a hummingbird wing, a frustrated embroiderer, the wrong colors, and a pair of sharp scissors?
Right.
A larger orts pile.
I’m sure there’s a joke in there. If I tried really hard, I could probably string this whole thing out into a series of lousy puns.
But I’m too nice to put you through that!

My orts pile is growing – I think there’s more thread in it than there is in the hummingbird’s wing.
On the bright side, the Pile gives me something to talk to while I stitch. Oooooh, look at you! Aren’t you growing so big?
I fear that, some day soon, it will respond with Feed me, Seymour!
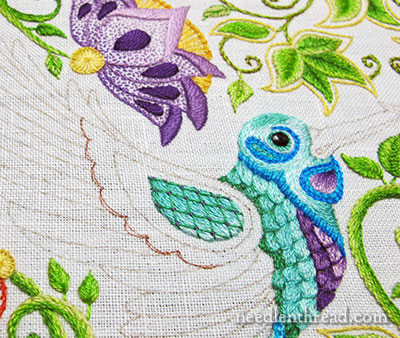
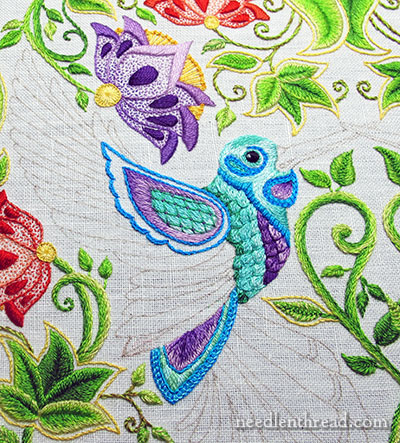
In any case, this is where we last left the hummingbird wing.
And I did it again. I did things without taking pictures. I can’t even remember what I did. I just know that at some point, I ended up here:
And I remembered to pick up the camera again.
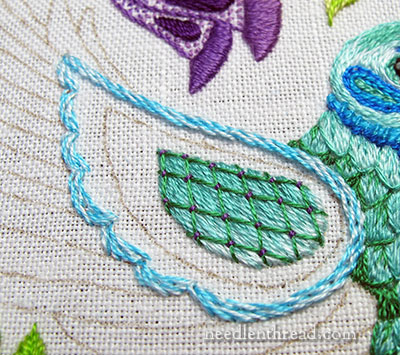
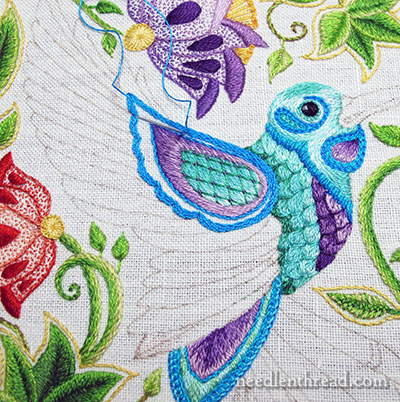
I dabbled a bit with the notion of a light colored outline on the wing, even though originally, I had planned a darker, brighter fill in this area.
And to achieve the kind of lightness I wanted, I combined one strand of the very light blue (747) and one strand of the lightest bright blue (3846). (You can find the whole color list for the hummingbirds here.)
I figured a stem stitch filling would work well to give this area a kind of heather-ish look. And I figured two strands worked together in the needle would give the outer part of the wing a little more thickness.
After all, I used two strands of floss and stem stitch to work all the stems, and it worked well. Why not try it here?
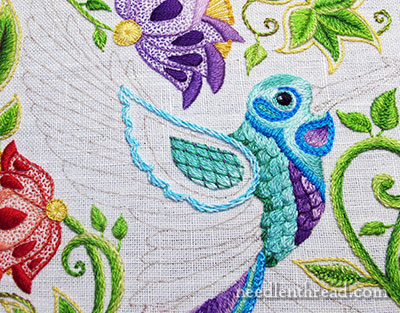
And then I stopped on the stem stitch on the outside, and somehow again ignoring the camera, I worked the center part of this wing section in three shades of purple, in long & short stitch.
I started the long & short stitch at the tip, and worked it from dark to light.
And then I took out the stem stitched outline.
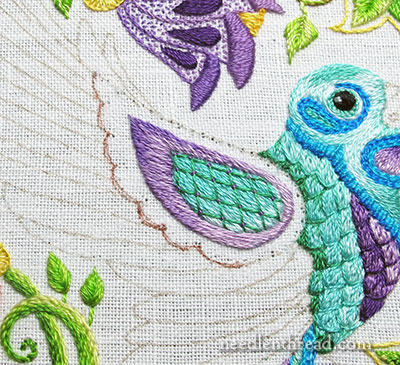
Which brought me back to this point.
Two steps forward, one step back… You do eventually get there, but it takes a heck of a long time!
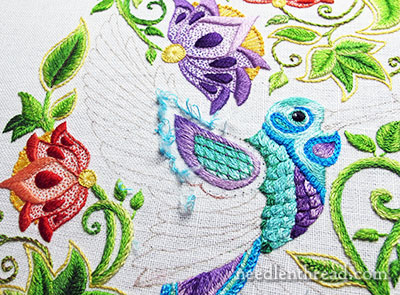
Then I went to my original idea, which was a darker, brighter blue here. And, using one strand of floss, I began stem stitching to fill this area.
And I kept stem stitching, until the area was almost full.
And then… well, then I changed to a different color thread. And I have about six more stitches to touch in on the scallops, to show you the finished result.
And it will definitely be the Finished Result on this area. No more frogging, no more feeding the Orts Pile. Forward, ho! and all that.
So, next time we look at it, this finished part of the wing, and then we’ll move into those feathers, which I’m just tickling to get on with!
If you’d like to follow along with the Secret Garden Hummingbirds project, which features a design from “Secret Garden: an Inky Treasure Hunt & Coloring Book” by Johanna Basford, you can find all the articles relating to this project arranged in chronological order in the Secret Garden Project Index. Among the articles, you’ll find plenty of tips and techniques that will help you with your own embroidery projects.

