The last time we visited my current hand embroidery project, the Secret Garden Hummingbirds, we talked about the subtle and positive difference a few well placed embroidery stitches can make on a project.
At that point, I was working on the wings, and I was sorely looking forward to moving onto the tail feathers of the hummingbird.
Today, I’m going to share with you what not to do when embroidering the tail feathers on these hummingbirds.
To put it frankly, this isn’t a pretty tale.
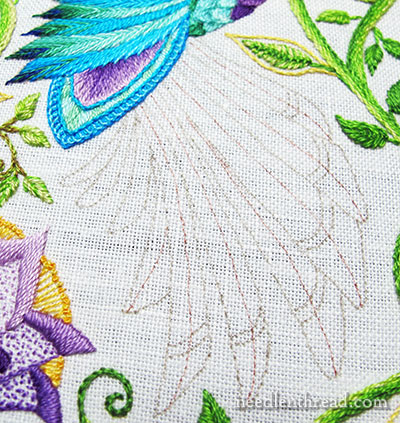
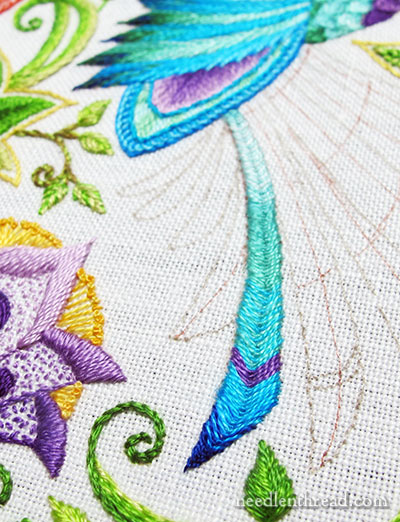
Here are the tail feathers on the hummingbird, just waiting for some exquisite hand embroidery stitches to bring them to life!
Alas and alack, the poor things are still waiting.
First, I want to draw your attention to the lines of the feathers. You can see that some look grey and some look brown. The brown ones, I drew in right before my first stitching session on this area. Because I planned on using the fly stitch to embroider the tail feathers, I drew spine lines down the middle of each feather.
The grayish lines are the original design transfer.
The Importance of a Clear Embroidery Design Transfer
Let this be a lesson! Your design transfer often dictates a goodly percentage of the success of your stitching outcome. If your design transfer is wobbly, there’s a good chance that your stitched edges will be wobbly, too, instead of nice and crisp and straight.
My transfer lines here are wobbly, sketchy, and a bit unclear. I should have taken care of that before I started stitching this area.
How do you take care of this kind of situation? You re-draw your lines, carefully.
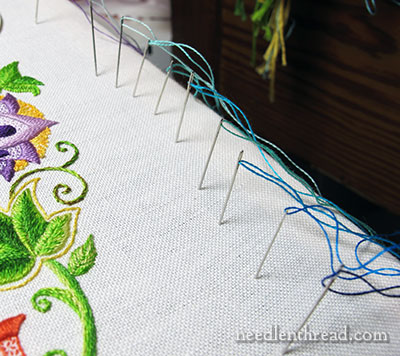
Before I started stitching the first feather, I lined up all the colors I planned to use, and I threaded them all up in individual needles, which I parked on the site of my work, ready for use.
DMC Thread Color Numbers
There are 11 shades in the tail feathers, and I arranged from from darkest to lightest, with one shade of purple separate.
These are the DMC thread color numbers that I intend to use in the tail feathers, in order, from dark to light: 820, 995, 3843, 3844, 3851, 3845, 958, 959, 964, 747, and 3837 (purple).
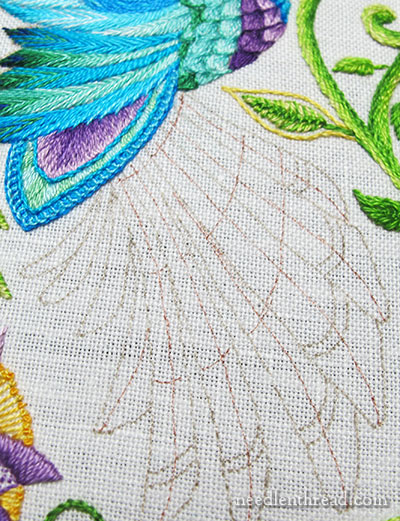
I was ready to start stitching, when I decided to go back to feathers with a brown micron pen and draw in some horizontal lines that would guide me when switching shades, just in case I needed them.
Now, ready…
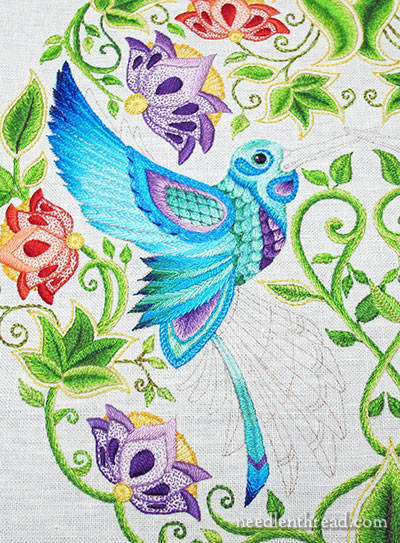
Using the fly stitch worked vertically, I stitched the first feather, switching shades down the piece to try to get them to blend without looking too blocky.
Although you can’t always tell how something like the whole tail is going to look, by stitching just a tiny sliver of it, I was immediately not too pleased with this feather. There are a number of flaws, not least of which is that I don’t like the harsh transition between the light and medium shades of greenish-blues.
The purple stripe in the chevron shape was intentional. There are little stripes in the original design at the base of each tail feather, but they are horizontal, and I wanted them to match the flow of the feather better.
Still, I’m not sure if I’m sold on this particular approach to the little stripe.
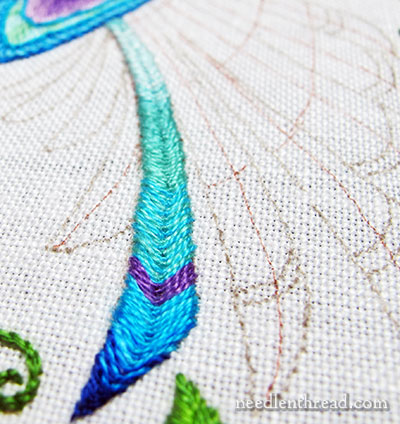
Although I do want the feather to turn slightly toward the tip, I wasn’t pleased with the way the tip worked out, either.
Ok, ok. It’s sloppy stitching! I hurried towards the end, just to get a general idea of what this approach would look like. I already knew, half-way through this feather, that I’d be taking the whole thing out.
This shot gives you a better idea of the wiggly edges. Yuck. And the abrupt shade change, from the light to the medium green. Double yuck.
Yuck, yuck.
So, why the mess?
The stitches are too “tight” – I need to loosen up the spacing a bit so the feathers look slightly more airy. These stitches are packed really close together and the overall effect ends up looking crammed.
To alleviate this tightness, I’ll definitely embroider the feathers with a larger needle. When working with one strand of floss, I generally use a #10 crewel needle. Switching to a #8 will force me to space the stitches a bit. The larger needle will also create a bigger hole, so that the thread will retain its body a bit better.
So there’s a tip for you: when you’re working a stitch like this – or satin stitch or any stitch where the individual stitches should be lying right next to each other but not cramming each other, and you can’t seem to keep from cramming them, try a larger needle. It helps!
I’m also debating about the fly stitch. Should I switch it to the fishbone stitch, like the wing feathers? Decisions, decisions.
This feather was my first stitching experiment for the tail feathers. I’d say it was a flop. But I did learn from it, and that’s always important. More experiments – and final decisions – to come!
Questions? Comments? Suggestions? Feel free to have your say below!
If you’d like to follow along with the Secret Garden hand embroidery project, you can find all the articles relating to this project arranged in chronological order in the Secret Garden Project Index.

