Last week, I mentioned I was cold, so I set up a springy embroidery project that would help warm the cockles of my heart – or at least, would dissipate some of the winter gloom that has settled over Kansas.
To keep the blood flowing, I decided to continue with this particularly cheery project this weekend during my bouts of embroidery.
As I was traipsing through the stylized flower line with needle and thread, trying to bring the flowers to some kind of life, my mind automatically categorized the things I like about it … and the things I don’t.
Because a hoop is an integral part of this project, I also contemplated a common question about embroidery hoops that occasionally shows up in my inbox. I’ll address it below while sharing all my Profound Musings on this project.
Before I started stitching this design, I didn’t plan out what stitches would go where, or even what stitches I would use. I knew I wanted to use a few different line stitches for the stems and leaves. But the flowers would have to develop when I got to them.
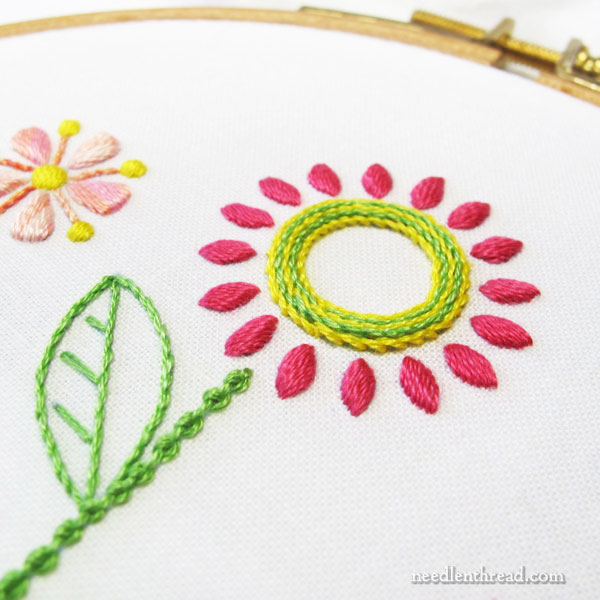
The flower above shows up three times (at different heights) in the (very) stylized garden. It occurred to me that padded satin stitch for the tiny petals might not be the best choice, if you’re in a hurry to stitch a design.
But I couldn’t help it. I thought this flower needed the lift, the shine, the structure that a nice “seed” of padded satin stitch would give those tiny petals.
And they are, by far, my favorite part of this whole design! They look like chocolate-covered, candy-coated sunflower seeds. I want to eat them!

These flowers are not exceptionally original. They’re part of the floral corner design I used last summer when teaching embroidery classes locally. (The floral corners will be coming out soon on Needle ‘n Thread, for those who have asked!)
I liked those flowers last summer, and I still like them.
The stems of all the flowers are stitched with different kinds of line stitches, so even though I’m using the same three shades of green, the stitches add variety, texture, and interest.
And the variety makes the design seem somewhat sampler-ish.
So, the flowers and the stems are fun! I’m happy enough with them and I don’t envision making too many changes to the design, based on them.
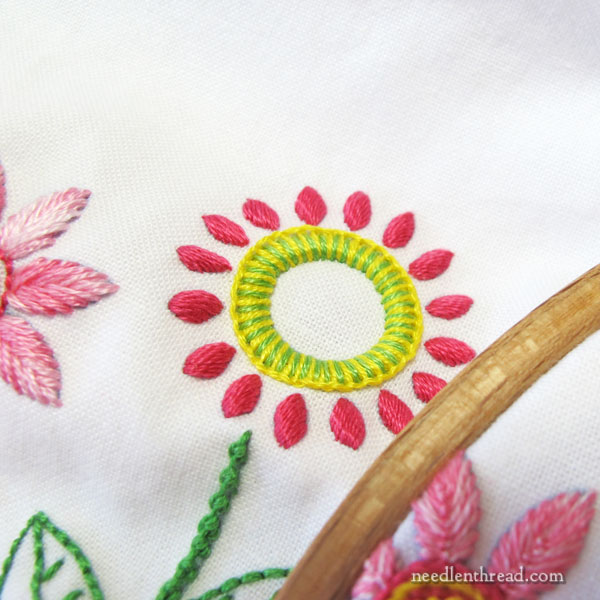
Here’s another one of the chocolate covered sunflower seed flowers.
Because there are three in the design, I’m varying the center treatment, but keeping the petals the same.
Looking at that particular shot brings to mind a question about hoops.
Embroidery Hoop Tips
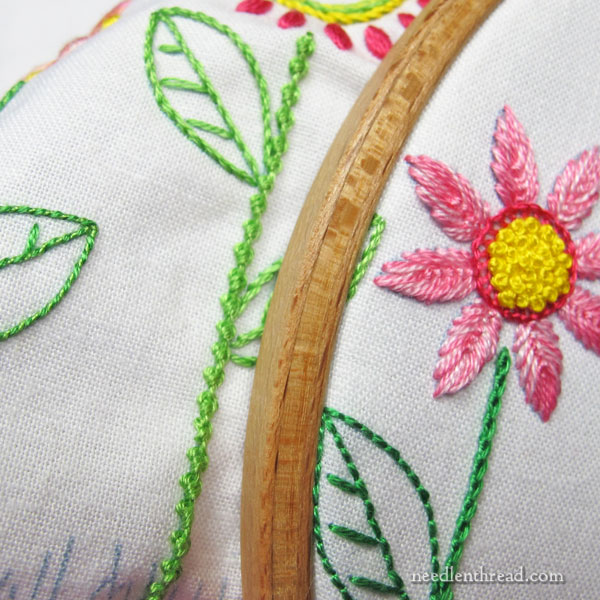
I’m often asked what to do when a design doesn’t fit entirely within the ring of an embroidery hoop.
The answer is quite simple: unless you’re doing a technique that won’t allow it (like bead embroidery, stumpwork, or goldwork), you simply move the hoop over your embroidery and clamp it on again. It’s ok if there’s embroidery in between the rings.
It’s true that it will get somewhat crushed, but when you release the hoop and block or iron your needlework – or launder the piece, if it’s for household use – the stitches will revitalize just fine.
One way to minimize the stress on the embroidery is to remove your hoop at the end of each stitching session. This allows the fabric and fibers to relax. It also helps minimize the dirt or dust that can collect along the ring of the hoop.
Additionally, binding your embroidery hoop (if you’re using a wooden hoop – it doesn’t work well with plastic hoops that have the lip on the inner ring) will help add some additional protection to your fabric and fibers by adding a wee bit of padding. You can see how to bind an embroidery hoop in this tutorial.
When I’m working on a design like this that has a lot of textured stitches and French knots, I make an effort to situate the hoop so that the textured stitches aren’t between the rings. However, if there’s no other choice about placement – if some bumpy stitches are bound to get stuck between the hoop rings no matter what – then I just don’t worry about it.
The upshot: I’ve never had any embroidery ruined by using a hoop, even when moving it around over other stitching.
Getting back to likes and dislikes…
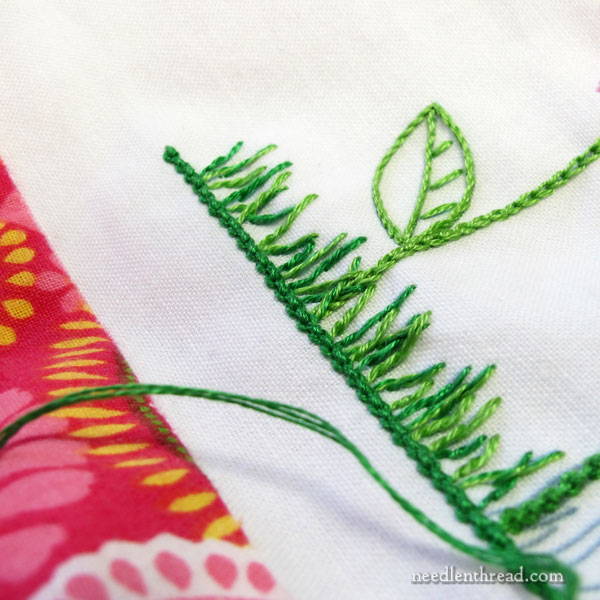
This is the grass line. It’s a little discombobulated right now, because it is not in the hoop and it’s been handled a bit. But you get the idea.
I don’t like the grass line right now. Maybe it will grow on me (heh heh) when the piece is finished and pressed. We’ll see!
The grass is worked in single self-couched stitches (cloister stitch, klosterstitch, convent stitch, Romanian couching – call it what you will), because the straight stitches on their own are a bit too long. Over time, if left long, they could result in loose stitches or they could get caught on things.
I could have stem stitched each blade of grass using one strand of cotton (and it probably would have looked a little better!), but it would take so much longer to do.
So I self-couched each blade of grass. This results in a heavier, less airy grassy line, but that’s not really what bothers me. I think what bothers me is that the grass takes away from the clean lines of the whole piece – I’m thinking it would look better with nothing at the base of the flowers.
I’m not going to take the grass out on this particular piece. I’ll finish it as transferred. I have two more examples to work up with this design, though, so I might work it without the grass in the subsequent examples.
We’ll see, once it’s cleaned up and pressed.
So that was my weekend stitching! Cheery and bright!
I’ve finished the leafy tree, too, which I will share with you shortly.
Hope your week is off to a magnificent start!
