Happy Saturday, and a Happy Weekend! What are you stitching this weekend?
Here in Kansas, where the temps are topping out in the 100’s and things are pretty sticky, I’m working on last minute touches for the first round of summer kids’ classes this coming week.
We’ve divided the kids into age groups and planned our projects accordingly. This year, there are two projects on the table – a stitch sampler needlebook and another hand embroidered flour sack towel.
I love both projects for this summer’s classes, and I think the kids will like them, too.
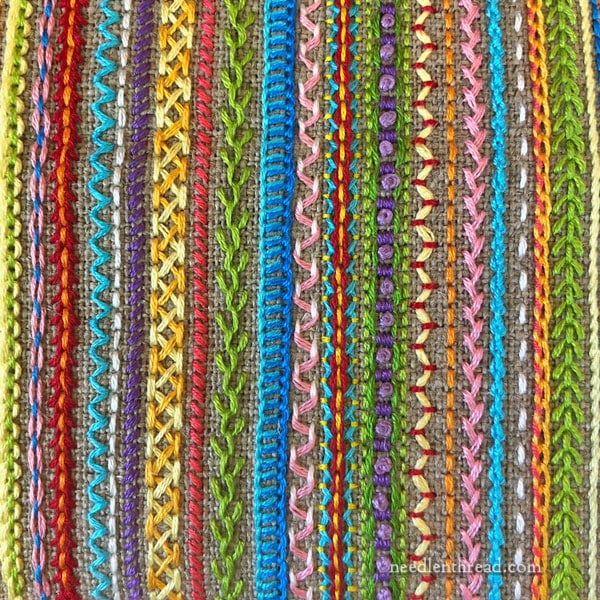
The projects can be adjusted in level of complexity for each age group. So, with the stitch sampler above – used to make this needle book that I showed you here – features several more complicated stitches and composite stitches, it’s suitable for the older kids who have already had some stitching experience.
With the younger kids, we’ll be using a simpler selection of stitches, but dressing them up by showing them how to whip and lace their embroidery stitches, and how to combine certain stitches to make them look a little more complicated than they are.
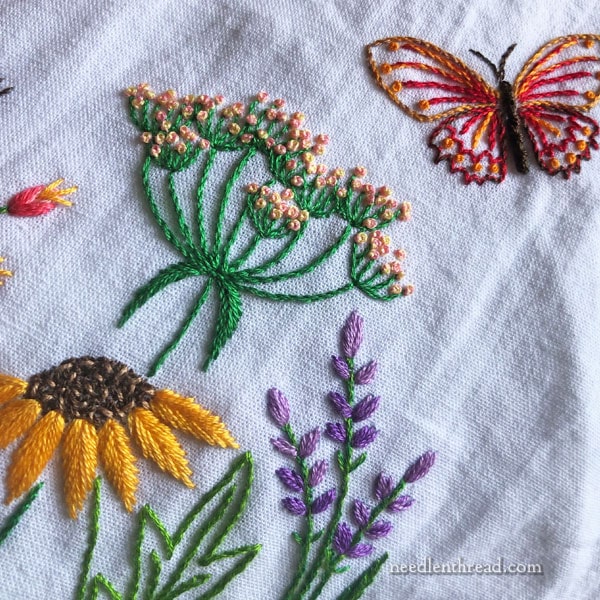
Speaking of finishing touches, this piece needs washing and ironing! It just came out of the hoop. I completely forgot to stitch that butterfly until the very last minute.
No worries, though. It’s a simple little butterfly worked with very basic stitches: stem stitch, fly stitch, and French knots. It could be simplified further by opting for backstitch instead of stem stitch, too (though, as far as complexity goes, both of those stitches are exactly the same movement – they just produce different results).
You can see more of this Summer Garden design here, with information on where to find the pattern.
As you can imagine, it’s not enough just to stitch a couple things and say, “Hey, I think I’ll teach kids how to stitch these two things, too,” and leave it at that!
There’s a lot of preparation that goes into hosting classes for kids. Besides the whole schedule coordination – considering groups, times, ages, skill levels, etc – there’s the question of getting in supplies, kitting them up, and situating a decent work area.
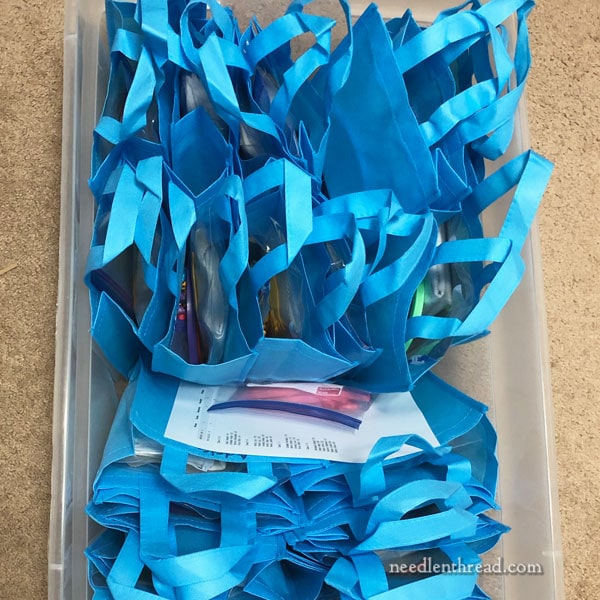
In the photo above, you can see the kits for this round of classes starting Monday. There are twenty students altogether, each with a kit containing linen for their sampler needlebook (pre-cut, served, and marked); a flour sack towel with the design pre-transferred; some 15 skeins of thread, sorted; several appropriate sizes and types of needles; two hoops (4″ and 6″); and small scissors.
The supplies are separated into ziplock bags to keep them clean and neat (clean and neat being the operative words, when dealing with kids!), and all these are tucked into a non-woven tote bag to keep everything together. In the past, I’ve used paper gift bags, but they don’t hold up well for the three-week duration.
Each child’s name is written on the tote and placed on the table, ready for the first class on Monday.
The classes are divided this year into classes of 4 or 5 depending on the age and skill level of the students. The oldest class has six students in it, the majority of whom have had some decent stitching experience.
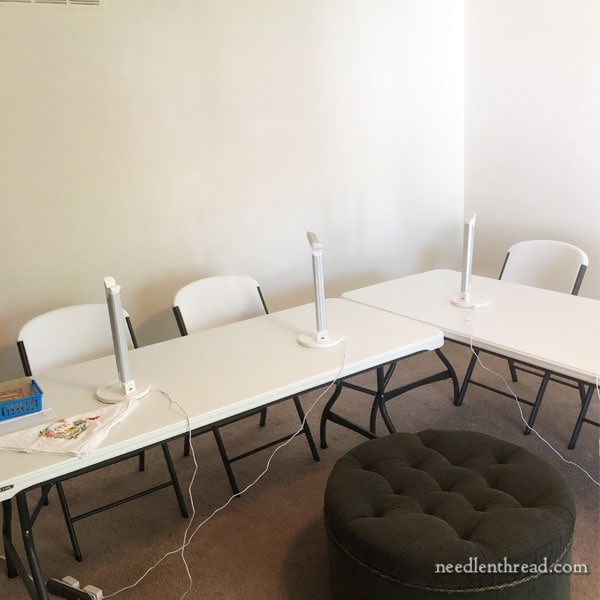
I’m afraid I didn’t take a very good photo of the classroom set-up, but you can get the idea above.
In the front room of my studio, I arranged two folding tables arranged in an L-shape. They face a very large window overlooking the neighbor’s backyard, which is gorgeously adorned with well-kept flower beds and beautiful shady spaces. It’s a great view, considering there isn’t much on my studio’s property worth looking at!
The space is sunny and bright and roomy. Still, dedicated light is a good thing, so each child has a task lamp to work under. You can find the task lamps that we use for classes listed on my Amazon Recommendations page, in the first spot under the Tools & Accessories list. It’s been a great little lamp, and it’s affordable!
The walls behind the sitting spaces are blank, because the room is small enough without adding clutter on all the walls, but the other walls have windows, some decor, and one has a screen we can use for video projection for other classes. With the kids’ classes, though, I don’t use video projection. Since we’re working with small numbers at a time, in relatively close quarters, it works best all around to demonstrate stitches without a screen as an intermediary. They learn better, too, because it is directly hands-on.
So, that’s how the last couple days of this week were spent, in preparation for Monday’s classes. I’m looking forward to them, and down the road, I share some progress and insights. I always learn new things and develop new ideas while teaching kids!
I hope you have a jolly weekend!
This article contains an affiliate link to my Amazon Recommendations page, which means that any purchases made through that link result in a small commission for Needle ‘n Thread at no extra cost to you. Every tiny bit helps! Thanks!
