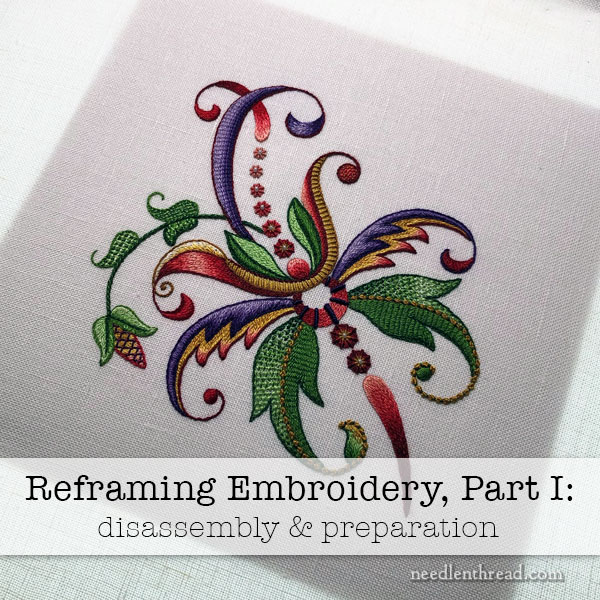
Last week, I shared with you this botched framing job of an embroidery project that was causing me a wee bit of worry.
So many of you chipped in with great advice – thank you so much! I decided to re-do the frame job myself, salvaging the material components (the frame, mat, glass) and re-doing all the labor components of the frame job.
In fact, I was dying to open the thing up, just to see how they approached the job in the first place.
So, today, I’ll show you part one of my fix – where I disassemble the frame, remove the embroidery, and get it ready to re-frame it. And then Friday, I’ll show you the methods and materials I use for mounting and re-framing the work.
First, to answer a few questions that came up in the comments on last week’s article on the initial (botched) embroidery frame job.
No, I had never used these framers. I had inquired around locally, and they were recommended to me. I then researched them a little bit, checked out their reviews, and so forth. I was already familiar with the art gallery attached to the frame shop, and I liked it well enough. I spoke to them on the phone and asked about their experience with needlework. They said yes, they do a lot of needlework. So I went and talked to them in person.
The pertinent questions I asked were:
Will you trim and stretch the embroidery? The answer was yes.
How would it be stretched? The embroidery would be stretched and fixed to the mounting board (archival foam core) using some sort of plastic tabs (which she described).
Do you have museum glass? Yes, of course.
About how long could I expect the job to take? About two to three weeks, because the framer was injured and recovering.
I liked the people and atmosphere, and they were very confident and matter-of-fact about things. They saw the embroidery (in plastic and unfolded, so they could see the whole piece), and they had no questions for me or comments on any difficulties they might run into.
I also received no phone calls about the piece, until they called to say it was ready to pick up.
So that’s the complete backstory, which I hope answers the questions that many of you posed.
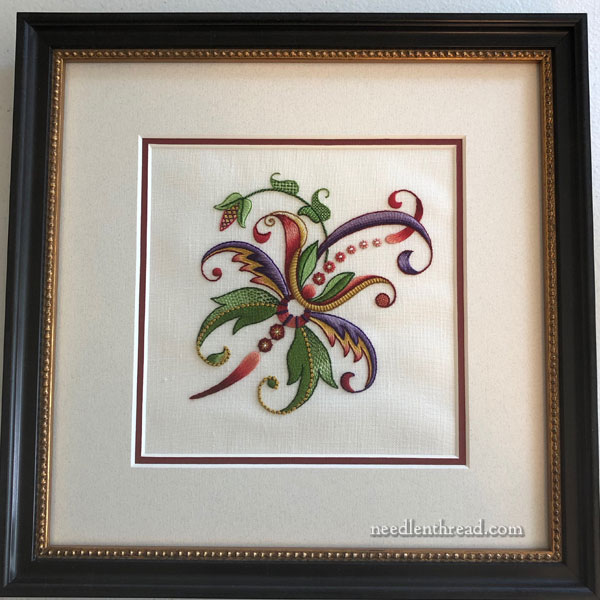
Next, I want to show you a head-on photo in regular lighting that I snapped for those who had the impression from the original photos that the ripples were not visible when looking straight at the image.
I adjusted the original head-on photo that you saw in the previous article and lightened it, to eliminate the shadows of the ripples, because I wanted folks to see the piece, framed, without the distraction of the ripples.
As you can see in the photo above, taken from the front and not adjusted in any way, the ripples were also noticeable from the front. You can see why I couldn’t really accept this – whether the framed piece was just for me, or for a gift, or for a book.
Over time, I had no doubt that the ripples would have become increasingly more problematic, too. And when I opened the back of the frame, this was confirmed.
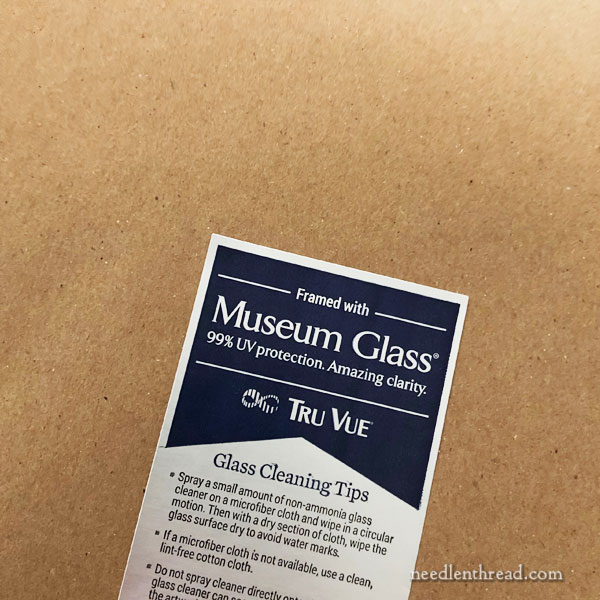
Approaching the back of the frame, there are the typical stickers – one indicating the use of museum glass, the other with the framing gallery information on it. The back is covered with brown paper, which is pasted in place.
I sliced the brown paper carefully around the inner area of the frame, using a craft knife.
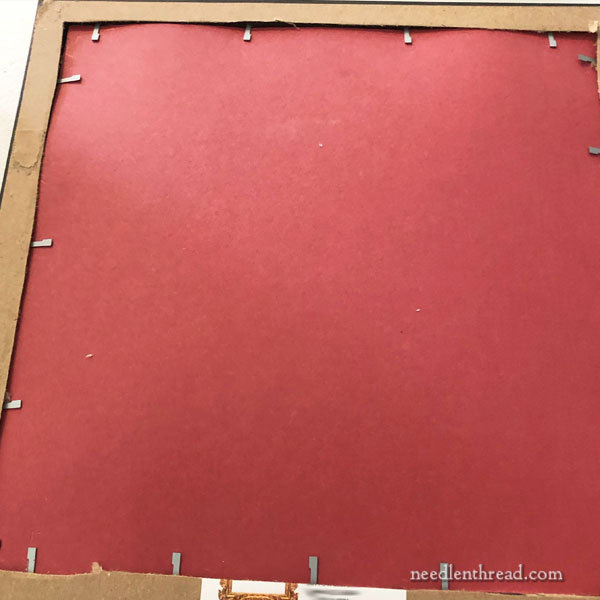
Behind the brown paper, I found red mat board held in place with rigid, flat framer’s points.
This is what I expected to find.
Only…. why was the mat board bulging so very much? It was really tightly held in place with the rigid points, and there was quite a bit of buckling going on.
Oh. My. Word.
I knew, right when I saw this, that there was no trimming, no stretching of the embroidery. I knew exactly what I would see when I removed the points and the mat board.
To remove the points, you can use a little tool that’s kind of a like a small nail remover tool, but you can also just grip the ends of them (with your fingers or with needle-nose pliers) and gently move them back and forth sideways a tiny bit, and they will slip out.
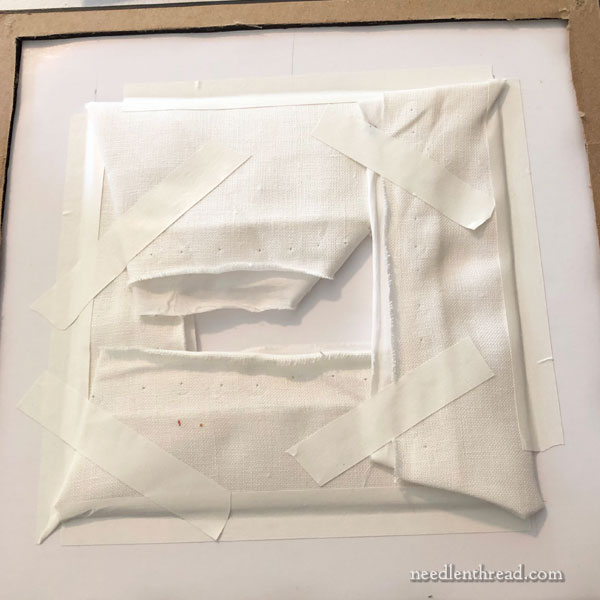
Sure enough, this is what I saw!
The embroidery was loosely folded around the foam core board used for mounting, stuffed into the hole in the foam core board that goes behind the decorative matting, and then loosely taped to hold the folds.
That’s it!
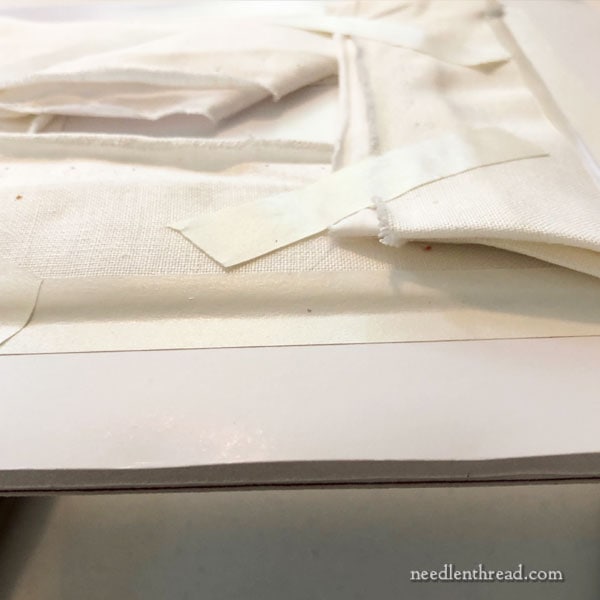
Look how thick and bulky that is.
Personally, I think some bells should have gone off in the framer’s head, maybe ringing along these lines:
“Surely this isn’t what the person had in mind – who would actually pay for someone to fold up a piece of fabric, tape it, and stuff it into a hole?”
“Maybe,” you’d think those bells would have peeled, “I should call her and discuss this with her.”
I had to chuckle. (Well, you might as well see humor in things, after all…)
No wonder the front was rippling. There was no tension on the fabric at all.
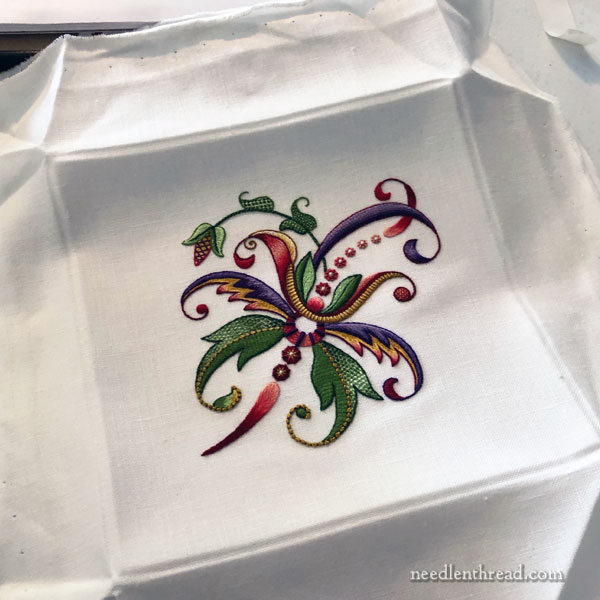
I removed all the tape, unfolded the fabric, and set about re-blocking it.
I needed to damp stretch it to get all the folds and marks from the foam core board out of it, since I needed to re-situate it on the board, and I didn’t want any of those creases to show on the front, if the fabric placement was different.

You’ll find instructions for damp stretching and blocking embroidery here.
Using push pins along the edge of the fabric, I squared up and pinned the fabric to a cork board, stretching it slightly as I went and making sure everything was ship-shape.
I misted the whole thing lightly with water. I usually use distilled water for this, and I use one of these spray bottles:
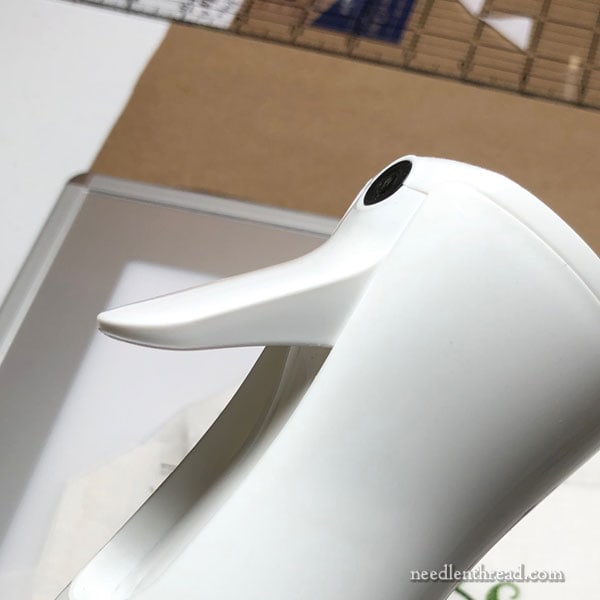
It’s a mister, rather than a sprayer, and it produces a really fine, light mist of water. I’ll add resources at the end of this article, where you can find the things I use for framing.
Anyway, the nice thing about a mister rather than a spritzer or sprayer is that you can lightly mist a piece of fabric even when it’s mounted on foam core board (you’ll see that in the next article), and the water isn’t going to be heavy enough to penetrate the fabric to the board. I love my mister bottle.
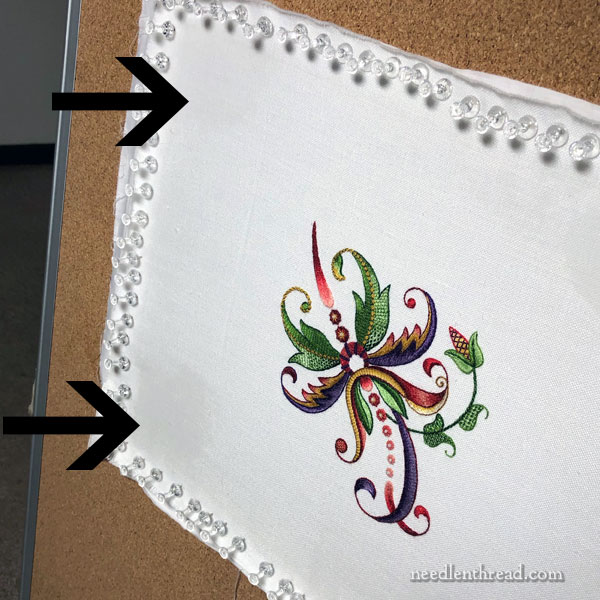
I concentrated a little more water directly on the corner areas of the piece, where it was folded around the foam core board in the first place, since the creases were deeper and more pronounced there.
Then, I left the piece to dry for a couple hours.
Incidentally, there’s nothing quite as wondrous as damp stretching a piece of needlework. When you have noticeable creases in it, and you pin it up and then mist it with water, you can watch the creases disappear right before your eyes. It’s just sooooo satisfying!
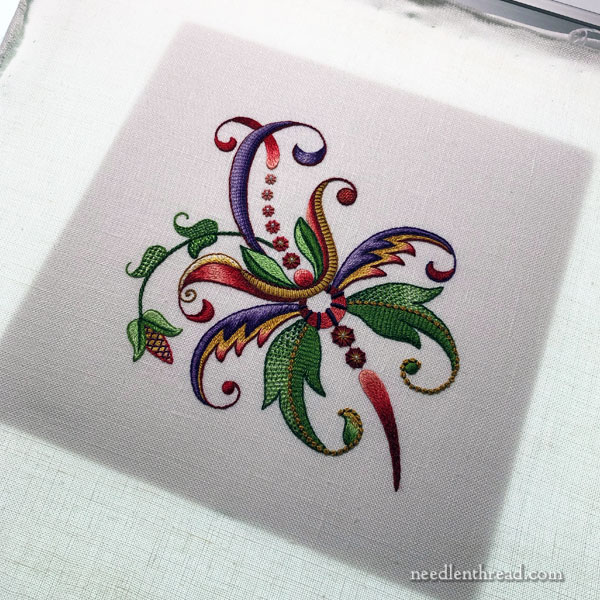
Once the piece was dry and back to perfectly smooth, I removed it from the board.
For Part 2 of this adventure, I used a light pad (you can find one in the resource link below) underneath the rest of my work, to be able to see clearly where my mounting board was in relation to the embroidery. This makes it easier to center things up.
Next time, we’ll look at finishing up this frame job!
It’s time-consuming to frame a piece, and it takes a lot of work that I didn’t initially want to do, but, as usual, I learned a good lesson. Better just do the job myself – if it goes amuck, I only have myself to hold accountable. In the long run, it would have saved me time and money.
Framing Supplies
I’ve added the supplies that I use for framing to my Amazon Recommendations Page, under tools & accessories. If you’re looking for a good spray bottle, I highly recommend the one listed there!
This article contains an affiliate link to my Amazon Recommendations page, which means Needle ‘n Thread receives a small commission for any purchases made through that link, at no extra expense to you. Thanks!
