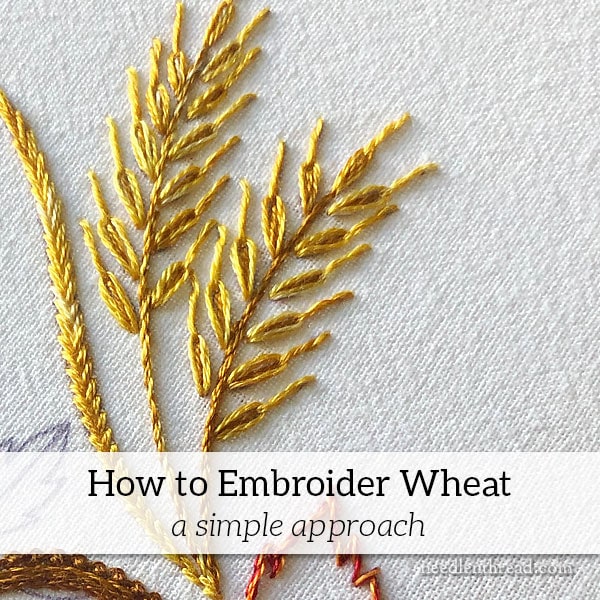
Today, I thought I’d share a quick overview of a very simple method for embroidering wheat motifs.
I’ve received several questions about the wheat on this autumn design I’ve been exploring, so I thought I’d share a quick look at how I’m embroidering the wheat on my pumpkin design.
Incidentally, I think I’m going to call the pumpkin design Festive Fall – Decorative Autumn Corners for Hand Embroidery. So if you’re looking for it when I finally get it out on the website, that’s how it will show up! A stitch & color guide will be available, as well as some ready-to-stitch pieces with the designs already transferred for you. Look for them in September!
So here’s a brief overview of a simple approach for stitching wheat elements on hand embroidered items. Feel free to give it a try!
When it comes to the type of stitching I’m doing on Festive Fall – with the pumpkins, the autumn leaves, the wheat, and the swirls all working together to present a homey, warm autumn scene – I like to keep the stitching relatively simple and quick. After all, this type of design is meant for household goods that will be used and most likely laundered – it’s not exactly framed Art.
With this type of stitching, you want it to be relaxing, and you don’t want it to take ten years to finish… or even ten weeks, for that matter!
Come to think of it, you probably don’t even want it to take ten days! These are designs that you should be able to stitch up relatively quickly, spending a few hours over a few weeknights or a couple weekends stitching.
So the wheat motifs on the design need to work up pretty quickly, because on the larger of the designs, there’s quite a bit of wheat!
At the same time, the wheat has to be worked in stitches that will hold up to laundering and use.
So this is how I do it – and trust me, it takes longer to explain than it takes to get it done!
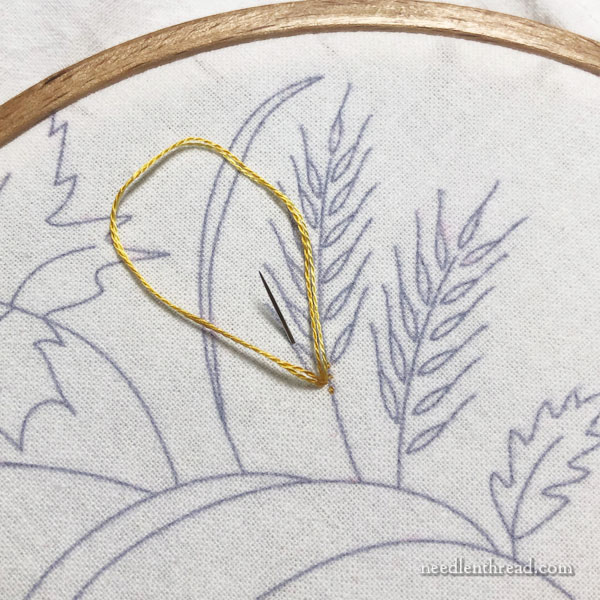
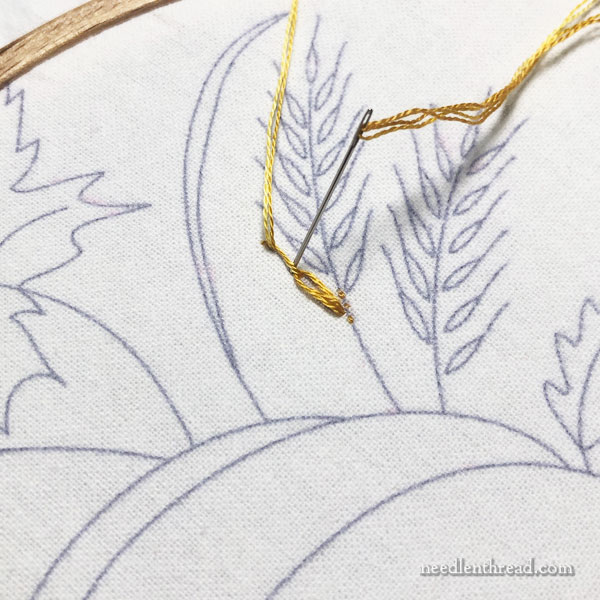
For the wheat kernel, I start with a daisy stitch. Pretty simple stuff!
When I’m working in a hoop, I always use the stab method of embroidery. That is, I don’t “scoop” the fabric to make the daisy stitch. I take the needle all the way to the back of the fabric, leaving a small loop of working thread on the top of the fabric, as shown above, and I bring my needle up from the back into that loop.
My reason for not using the sewing method is that it tends to distort fabric that is held drum taut in a hoop. I like my embroidery to be as free from puckers as possible, and I find that the stab method of stitching helps achieve this.
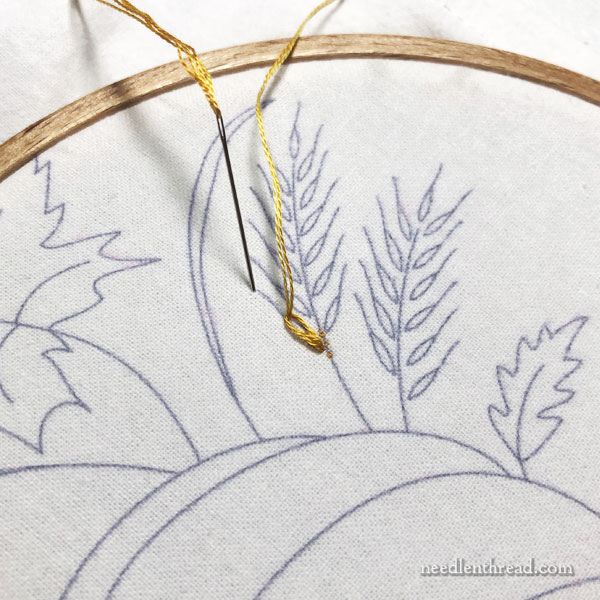
For the “beard” – or the hairy part of the wheat – I end the daisy stitch with a long stitch to cover the individual hair line coming off the kernel.
But I don’t want that long stitch to sit on top of the fabric without being somehow anchored down. Especially with embroidery that’s going to be used or laundered, long stitches are never a great idea!
So, I bring my needle up just on the line, a little below where I took it to the back to end the long hair …
… pulling through to tighten the long stitch. Then I take the needle and working thread over the long stitch and to the back of the fabric on the “hair” line, right near the end of the daisy stitch, as shown above.
This self-couches the long stitch in place and helps to keep it secure, while blending both the long stitch and the couching stitch together.
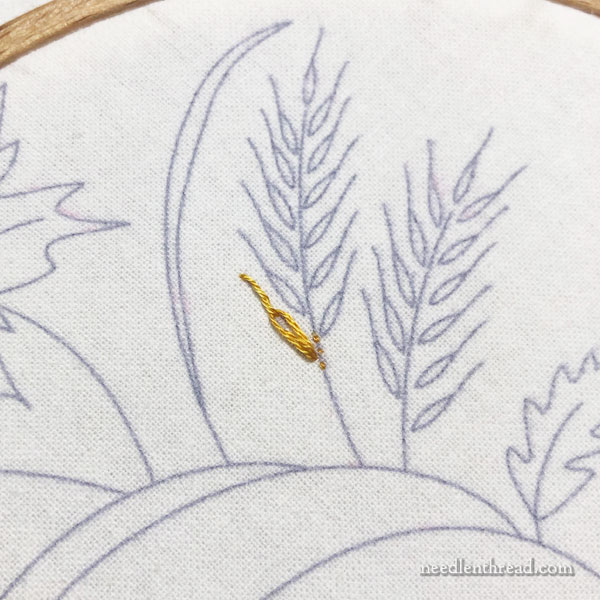
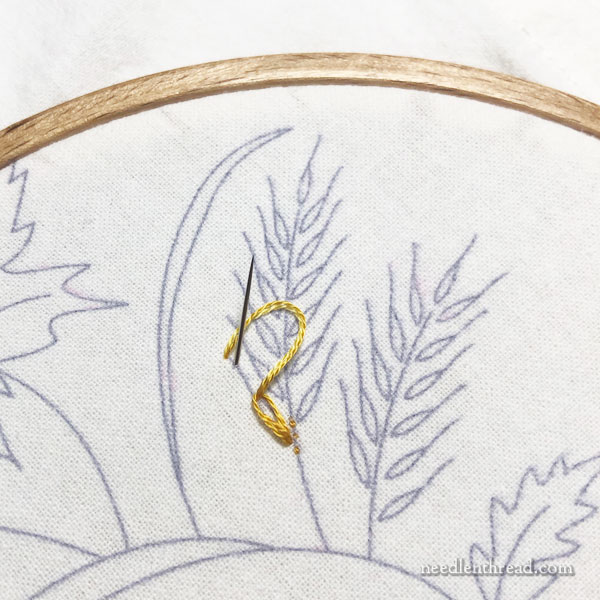
Here’s one finished little kernel and hair.
It’s a very quick trip up one side of the seed head!
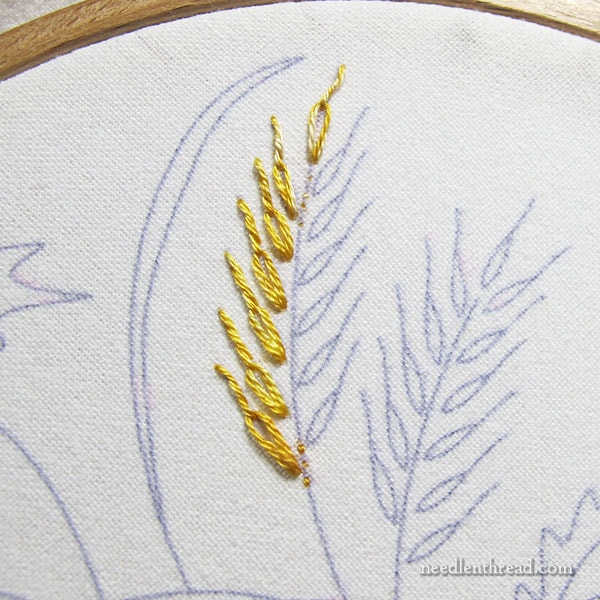
At this point, if I have a lot of thread left, I make tiny tacking stitches down the stem line so that I’m at the base of the seed head and can work up the other side of it in the same method.
Because of the orientation of the design and of the stitches, working up the side of the seed head (rather than down from the top) keeps the stitches on the back of the work shorter and under control.
When stitching on household goods that will have an accessible back, it’s helpful to always consider the journey that the threads will take on the back of the work, too. You don’t want long stitches and long stretches of thread on the back of your work. (I cover this concept of keeping the back neat and of traveling threads and so forth in my Floral Corners e-book.)
In short, being mindful of the back of the work helps keep it neat.
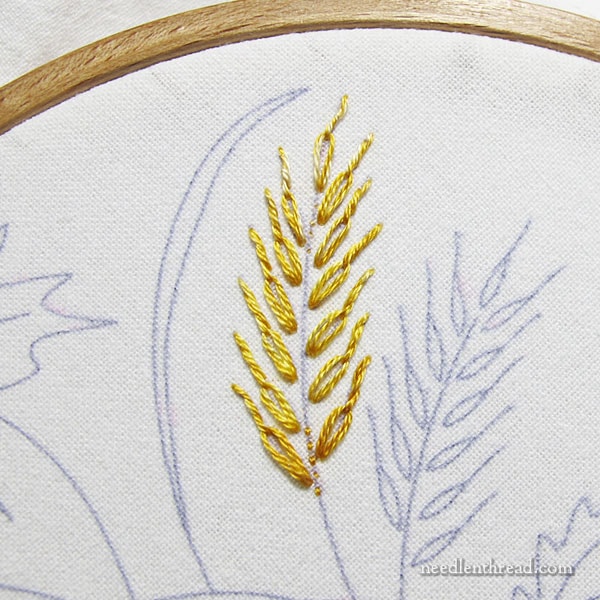
The kernels and their little hairs are finished.
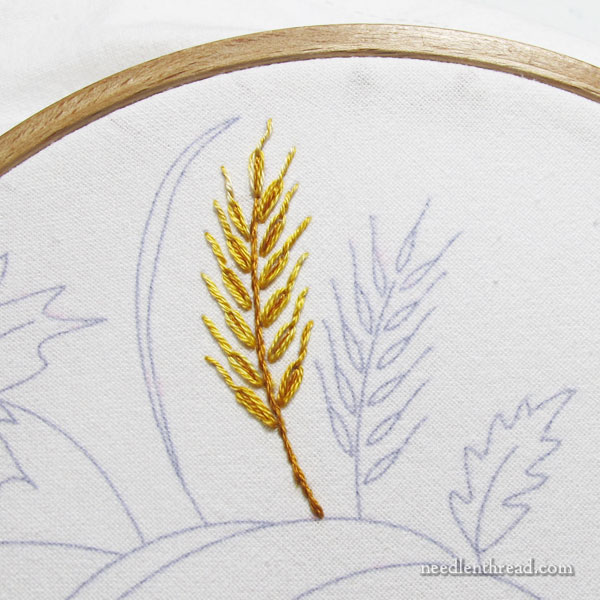
To finish off the wheat, I used a slightly darker golden brown to stem stitch up the stem. Then I worked a straight stitch in the same darker color inside each daisy stitch.
And that, my friends, is a very simple, quick approach to embroidering wheat on household goods.
A Little More In-Depth
I’m sharing this tutorial as a PDF, in a little more depth with a few more tips – along with photos of the what should be happening on the back of the work – for my patrons over on my Patreon page. If you’re a patron over there, hop on over later today to pick it up!
