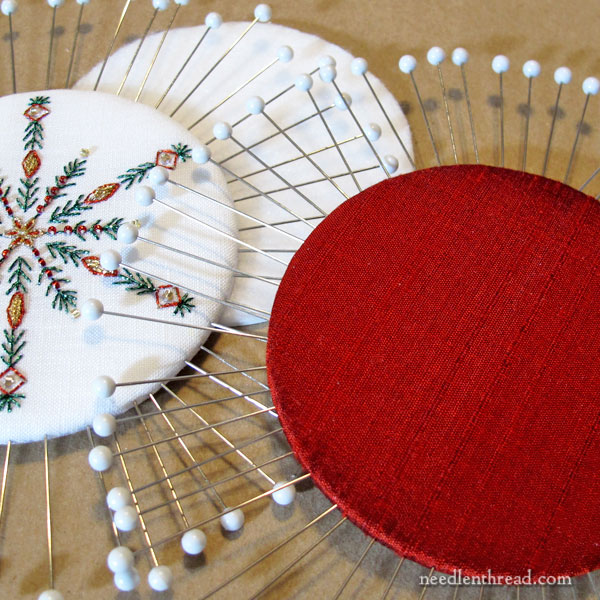
When you go about finishing your embroidery projects into something-or-other – whether it’s into a Christmas ornament (that’s what I’m doing lately), a needlebook, an elaborate box, or myriad other things – you’re going to need a few helpful tools.
I have one favorite tool that I could not live without during the finishing stages of any embroidery. But when it comes to making ornaments, this simple tool – rather ubiquitous in any sewing or needlework-related craft room – has to meet certain criteria.
By now, you may have figured out what tool I’m talking about.
It’s in the photo above. And it’s pretty common!
But before you think I’m a bit nuts writing about something so obvious and so common, give me a moment to explain. If you’re interested in finishing your embroidery into things, you may find this helpful!

Ok, I’ll just get to the point…!
The tool is the pin.
Pins are common in any sewing room. Most people who indulge in needle arts have at least a few in a pincushion somewhere – if not a box or ten floating around.
When it comes to finishing things like ornaments, though, you want your pins to have certain characteristics.
Obviously, pins should be sharp. Sharp pins pierce things much more easily! They should be free of burrs and similar flaws. You don’t want them snagging or pulling your fabric as they are pushed through it.
While very fine, very flexible pins are useful for some sewing applications, when you’re doing finishing work, the pins you use need to be strong. They can have some flexibility in the Bendy Category, but they shouldn’t be super flexible.
You have to push those pins into sometimes-very-tough foundation materials, and if you’re working with very fine, bendable pins, the job will take longer and you’ll definitely feel the frustration.
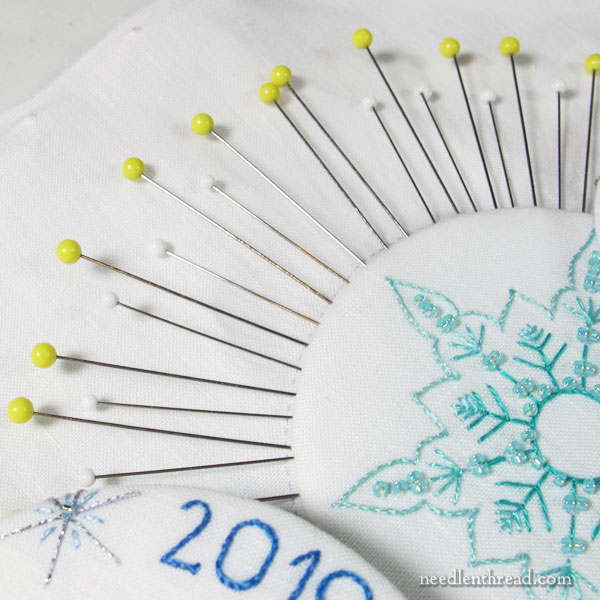
I like pins that have some length to them, too. Why? Because I often use them to pick up and hold onto the thing that I’m working on.
I usually go for 1.5″ long pins, but I’ll use 1.75″, too.
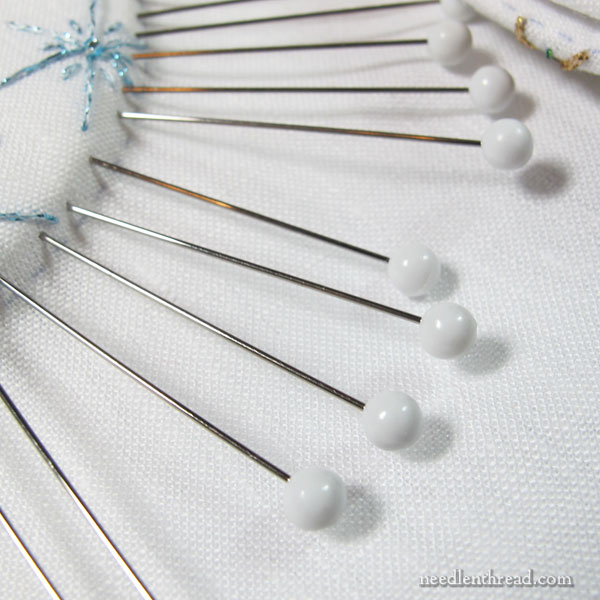
Finally, this is no place for the little steel pins with tiny flat heads.
No siree, Bob! If you want your fingers to remain functional and you want to avoid unnecessary pain and aggravation, look for pins that have the biggest, fattest glass or plastic round heads on them that you can find.
Pins with large heads are easier to push in and pull out because they give you something substantial to hold onto.
Finally, you want a lot of pins at your fingertips. Look for pins that come in a decent quantity per package.
Whenever I am getting ready to go into a bout of finishing, I make sure I have at least a couple boxes of quilting needles on hand.
They don’t have to be the most expensive pins out there. They should be good enough quality that the tip is sharp and the shaft is sturdy and reliable. They should have a nice, plump heads that stays on the shaft (nothing more annoying that heads that pop off!). And they should come in a box of many.
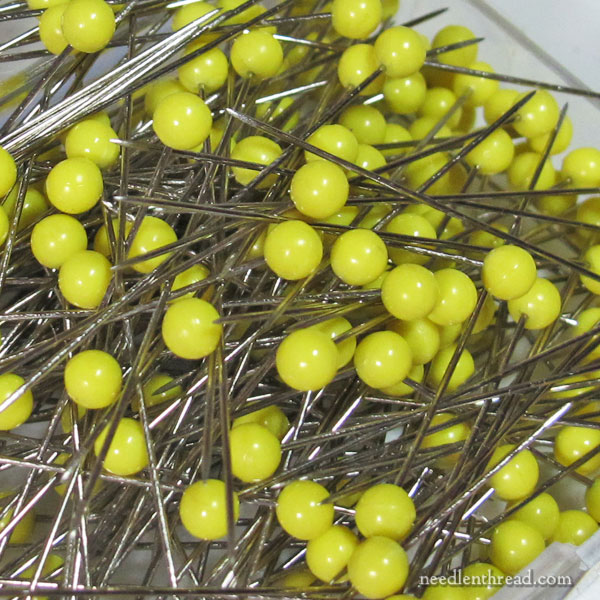
Mostly, I use Annie’s Choice IBC quilting pins. They come in boxes of 250 (I can easily empty one or more boxes in a bout finishing, so I have several boxes).
They are relatively fine stainless steel pins (.60mm), but strong, and while somewhat flexible, they’re not prone to bending much when they’re pushed into hard materials. They have sharp tips and big old heads. I buy the 1.5″ and the 1.75″ length – whatever’s easily available when I need pins. I prefer the 1.5″ (they have white heads), but I’ll use the yellow 1.75″ when I can’t find the white ones.
In a Nutshell
If you want to make your life easier when finishing embroidery into things, get decent pins that meet these criteria:
1. They are sharp and smooth (no burrs!).
2. They are strong and not too flexible.
3. They have some length to them. No place for petit pins! 1.5″ long are good.
4. They have large glass or plastic (round) heads. The larger the better!
5. They come in large quantities. 20 pins won’t do it when you’re doing finish work – you want more like 200 or more.
Little Treasures
I marvel at the fact that 400 years ago, pins were an expensive and treasured commodity!
Today, we tend to take pins for granted. I’ve seen folks throw away pins, simply because they had too many and were sick of storing them!
But every time I use a pin, I think of it as a little treasure. They’re such an incredibly simple tool – but where would we be in any sewing or needlework endeavor, if we didn’t have them?
They’re marvelous little wonders!
On that note, for your weekend entertainment, here’s a little poem about pins by Horace Elisha Scudder, from The Bodleys Telling Stories (mid-late 1800’s).
Children! What becomes of the pins
That are put in the cushion each day?
They vanished away before evening comes,
Or you are half-tired of play.
I will tell you a secret revealed to me
As I lay dreaming one night,
By a queer little sprite who perched on my ear
And showed me a curios sight.
Invisible elves who watch for pins
In each corner and crevice hide;
They seize those that fall with joy and delight,
And mount on the pins astride.
They ride till they come to Fairy Land,
Where elves are waiting to take
The pins that are lost and crooked and bent,
And wonderful changes they make!
They turn them to minims and musical notes,
Giving to each a sound;
Then away the elves fly to your music books,
Where melodies sweet are found.
Do you see the little black heads in a row
Where your music lesson begins?
Before they were carried to Fairy Land,
The notes were rows of pins!
The elves have secured them behind the bars
Arranged for piano or harp;
The broken and bent are now made flat;
The other pins still remain sharp!
So now you know where all your missing pins go.
Enjoy your weekend!
