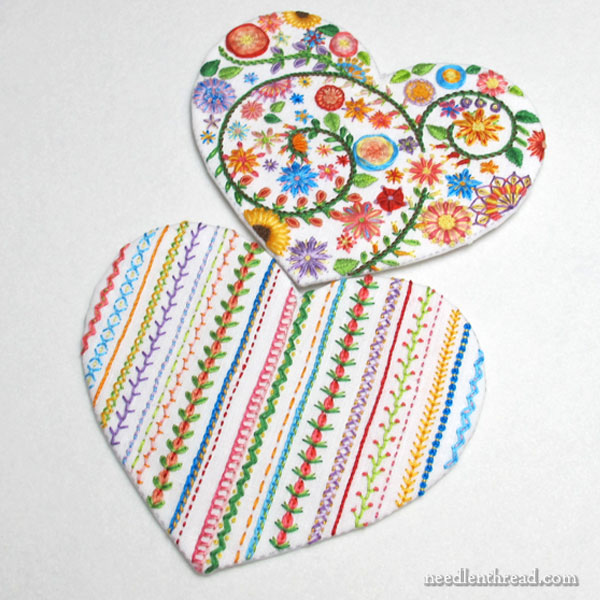
Remember my floral heart project that goes with the voided monogram set I’ve been working on? It’s that colorful, cheerful, fun thing I wrote about a couple weeks ago?
Well, the finish work on that provides a pretty good teaching moment – a good lesson for all of us. The lesson centers around an adage that you may have heard if you sew a lot, but it applies to embroiderers as well:
Measure twice (for me it should be “measure twice x 10”); cut once.
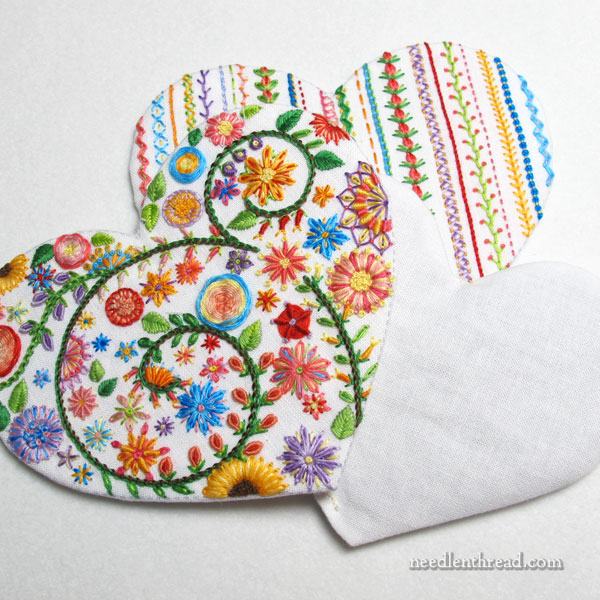
Of course, showing the photo above ruins the suspense, but you might as well know that everything worked out ok.
But this what happened:
It was time to do the finishing on the heart project.
After it was damp stretched and blocked, the next step was cutting out the embroidery.
Mentally speaking, this is probably the hardest part of the whole finishing process. I always quake a bit before cutting.
I start with a rough cut, cutting the shape out but leaving an excessive margin of fabric all around. From there, I trim it down.
It’s always a good idea, in the trimming-down stage, to measure (rather than eye-ball or estimate) the distance from the embroidery. And it’s always a good idea to never cut less than 1/2″ around the embroidery. Depending on the type of finishing, you might even need to leave more of a margin around the embroidery.
Another good idea? Never start this type of work at the end of the day, when you’re perhaps weary, or maybe over-eager to get it done. Start it when you’re relaxed, when you have a good block of time to work, and when you’ve got your full quota of wits about you.
The full quota wasn’t available, obviously. And of course, I wasn’t quick enough on my toes to think to take a photo from the front at this point.
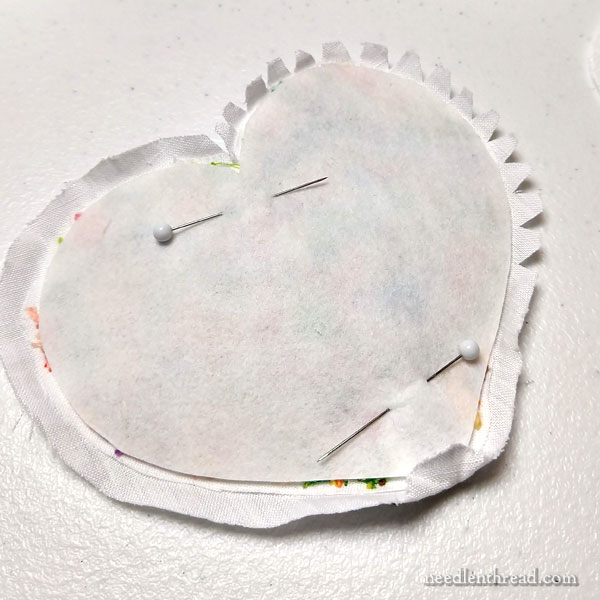
As you can see, the cut margin around the finished embroidery is narrow. It isn’t, in short, 1/2″ – not by a long shot. It’s just over 1/4″.
There’s a piece of thin and somewhat stiff woven interfacing pinned to the back of the embroidery in the photo above.
My first plan for finishing did not include a piece of thin and somewhat stiff interfacing behind the heart. But, due to cutting first and then measuring, I had to change my tactics. There wasn’t enough edge left around the embroidery to finish it according to the first plan.
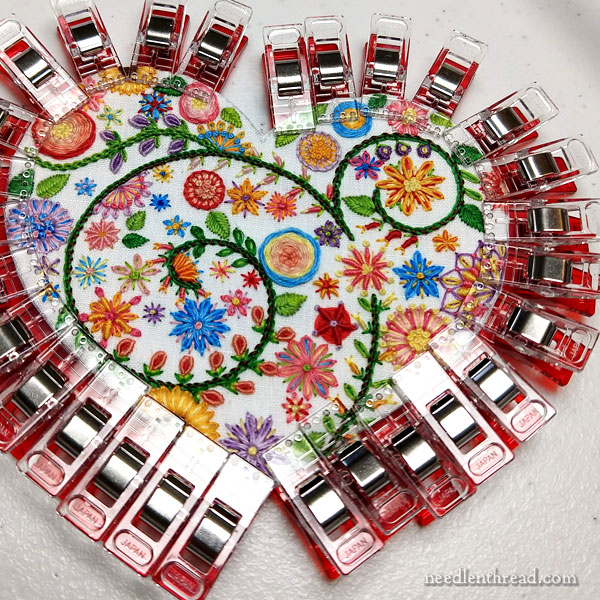
Fortunately, the thin interfacing worked ok. With the help of some PVA glue and a whole lot of clips, the narrow turned edge held around the interfacing.
In fact, both the front and the back of the heart worked out really well, despite a few hair-raising, curse-inducing, moaning moments when the realization struck that the cut margin for the front of the design was way too narrow.
Measure twice; cut once. And actually measure, don’t estimate. And only do finish work when you are fresh in the head and can concentrate!
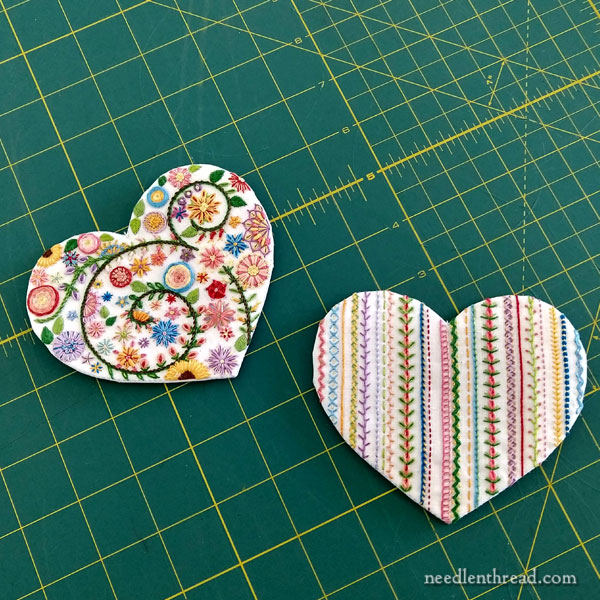
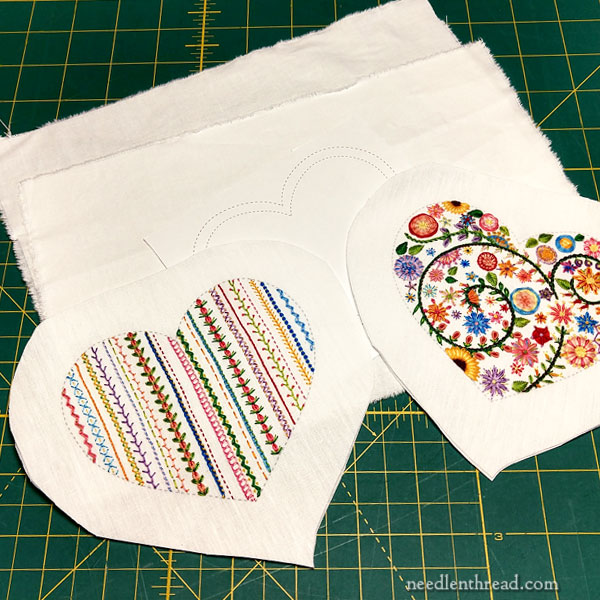
There they are, ready to assemble. I’m going to insert a small cotton heart filled with a thin layer of dried lavender between them.
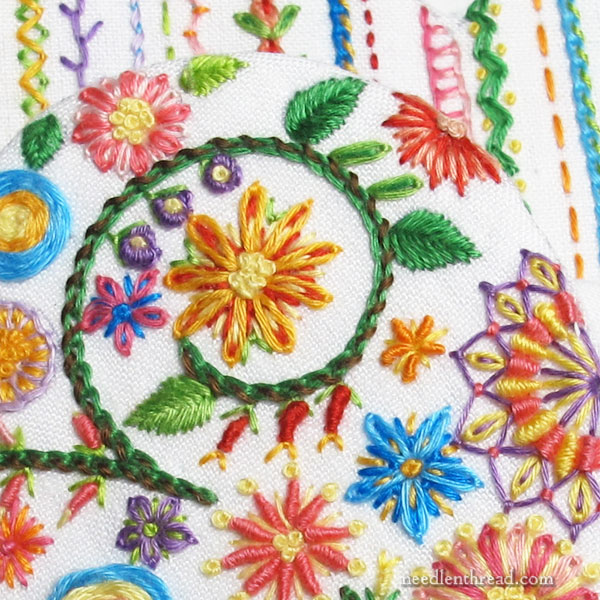
(There’s a part of me that prefers close-ups.)
I’ll finish this today, and over the weekend, I’ll finish one more item in the samples for this collection. Then I’ll be ready to put it all together in a handy little package!
I’m looking forward to the weekend – how about you? Aside from cleaning house, looks like I’m free to design and stitch all weekend. Not complaining!
Hope you’re doing great! Hang in there!
