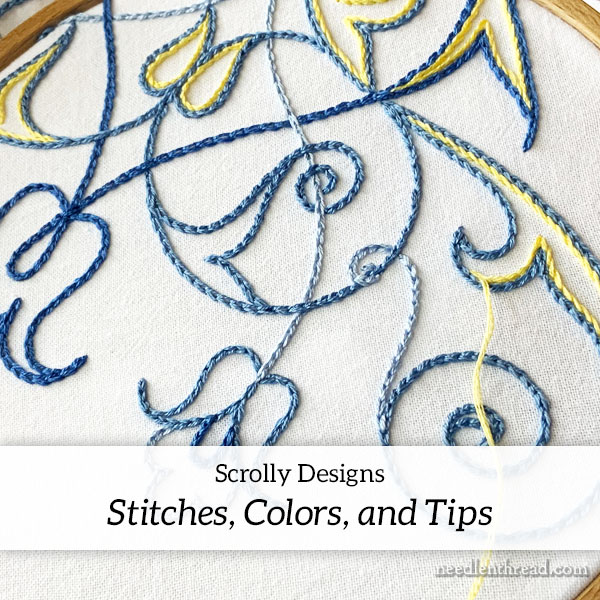
On Monday, I shared a weekend embroidery finish with you – this scrolly design embroidered on the corner of a cotton towel – and I got flooded with a heap of email with questions.
If I spent as much time as I’d need to answer every question that comes in from the website, I’d have to live on my computer. So I generally weed through questions and try to group together the questions that people ask, that are relevant and that are not already clarified in the original article. Then, I cover those in a blog post, including some stitch tips and whatnot that we can all benefit from.
So here’s a conglomeration of information on the project I posted on Monday, with some stitch talk, color information, and tips.
First, let’s talk about color.
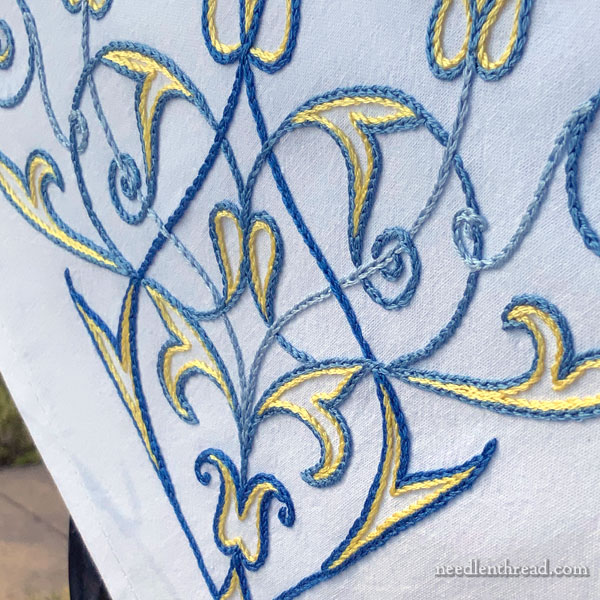
I’m working up three samples, to go with the three-towel set for the scrolly designs. On the first sample, which you saw on Monday, I used what I’d call “classic blues.” They are – from dark to light – DMC 798, 799, and 3840.
After my first sample corner, I decided to toy with a different blue combination. It leans slightly to periwinkle.
So, on the second and third towels (the large and the small designs), I selected 3838, 3839, and 3840. I haven’t shown those yet. And strangely enough, in the photos, it’s hard to see a difference.
Why the change? Well, I like the slightly-periwinkle blues… and it just so happens that I’m working from threads I have on hand (which is what I highly recommend when it comes to projects like this – they’re great for stash-busting!). I have a ton of 3838, 3839, and 3840. And I only had partial skeins of 798 and 799.
For the yellow, I’m using 727, which is a soft, true yellow. Sunny, but not glaring.
What colors can you use? Any! Some of you suggested quite a few delectable color combos. Chances are, if you’re avid stitchers, you have those colors on hand.
Number of strands? I used three strands for all the stitching.
The needle? A #7 embroidery (or crewel) needle.
Stitches
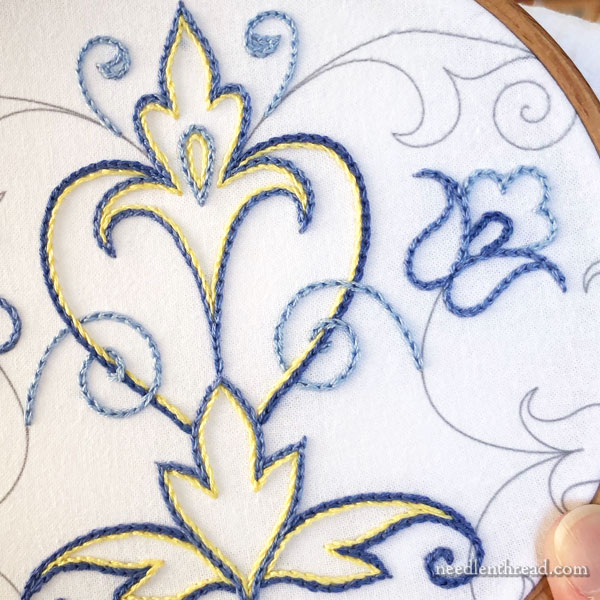
Simple, simple, simple! Many of you pinpointed the stitch choices right away, but for those who didn’t and who asked, I used chain stitch for the dominant color (the blues) and stem stitch to outline with yellow, just inside the chain stitch on any closed-in elements. That is, they are elements that could feasibly be filled, but I was leaning towards light and airy, elegant and quick, and so I didn’t fill anything.
You can definitely fill if you want to.
Here are basic video tutorials for chain stitch and stem stitch.
Can you use other stitches?
Absolutely!
I had to restrain myself from using Palestrina stitch as my main stitch on these. I think it would be beautiful, but it also takes up a little more thread than chain stitch and it takes longer. But oh! It would be pretty!
I just love that stitch. Sigh.
You can also use heavier stitches, like Hungarian braided chain stitch. Or heavy chain stitch. Maybe braid stitch, if you wanted to be adventurous! Maybe you want to go with backstitch – go for it! Or, for a whimsical and stripy look, you could go with a whipped backstitch. Fun!
Want to go small and bumpy? Try coral stitch. (It’s not as easy to keep coral stitch as tidy as some stitches, but it would be a great exercise for spacing and working the stitch consistently.)
Portuguese knotted stem stitch would also give an excellent textured line.
You can find tutorials for all of these stitches here.
Why?
Some people asked me why I picked chain stitch and stem stitch.
Well, I personally love the combination of the chain stitch line highlighted by the stem stitch line on this design. And they both work up quickly. So I guess those are the reasons! I like the combination. I like the way it looks. I like working those stitches. That’s generally why most stitchers select the stitches they use – because they like them.
In short, on designs like these, you can use any line stitch that you like. Just remember that certain stitches take a lot more thread than others and are more time consuming. So when you’re working a design like this, you have to decide how much time you want to take, and how much money you want to invest in threads.
Stitching Tips
Another recurring question that came in, in one form or another: My chain stitch (or my stem stitch) never looks like yours. What should I do differently?
When it comes to stitching with chain stitch and stem stitch, I have some tutorials that will help you work the stitches more consistently, more beautifully, and more efficiently, if you’re struggling with them. They’ll also help you troubleshoot little things like starting a new thread, or coming to a clean point or sharp corner with the stitches, or working around tight curves and maintaining the integrity of the stitch.
Here’s a list of helpful photo tutorials and tips for handling chain stitch and stem stitch and achieving stellar results with both:
Chain Stitch Corners & Sharp Points
Chain Stitch Circles – The Invisible Join
Starting a New Thread with Chain Stitch
Reverse Chain Stitch to Speed Things Up
Stem Stitch Corners and Sharp Tips
Stem Stitch Curls & Spirals
Stem Stitch Tight Curls
12 Tips for a Better Stem Stitch
Stab!
When I’m working in a hoop, I never, ever, ever, ever, ever, ever (get the point?) scoop (or “sew”) my embroidery stitches, even on ‘umble flour sack towels. I always stab them!
No matter what you’re stitching, your embroidery deserves to look the best that it can look, and with stem stitch and chain stitch, you will always get better results if you stab your stitches rather than scoop them, especially if you are using a hoop.
If you’re unsure of the difference between stabbing and scooping (or sewing) – i.e. the stab method vs the sewing method of stitching – you can read this article here, which explains further.
If you need to know more about embroidery hoops, this article on binding a hoop, and this article on setting up a hoop, and finally, this article on the embroidery hoop in general may be helpful.
More to Come!
These scrolly designs will first be available as a ready-to-stitch towel set (as explained in the article on Monday).
I’m working on a solution for folks who would like to embroider the designs on something other than towels, and for international readers (since I cannot ship the towel sets internationally in any affordable way – shipping is simply too steep, and too uncertain when it’s not steep).
So more on that, as I work out details. But I’m planning to have towel sets available in my shop as early as next week – maybe even a few this Friday? It depends on what I can squeeze in. Right now, I have some Spring Corner ready-to-stitch towel sets available, and I’ll add the Scrolly designs as soon as I can get some prepared. So keep a look out in my shop, and they’ll be there as soon as I can get ’em ready!
Hope you’re doing well! Hang in there!
