Just a quick note before launching into today’s topic: I’ve restocked the Autumn Variety, Festive Fall, and Holly & Evergreen ready-to-stitch towel sets. You can find them all available here right now!
Earlier in the annuls of Needle ‘n Thread somewhere (here, to be exact), we had a chat about cutting fabric along the grain, and what that means.
Today, I’m going to very quickly show you why it’s important to cut embroidery fabric (in this case, linen) along the thread of the fabric, which is precisely along the “grain” – not just sort of guessing in the general direction of the grain.
I’ve been preparing some kits lately – that’s what was going on when we discussed weighing beads in this article.
Well, if you thought weighing beads seems tedious, precisely cutting precisely measured linen is even more so. When I prepare embroidery kits, I always cut the linen along the thread of the fabric, so that I know that you are getting the full amount of fabric, that it is square on the grain, and that there’s no senseless waste.
Let’s look at why it’s important to cut linen along the thread of the fabric.
Before we go too far in the discussion, you’ll want to be familiar with a couple concepts in cutting and preparing fabric for embroidery. The first is the concept of cutting “on the grain,” which I explained in this article.
The second concept is “squaring up” your linen when preparing your fabric. We discussed how to square up linen by removing threads in this article, when I was preparing linen for a table runner.
Today, we’re talking about a combination of all these concepts – cutting on the grain, cutting along a thread, and squaring up fabric in preparation for a project.
It all started with a fat quarter of linen. Before we go any further, let’s look at what is meant by a “fat quarter” of fabric.
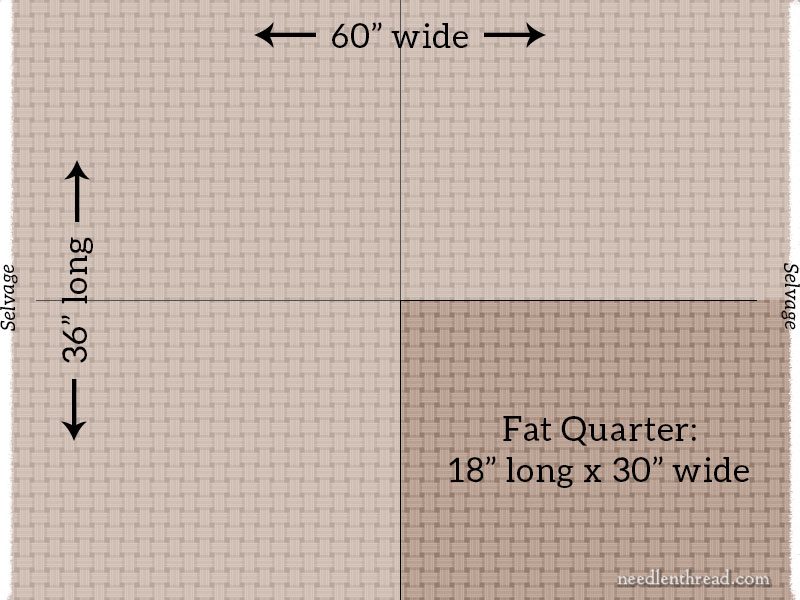
If you order a fat quarter of fabric – and especially if you’re ordering it to use on a specifically sized piece of needlework – you expect to receive a piece of fabric that is 18″ long (along the lengthwise grain, or the warp threads) x half the width of the fabric on the bolt (or the widthwise grain or weft threads).
Regardless of whether you order a fat quarter or any other size, if you need that specific size of fabric for your needlework project – whether it’s for counted work or surface embroidery, whether the linen is even weave or plain weave – you need the cut to be precise.
In order to ensure that it’s precise, the linen should be cut along the thread. That is, the scissors that cut the linen should follow along one thread of the fabric while the cut is made, with both length and width-wise cuts.
If it’s not – if the fabric is cut, for example, with a rotary cutter and a ruler, and the ruler is slightly off – you could end up with significantly less usable fabric than you hoped for.
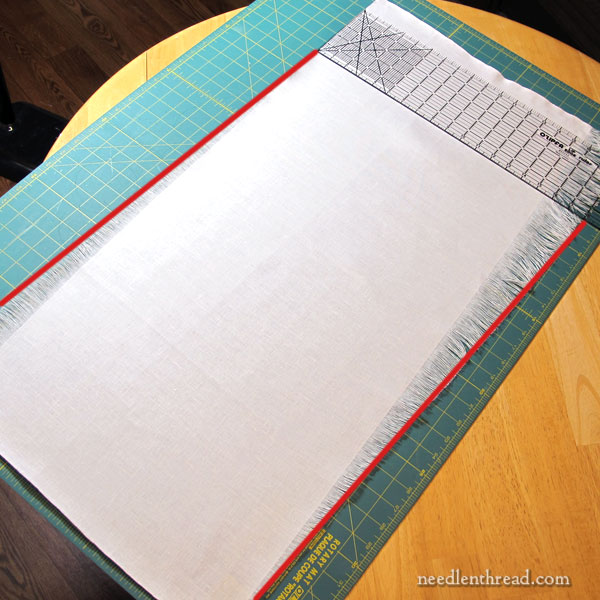
To demonstrate, here’s a fat quarter of linen.
The red lines indicate what should about an 18″ width. They indicate where the edge of the piece of fabric was, before I removed threads to “square up” the linen.
The fat quarter here was not cut in the typical off-the-bolt configuration as shown in the diagram above. But this doesn’t matter – the principle we’re discussing here holds true, no matter what size cut of linen you’re ordering.
When I opened the package, I could tell that the fabric was not straight along the length-wise cut.
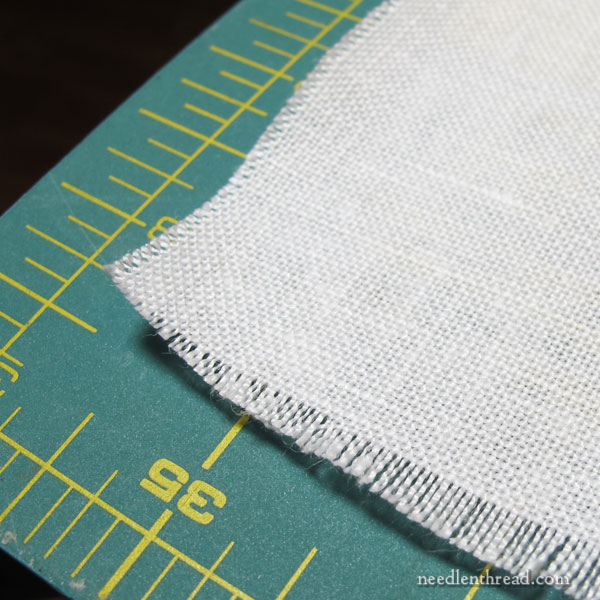
The edges of the linen were “hairy” – there were little cut threads hanging off the long edges, all the way down.
So I began at one corner of the linen and removed the little threads sticking out along the length of the fabric, until I was pulling longer and longer threads out.
Eventually, I got to the point where there was one long, complete, woven thread running down the whole length of the fabric.
I did this on each size of the linen, and I ended up with:
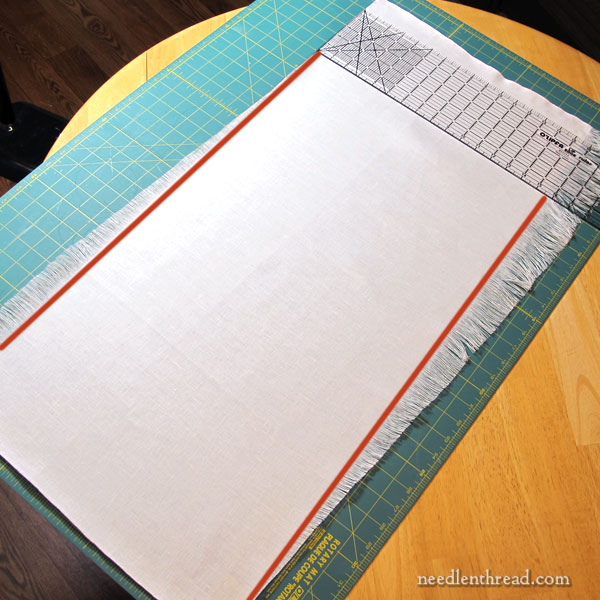
… an ever-deepening fringe on both sides. The red lines indicate the true edges of the usable portion of fabric where the first long thread along the length of the cut was complete.
All the fringe is the result of the crooked cut.
So, what I expected to be an 18″ width, was actually this:
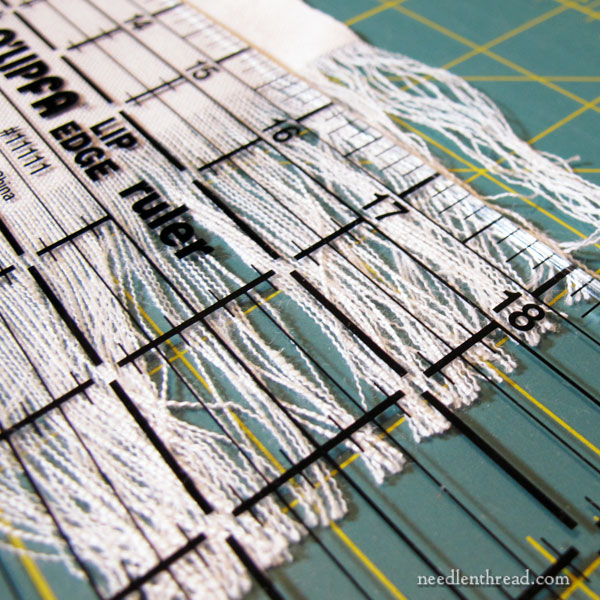
There’s about 2.5″ of fringe there – so I ended up with a fabric width of about 15.5″ rather than 18″.
This is a significant difference in size, if you’re ordering any fabric, but especially if you’re a piece of fabric that you need to be a specific size.
If I had needed that fabric to be 18″ wide for a project, it would not be a usable 18″ wide cut, because the cut was crooked, which means that the project would end up slightly on the bias.
It would never work for a counted project that had to be 18″ wide. And for a surface embroidery project, if you didn’t catch that the fabric wasn’t squared up, it would lead to a warped finish.
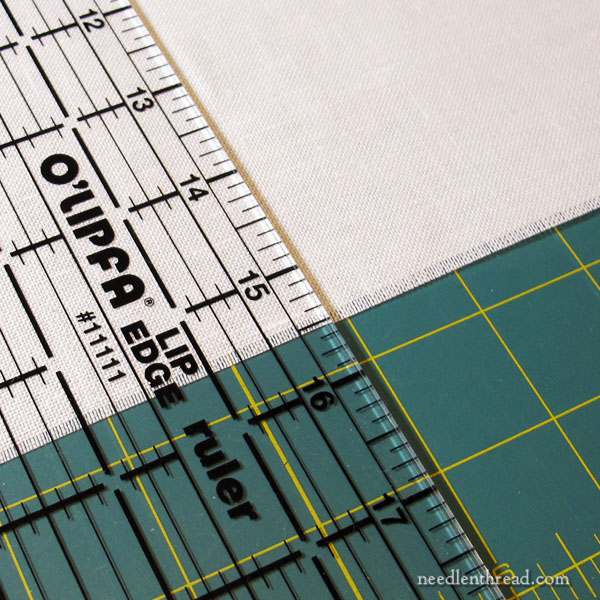
Once I squared up the fabric by removing threads on the side until I had one full thread running the whole length of the weave, I knew my fabric was on the grain and ready to set up.
But the fabric was also 2.5″ narrower than it normally should have been.
For this particular experiment, it really doesn’t make a difference to me, but if I had purchased the fabric with an exactly-sized project in mind, and the fabric had been cut off the grain like this, I would definitely return it and ask for a new cut. If I hadn’t noticed and I had started my project, I probably would have been a little miffed.
The moral of the story for you, my friends, is to make sure your cuts of fabric are on the grain, and preferably that they follow one thread along the cut, or that, when you square the fabric up by removing threads to get to the first complete thread in the weave, the resulting squared-up fabric is the size you ordered.
When you order from a local or online small needlework shop, you generally don’t have to worry about these kinds of things. But if you order from a fabric shop, where cutting fabric for things other than needlework might not require as precise a cut, be sure to double check your fabric before starting your project!
Hope your week’s going well!
