I’ve been steadily plying the needle each day for at least 20 or so minutes on my “Stitch Fun 2021″ sampler – a completely random, no-rules (except a few), year-long stitching exercise.
Through the first weeks of January, I had some frustrating moments which I chalk up mainly to the set-up of this piece. The linen I’m using for it is quite a narrow strip – under 8″ wide, just under a 6” wide stitching width. I really should have planned better, but I was using a strip of fabric I already had cut and it seemed a good way to use it up.
If you’ve ever stitched on a piece of fabric that’s really too small, you know it can be frustrating. If you’re trying to use a hoop, you have to use one that’s smaller than you’d like, so you have to move it around on the embroidery – and that takes time and its own level of annoyance.
If you just barely fit the stitching area into a barely-fitting hoop, it makes for uncomfortable stitching. Everything feels cramped! You don’t have enough fabric on the sides to make adjustments in the hoop easily. And as you approach the perimeter of your stitching, which is being rudely encroached upon by your too-small hoop, you have to … uh… jump through hoops to get your needle in and out of the fabric on the very edge. And then don’t even mention having to turn the work over and fight with ending the thread for stitches crammed right up against the edge of the hoop! What a pain in the …!
Yes! You get the idea!
I decided to solve the problem on my SF2021 sampler once and for all, and then I ditched the hoop and substituted another solution altogether. This is how I solved my cramped-hoop problem – and this is how you can solve similar problems, when you need to make your fabric bigger, to fit a hoop or frame more comfortably.
First, I went into my fabric bin and retrieved a few pieces of cotton that I knew were large enough for my purposes. I decided on the color that I was least likely to ever actually use again, and dragged it out and ironed it.
To extend ground fabric so that it fits comfortably in a hoop or frame, you can use any scrap fabric you have that has a firm weave and will hold up to being hooped or framed without a lot of distortion. I would say stick to an inexpensive cotton (muslin, calico, or what-have-you). It can be a print or solid – it doesn’t really matter. Use whatever you have on hand, or whatever you can acquire least expensively, because the fabric is not going to figure in the finish of the piece, and when you’re finished, it will be finished, too!
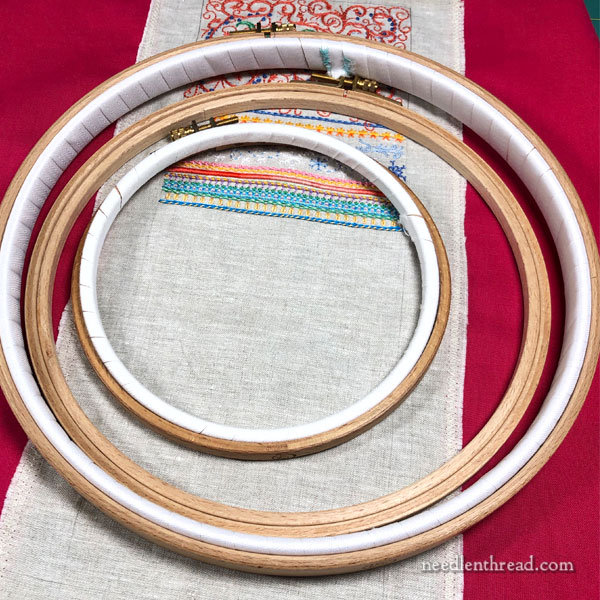
You can see in the photo above that I picked a very deep hot pink / magenta cotton, and you can see that the hoops are all pretty much too big for just the linen strip!
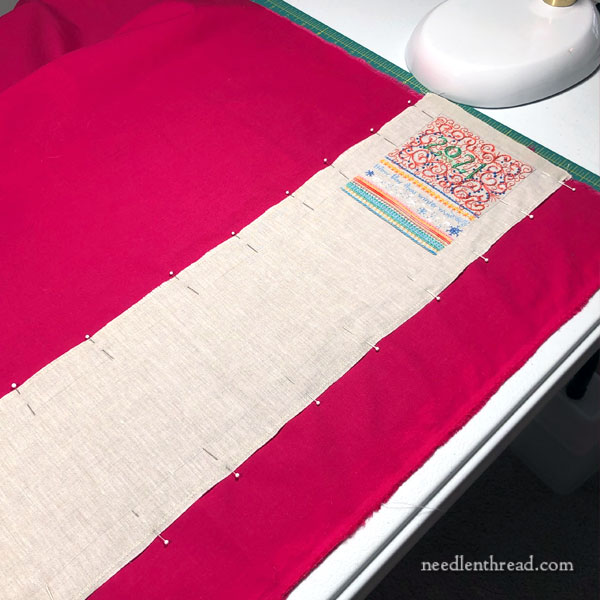
I lightly pressed the sampler strip because it was pretty wrinkled, and then I laid it face up on top of the cotton
I made sure the linen was aligned with the grain of the fabric. If you don’t know what that means, you can read about fabric grain here. Essentially, I wanted the cotton to be straight, and the linen to be straight on top of the cotton.
I pinned the linen to the cotton on both sides down the strip, as shown above.
Then I took it to my sewing machine and zig-zag stitched up the sides of the linen with the linen face-up, so I could see clearly where I was going. The zig-zag was just within the edge of the linen.
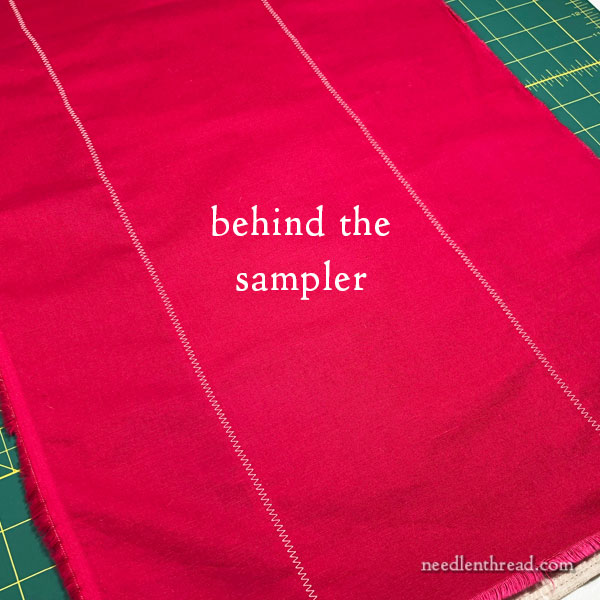
This is the back of the cotton. You can see the zig-zag stitching. It isn’t perfect. It doesn’t have to be.
The area between the two lines is where the linen strip is affixed to the front.
Don’t worry! I’m not planning on stitching the rest of the sampler through both layers!
I took a pair of scissors and carefully cut away the cotton fabric behind the sampler. I cut close to the zig-zag stitching, but not into it, and I was very careful not to snag the linen with my sheers.
If you’re using sheers and you slide them between the linen and the cotton, you don’t really have to worry that you’re cutting the linen, because your scissors are only going to cut what’s between the blades – and the linen is not between the blades! But you might have to be careful that you don’t pierce the linen with the tips of your sheers. Just go slowly and cut on up the line.
Cut off any excess cotton that you won’t need. Your cotton doesn’t have to be huge – it just has to be big enough to comfortably hold the hoop you want to use.
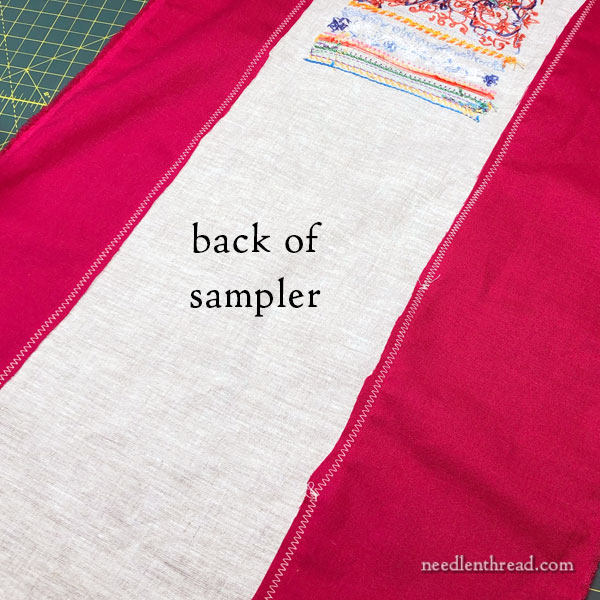
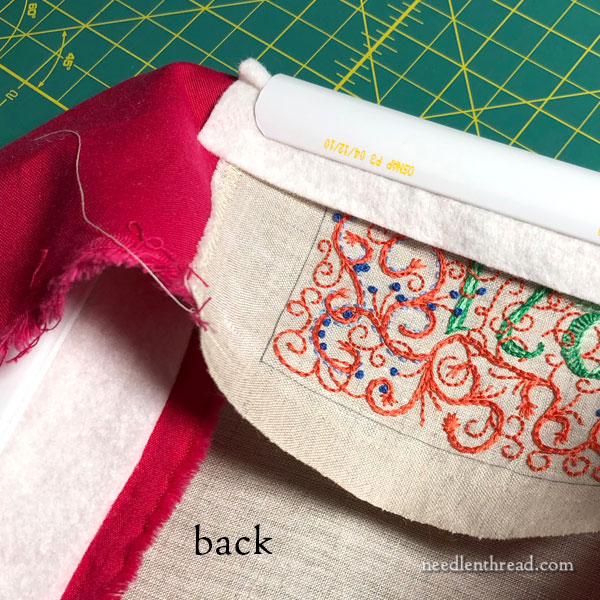
Here, you can see the back of the sampler and the area where the cotton is cut away. It’s not a beautiful cut. It doesn’t matter! Now I have room!
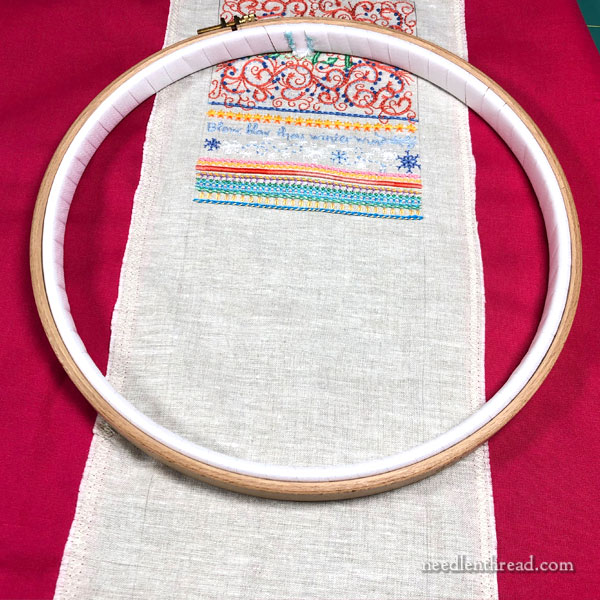
As you can see, a larger hoop fits nice and comfortably over the stitching area of my sampler.
Even though it gives me a lot of room, that hoop is really too large for me to comfortable stitch with frequently, especially if I’m not using a stand to hold the hoop. But if I use a smaller hoop – which will still fit much more comfortably than it did – the rounded sides cut off the stitching area more frequently.
I got it into my head that would be nicer (since the sampler is straight-sided) if my hoop were actually square and not round. It would give me more stitching room in one go, without having to move the hoop to a new area as frequently.
I don’t have a larger square hoop. They do make them, but they are more expensive than round hoops, and unless they are very good quality, they don’t work.
(NB: Plastic square hoops never work. Just so you know! How do I know? I have tried several different attempts at them by different companies. And they never work. They can’t can’t hold the fabric taut.)
But the Hardwicke Manor square hoops are better – they do work. If you’re looking for them, you might try Needle in a Haystack.
In any case, I figured I’d give some q-snaps a try. They’re square.
Now, I don’t use q-snaps often. I know there are stitchers who positively swear by them, but I’ve never cottoned to them myself, so they’re not a go-to thing for me. But I can see how they would be very useful in certain circumstances, and I figured this was one of those circumstances.
I happen to have an 8″ q-snap. I thought I’d give it a try.
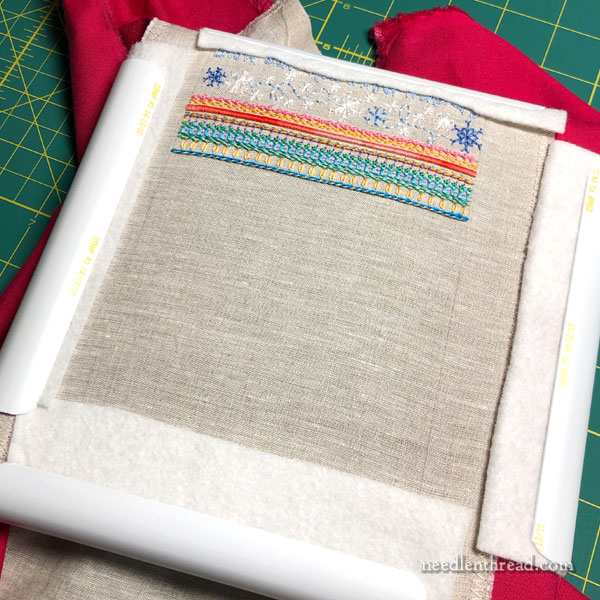
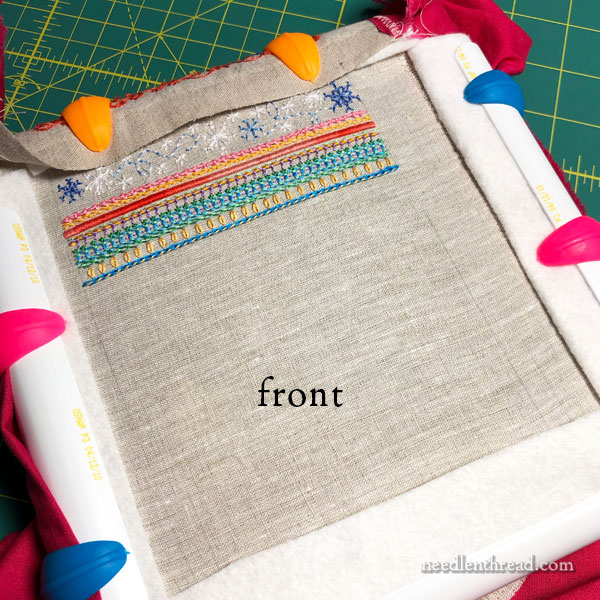
So I did give it a try. And it exposes just the right-sized area for stitching on this sampler!
Hey hey! Happy day!
But… there are a few considerations to using q-snaps for this.

Q-snaps on their own don’t hold the fabric taut enough. The fabric bows and gives too easily, requiring a constant tightening and rolling of the snaps on all the sides.
To solve this, I put a wide strip of felt over the fabric and under each snap. Now the fabric doesn’t budge and the snaps don’t roll.
Q-snaps tend to direct the fabric on the back of the work towards the center of the frame. If you don’t have enough fabric there for it to “flow” outwards easily again, the edges of the fabric are always going to be turned in towards the center of your stitching area, unless you have something to solve the problem.
I think they make elasticized fabric “caps” you can put over the q-snaps to hold your excess fabric out of the way. But I rarely use q-snaps, so I didn’t have anything like that.
And I wasn’t going to take the time to make something.
But wait…
Oh yes!
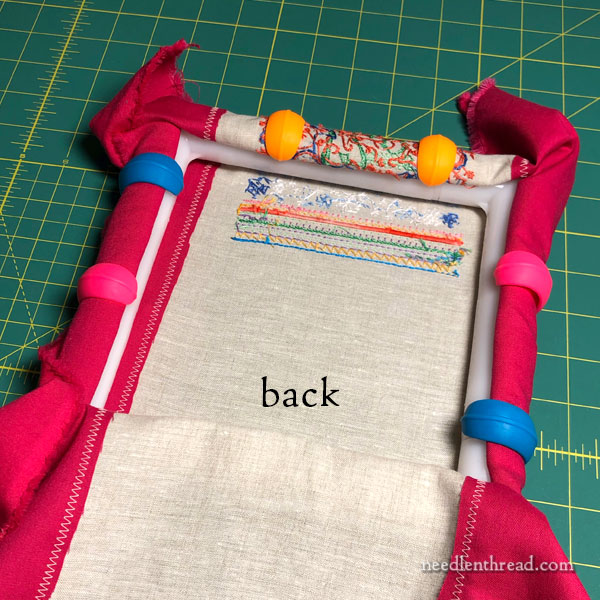
Huggers!
I swear, these things are darned handy for the embroiderer. The first time I saw spool huggers (which I wrote about here, if you want to learn more about them), I thought they were somewhat strangely superfluous to the world of stitching and surely a gimmick.
What is the point? Spools, after all, usually have a place to catch the thread end, already built in. Why would a spool need a hugger? But I bought some anyway, because I had other ideas.
Secretly, between you and me, I think these things were born to be used with q-snaps and embroidery hoops.
They hold the excess fabric back quite well!
Hey, hey! Happy day!
(Twice! It was a really good day!)
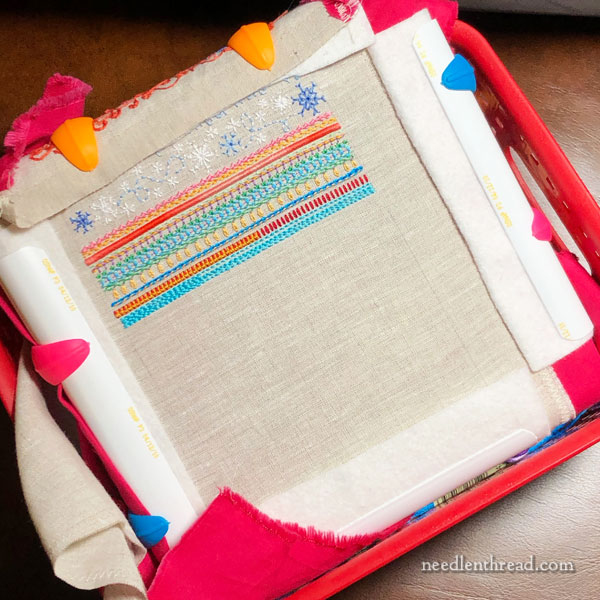
The q-snapped sampler doesn’t fit perhaps as neatly into my little sampler project tub – the hoop and fabric nestled in there on top of the threads so comfortably – but that’s ok!
This works so much better! I spend a lot less time fiddling with fabric and hoop and just stitching. And it’s much more comfortable all around, not to be so crowded on that skinny strip of fabric.
Getting all of this adjusted and my fabric shortage solved was quite satisfying.
And now, if you’re ever stuck with too-small fabric for a stitching project, and you’re struggling with hoop placement and thread-ending-irritations, you know how to solve the problem, too.
Have a swell Monday!
If you’re looking for spool huggers, you can find them on my Amazon Recommendations page, under Tools & Accessories. This is an affiliate link, meaning that Needle ‘n Thread receives a small commission for purchases made through this link, without any extra expense to you.
