I’ve been struggling with embroidering one little tiny seashell for almost two weeks now.
It has become a gargantuan sea monster in my head. It’s time for me to tackle the beast once and for all!
Today will be the day! Do or die, says I!
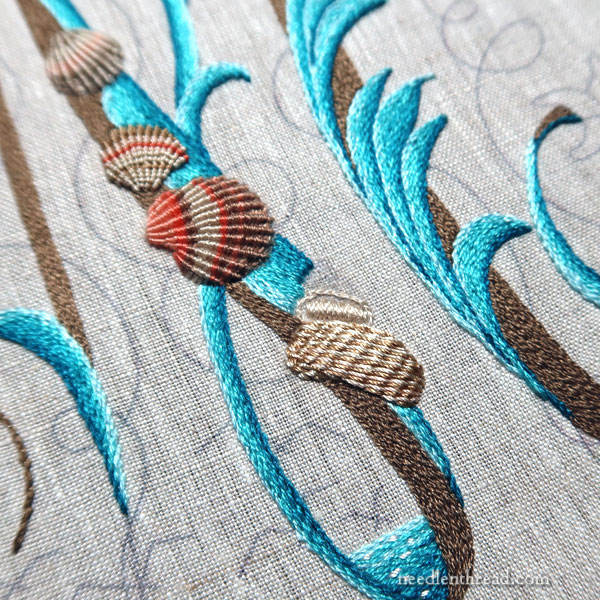
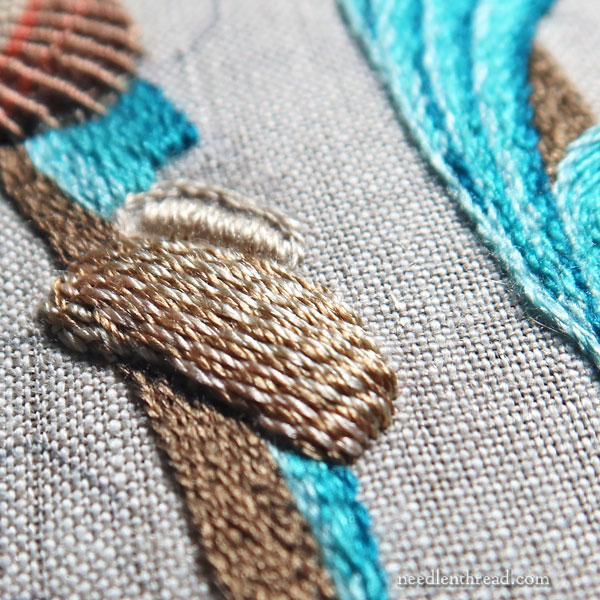
The seashell in question is the half-stitched one in the photo above.
In my mind, when I see shells that are somewhat this shape, I think of the tulip shell – the many, many varieties, schemes, patterns, and colors on what I call tulip shells, but that extend to conch shells and so many varieties of spiraled, stacked shells.
And so I wanted to mimic somehow the tulip shell, and I honed in on the notion of the stripes that often decorate those types of shells.
Because it’s being interpreted in embroidery, and on a relatively small scale, I’m not that concerned with achieving an absolutely perfect imitation of patterns on a tulip shell. I just wanted a hint of stripiness.
Stripy-ness.
Stripéd-ness.
You understand my meaning: I wanted my shell to give a little nod to the striped and mottled patterns of the tulip shell.
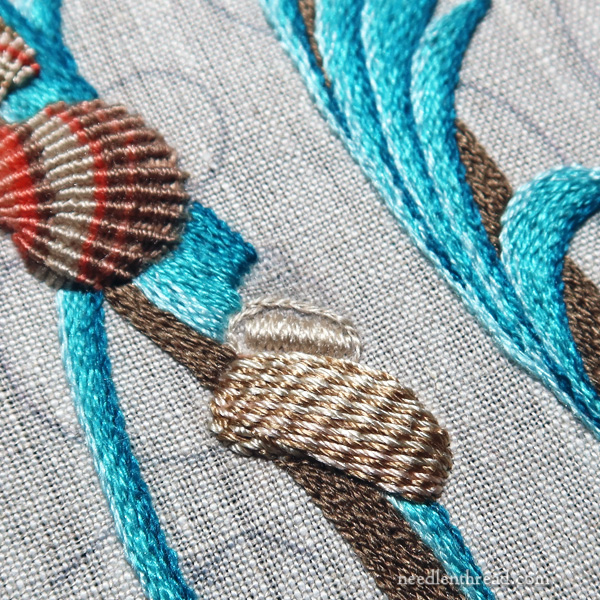
With that in mind, I decided to go with a raised diagonally striped band – you can find a tutorial for the diagonally striped band here – and work it across the main and larger portions of this shell.
First, I padded the area, as Elisabetta recommends in her book, in order to lift the shell off the surface of the monogram and give it a more rounded appearance.
And then I proceeded to work the diagonally striped band, using Soie Perlee in two shell-ish shades that seemed to work. I’m a bit low on choices of Soie Perlee colors for this project at the moment. I would have liked to have selected shades with more contrast, but these two were the best of what I had on hand.
Now, working this stitch in such a small space and over padding is not really easy or fast. If you’re going to try something similar, make sure you have your hoop or embroidery frame in a stand, so that you have both hands free. Otherwise, it takes a heck-of-a-long time, and it can be quite frustrating.
You might also make sure you have a needle minder handy on the surface of your work, where you can drop the threaded needle that you’re not using and pick it up quickly for the alternating stitches.
My goal was to make sure the ridges on the shell (formed by the foundation stitches of the diagonally striped band) lined up in a sloping sort of way up all the sections.
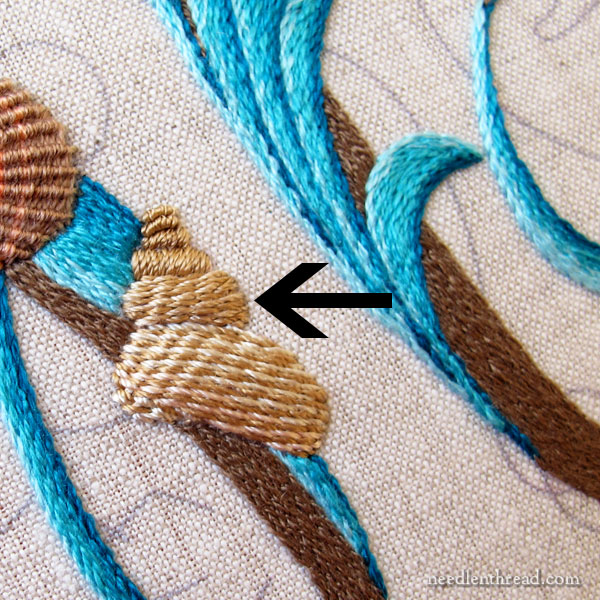
But as you can see, on the one attempt that I managed to take photos of, I got it wrong.
In fact, I’ve gotten it wrong innumerable times. I’ve worked the second section of this seashell at least three times now, and every time, my stitches are going in a different direction and none of them are lining up with the section of the shell below.
It’s one of those situations where, in my mind’s eye, I have the solution pictured, but when I work it out, it comes out in a different direction altogether.
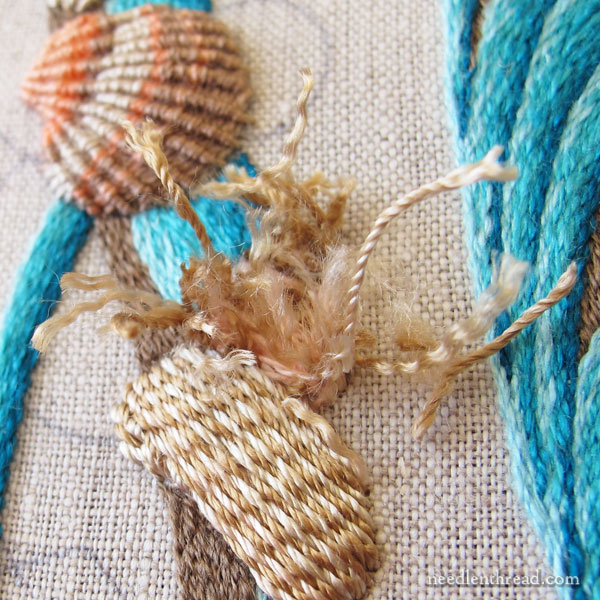
On the bright side, I’m working on linen – and very good linen, at that!
So all the wear and tear of removal goes practically unheeded by the fabric. It holds up well.
I really do think I’m going to like the way this shell will look, if I can get it right. It’s my goal today. If I do nothing else, I will conquer this shell!
Once the diagonally striped band stitching is finished, I plan to try a little extra touch of darker color on the shell, too.
See. The ideas are in my head. They just don’t always work their way out onto the fabric!
More on This Project
If you’re just catching up with us lately, this embroidered monogram is from Elisabetta Sforza’s A Sea to Stitch, which is available right now in my shop. You can read my review of the book here, to see what it’s all about.
You can find previous articles on this project through the links below, which are arranged chronologically:
My review of A Sea to Stitch
Selecting silk threads & beads for the monogram
You can see the beginnings of the monogram in this article.
Progress update – wherein I claim the monogram will be finished by the end of January. Ha ha.
Changing some colors on the monogram project
Seashells in Progress
Next Steps
Next time we visit this project, this shell will be finished. The next items to stitch are the star fish on the right side of the letter and the isolated shell on the left side.
I plan to incorporate some beads into this monogram, and I can’t wait to get to them!
Speaking of Linen
Speaking of linen, yes! I will have some linen sample packs for you very soon!
The first series is a sample pack of four different types of natural colored linen – all excellent linens that I love using – each with distinct characteristics. One of the cuts will be the linen used in A Sea to Stitch. Each cut is 12″ square, labeled clearly so that you know which is which, and all accompanied by information on preparing linen for surface embroidery.
I figured the sample packs would be a good way to get a variety of managable-sized pieces of excellent linen in your hands, so that you can give them a try in an affordable way. They’ll help you build your own bank of knowledge about linen types and discover the ones you like best.
Keep an eye out for those. I’ll launch them probably towards the end of next week. Lots of cutting, but definitely worth it, if I can help you experience a variety of good linens for embroidery.
I hope you have a fabulous weekend!
