I’m so happy there was a lot of enthusiasm for the square-round embroidery hoop we talked about on Monday! If you wrote in to be on the advanced notice list for those, I have duly placed you on it. I’ll notify you when they’re available again.
In the meantime, I’d like to show you how I bound the inner ring of that hoop using the 3/8″ cotton twill tape that I packaged with the hoop.
Do you have to wrap the inner ring? No. But I think it’s a good idea. It protects your fabric, it adds a touch more friction, and it’s a job you only have to do once if you do it right. It’s worth it!
We’ll also touch on a few tips about using hoops and clarify a misconception or two.
Years ago, I wrote this tutorial on binding an embroidery hoop. I also wrote this tutorial about binding both rings.
I rarely bind both rings of a hoop. I generally find the inner ring quite sufficient on a good hoop.
The process we’re going to go through today is the same, although I’m convinced that cotton twill tape is the best way to go when it comes to a good wrap for the hoop. Actually, you could also use cotton bias tape, but… I like the twill better. It’s heartier.
The pictures on the previous tutorials are pretty old, so hopefully, today’s tutorial will look a little fresher for you!
Supplies for Binding a Hoop
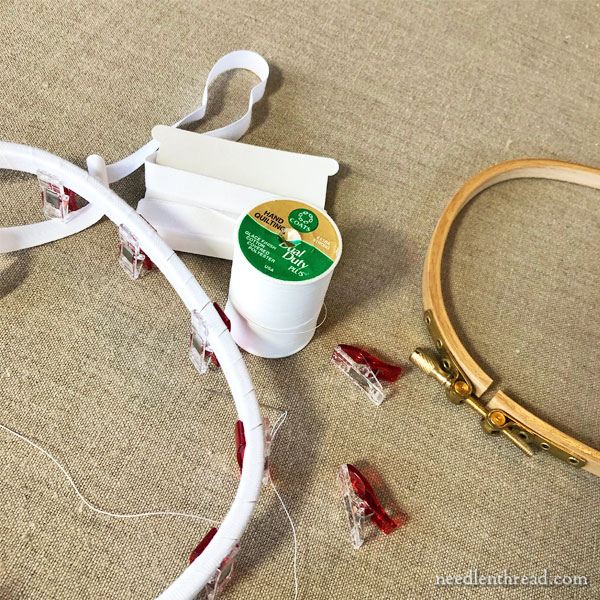
You’ll need a few supplies to bind the inner ring of the hoop:
- Thread (I used a heavy duty sewing thread)
- A needle (I just grabbed one of my crewel needles, but any small hand sewing needle with a sharp tip will do)
- Some clips (I use these Wonder Clips I wrote about here – they’re wonderful for so many things! – but clothes pins will work, too)
- Cotton twill tape in a width that works with the size of the hoop
- And, of course, a hoop.
With the square-round hoop, which is 5/16″ in width, a narrow twill tape (5/8″) works great! If you use too wide of a tape for wrapping the hoop, it tends to bunch up a bit. Go narrow on thinner hoops. Go wider on wider hoops.
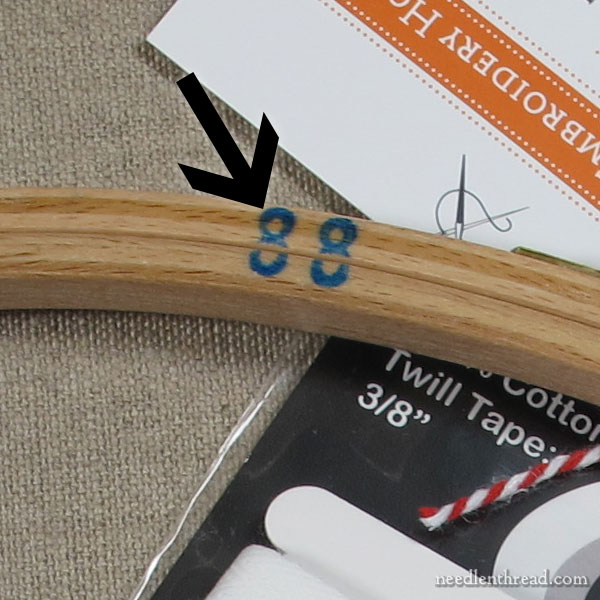
Before you start to wrap the inner ring, notice that the square-round hoop has this imprint on it, across both rings in a double figure-8 of a sorts.
Now, I have absolutely no idea if this is the case, but I suspect that the reason it is marked is so that we always situate the rings in this particular orientation, with the part of those 8s matching up.
And if this is the case, you’ll want to mark the twill tape so that you know where these markings are on the hoop.
I’ll show you what I mean in a second.

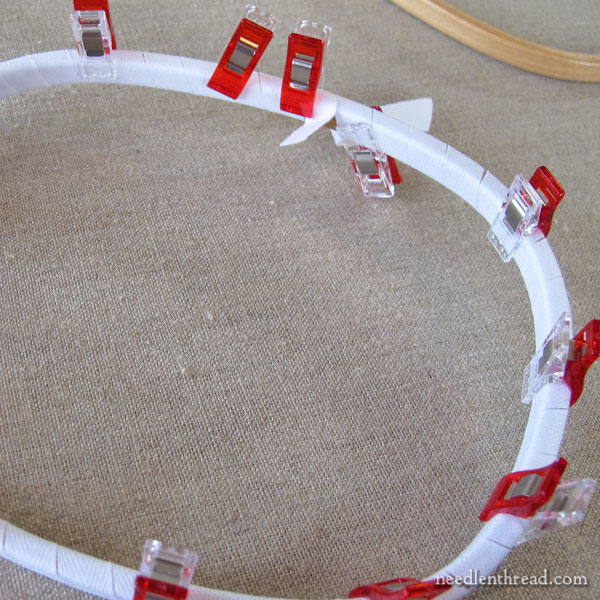
Begin wrapping the hoop by clipping one end of the tape onto the inside of the ring. (Whenever I’m talking about the ring that we are wrapping, I mean the inside ring of the hoop.)
You want the beginning of the tape to be on the inside of the ring, so that you don’t have a bump on the side of the ring that comes in contact with the outside ring.
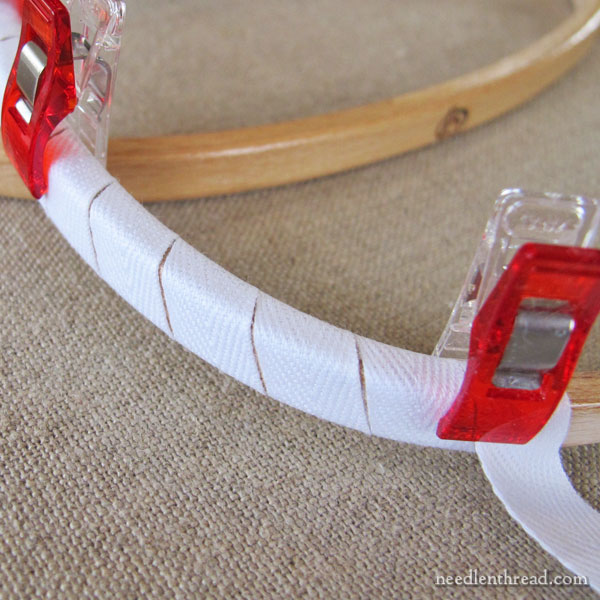
Wrap the twill tape around the ring, aligning the tape edges next to each other as you wrap, and not overlapping each other.
Use your clips as you go, to hold the tape in place.
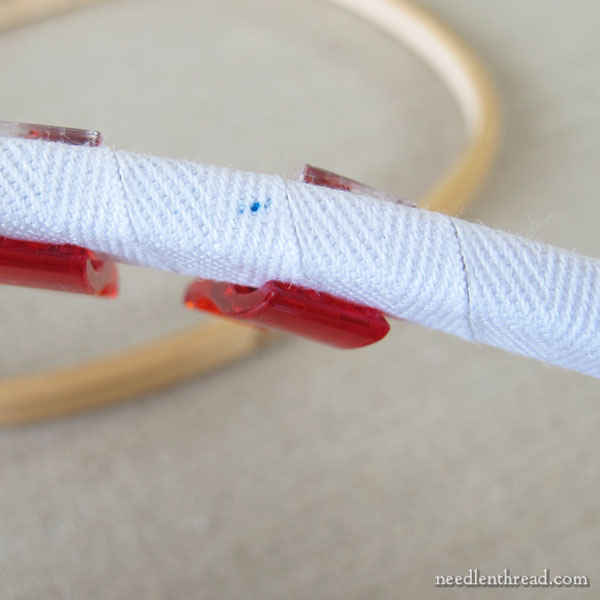
Before you go too far – and while you still know what side of the hoop is what – use a permanent pen to put a small mark where the halves of the 88 are on the hoop.
This way, you always know which way the inner ring should be oriented when putting the hoop together.
Wrap the whole ring until you come back to the beginning, where the ends will meet up. The meet-up should be on the inside of this ring, don’t forget!
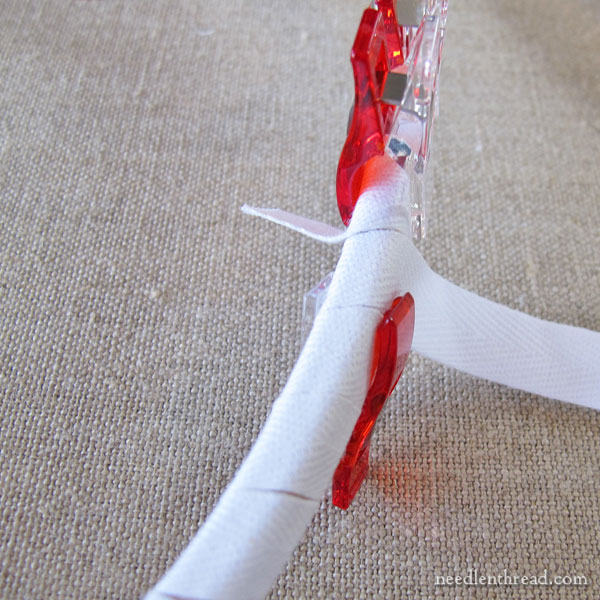
This is where the ends meet up. Make sure the tape is clipped onto the hoop near the ends, and trim the twill tape carefully, a little at a time, until the two ends overlap each other neatly without any excess hanging past the inside edges of the ring.
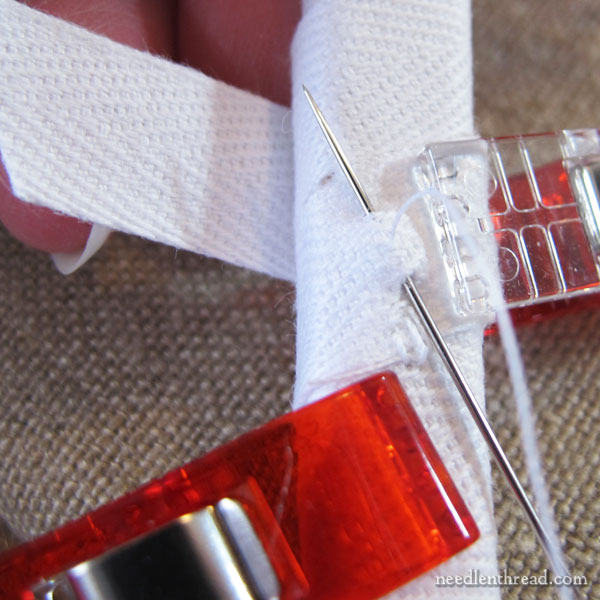
Thread up a nice length of sewing thread. You can knot the end – no reason not to.
Oversew the ends of the tape, so that they hold together, slipping the needle under the tape towards the hoop and out again into the tape, to take small stitches.
Sew over the whole join. You don’t have to be particular about your stitches – just keep them small and tight, and make sure the ends are securely joined.
Now, you could end there, but I have A Thing about making sure that I never feel the need to bind the ring again.
I don’t want my twill tape shifting, moving apart in some areas, bumping together in others.
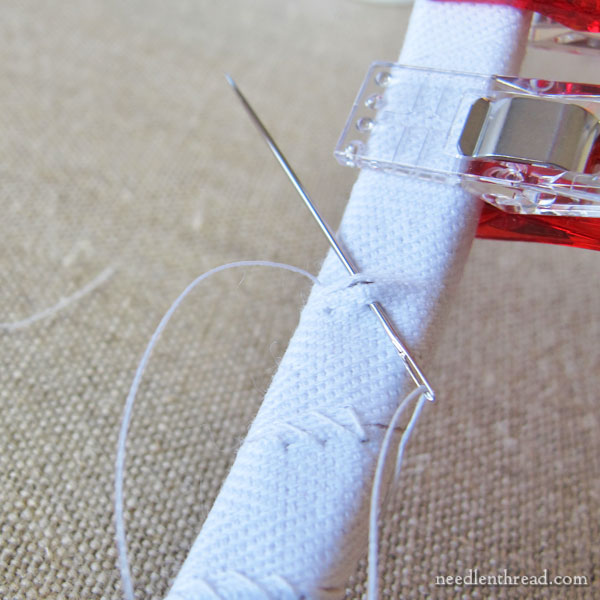
And so I stitch all around the inside of the ring, making two or three stitches between the adjoining edges of each section of twill tape, as you can see in the photo above.
I slide the needle under each section of tape, out again where the edges of two sections meet, make a couple whip stitches along the edges to hold them in place, and then slide the needle under the tape again to move to the next set of edges.
It may sound like overkill, but your tape, well-placed, will not move or shift apart, and, barring accidental spillage or something similar, you will never, ever have to replace the twill tape.
I’ve been using the same hoops with the same binding for well over a decade – almost two decades – and they are just as tidily bound as they were when I first did them. It’s worth the effort!
And it really doesn’t take that long to do.
(Between you and me, I love binding embroidery hoops. I think it’s fun.)
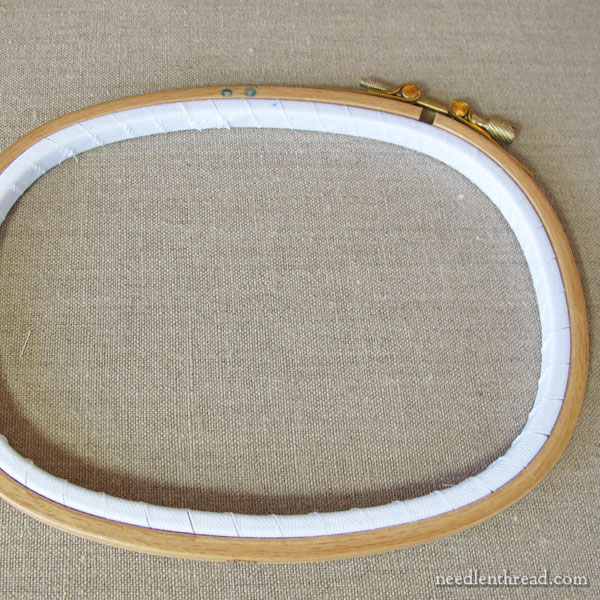
So there’s the tidy hoop!
Hoop Expectations & Use
A hoop is a great tool for many types of embroidery projects. They are usually light, easy to hold, very easy to transport, they supply good tension so that your work ends up neat and unpuckered (hopefully!), they can be moved around on the embroidery design (depending on the type of embroidery – obviously not bead embroidery, goldwork, or the like)… there are many, many advantages to using a hoop.
On and Off
But a hoop is not meant to supply your embroidery project with long-term, absolute tension. It’s a removable thing, and when you use one, you should remove the work from it when you’re finished with a stitching session, unless you plan to stitch again very soon. Don’t leave your work in the same spot in a hoop for weeks and weeks and weeks.
You risk dirt rings, you risk marring the stitches or fabric permanently, and so forth.
Wait, though! Don’t think you can’t put the hoop on your already stitched areas. With most surface embroidery, you can and the stitches will be fine – as long as they’re not left in there forever.
Take your hoop off at the end of a stitching session and let the fabric and the stitches relax – or at least loosen the hoop. Replace the hoop, or re-tighten it, at the beginning of the next session.
Speaking of Tightening
If you are looking for absolute and permanent drum-taut tension on a long-term project, and you don’t think you should ever have to adjust the fabric again once it’s in its hoop or frame, chances are, a hoop is not the tool you need.
At that point, you probably need a slate frame – but even a slate frame requires adjusting throughout the life of a project.
Just remember: fabric gives. It’s the nature of woven things.
You can get excellent tension on your fabric using a hoop. But the idea that you have to twist that screw to its death in order to establish and maintain the tension you want for as long as you want it … well, no.
If you are twisting the heck out of that screw until your hoop is squeaking and moaning and your solid brass hardware is starting to bend and give, you just might be overdoing it.
Sometimes, the hoop or hardware is not the problem. Sometimes, the problem is with our expectations. Don’t expect the hoop to do the job of a slate frame. It’s not a slate frame.
In most cases, you just need to tighten the screw until it’s holding the fabric from slipping. Just turn the screwdriver until the screw is tight. Nothing has to squeak and moan and bend. If that starts to happen, ease up!
All that said, on The Sqround (the square-round hoop we talked about Monday), the unique hardware would make it quite difficult for even the most determined hoop-tightener to strip the screw. And you won’t even feel obliged.
In short, have mercy on your hoops! Don’t kill them when you tighten them.
Coming Up
Strawberries on Friday! YUM!
I’m working on a new ready-to-stitch spring project. It’s been a fun source of relaxation in the evenings and it has me hankering for a garden party! We’ll have one together at some point next week – I’ll share it with you then.
That seashell we talked about is still evading me. I took it out again. I will conquer it soon and show you the results.
And I have new linen trickling in for linen fabric sampler packs. It takes some time to prepare, but there should be a batch ready shortly after Easter.
Have a great Wednesday!
